Single Sign-On
Single sign-on met Azure Active Directory
Laat uw teamleden met hun Microsoft-gegevens inloggen op AssetNode.
Installatiehandleiding (7 stappen)
1
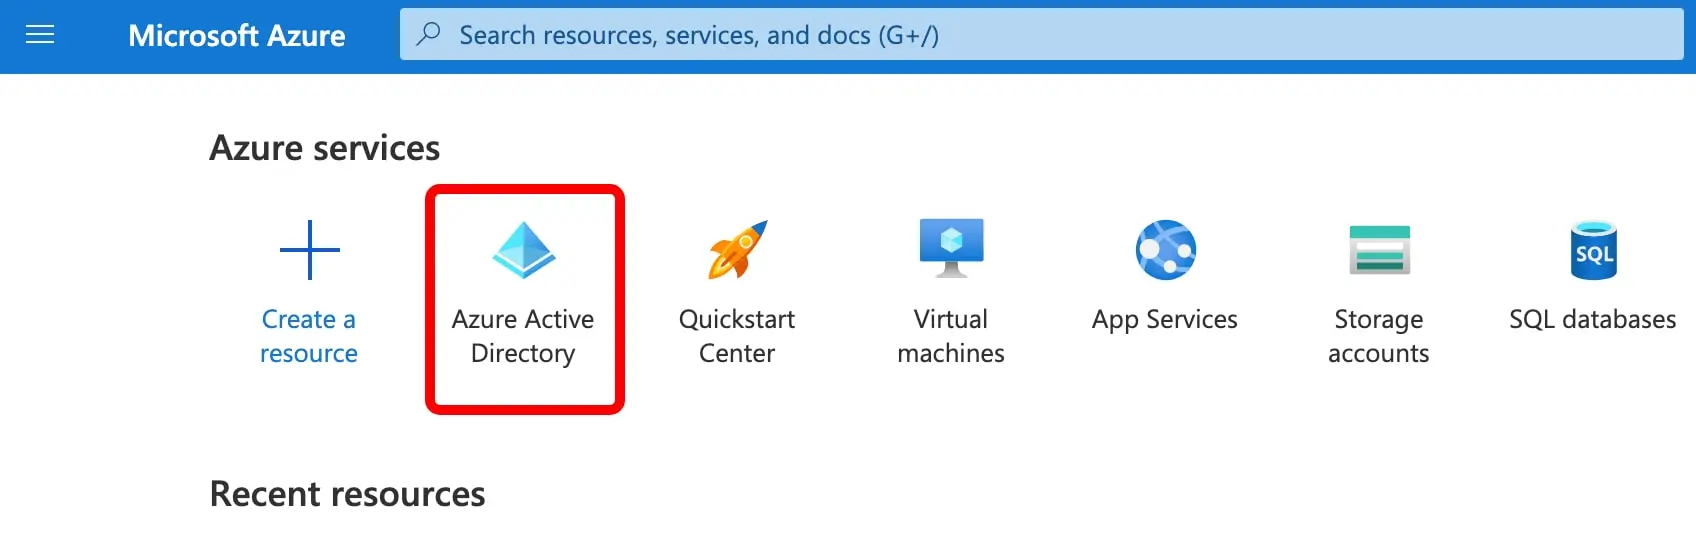
Meld u aan bij uw Azure Portal
Ga naar portal.azure.com.
2
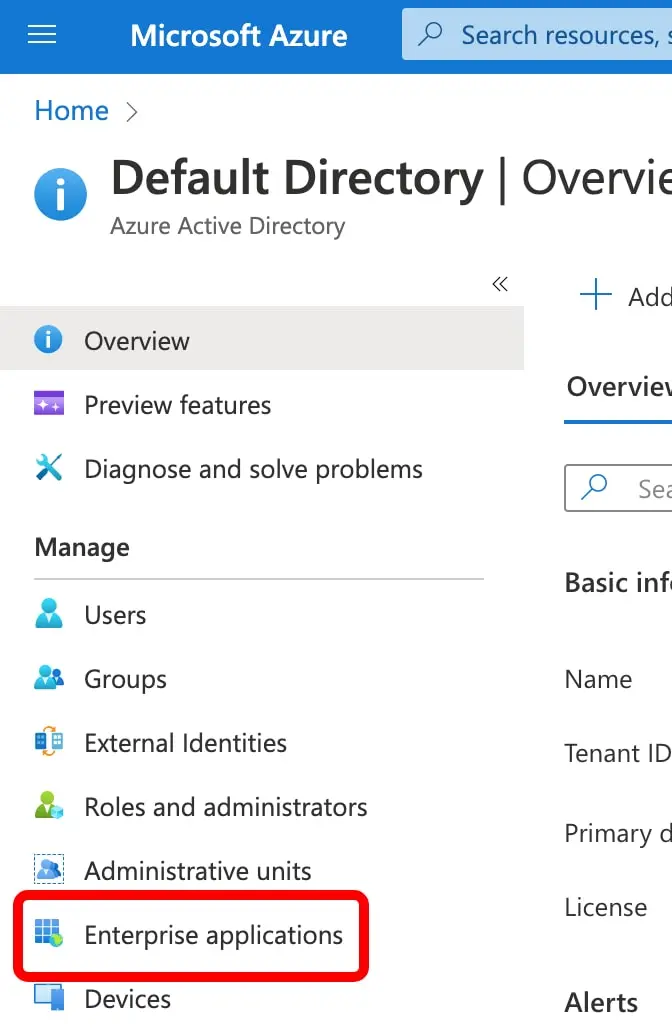
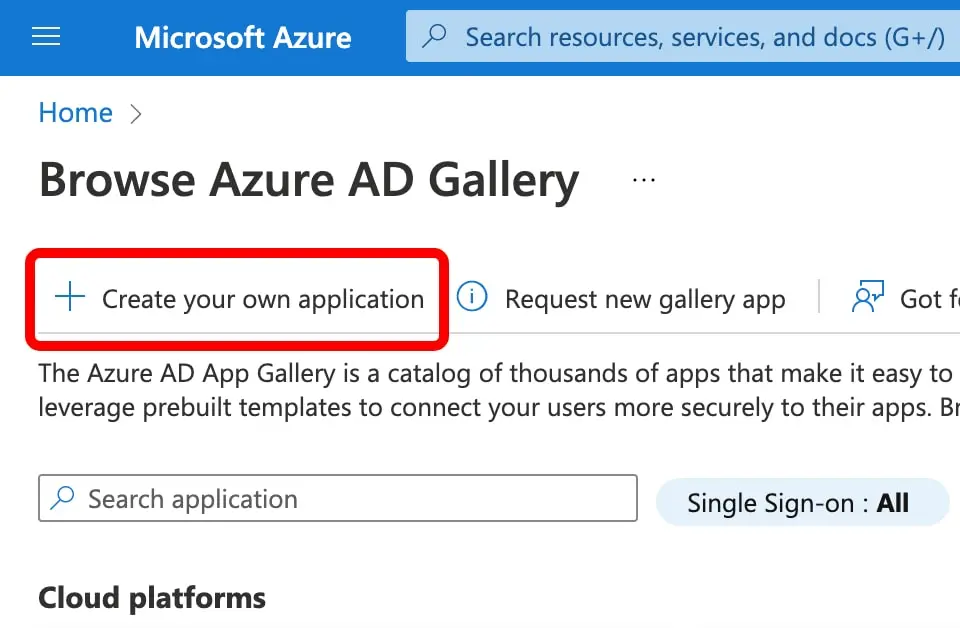
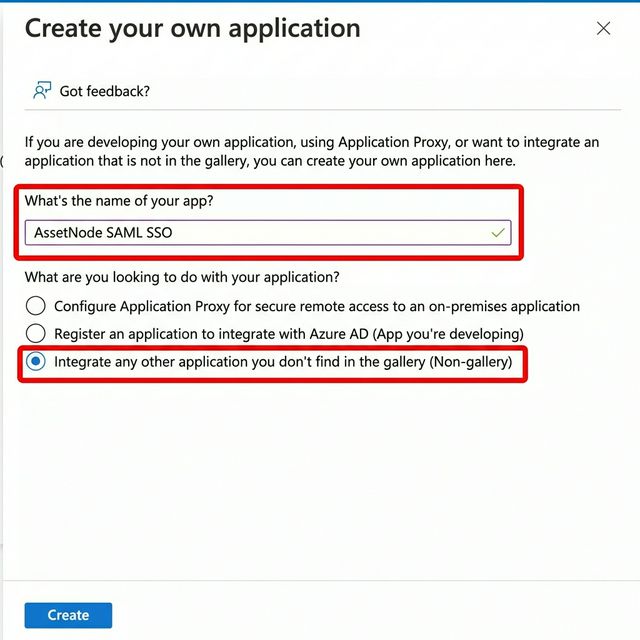
Maak een Enterprise Application aan
Ga naar Enterprise Applications → New Application → Create your own.
3
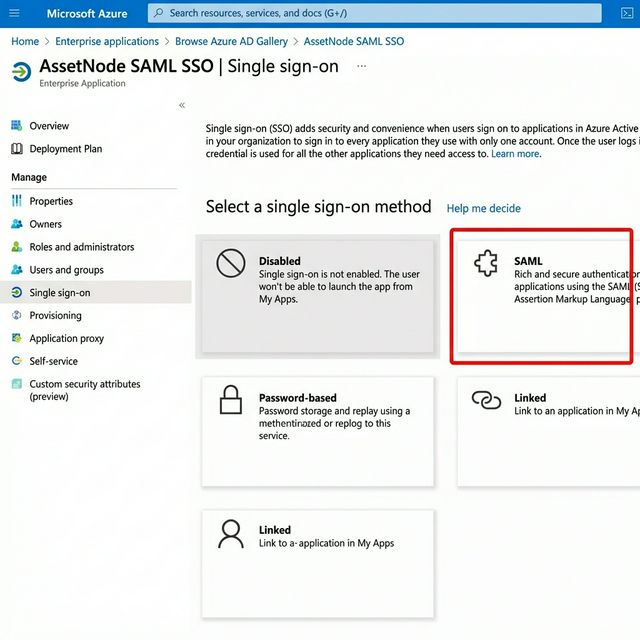
Stel single sign-on in
Ga naar Single sign-on en kies “SAML”.
4
Vul de Basic SAML Configuration in
Zet de Entity ID en de Reply URL op de waarden uit uw AssetNode-SSO-instellingen.
5
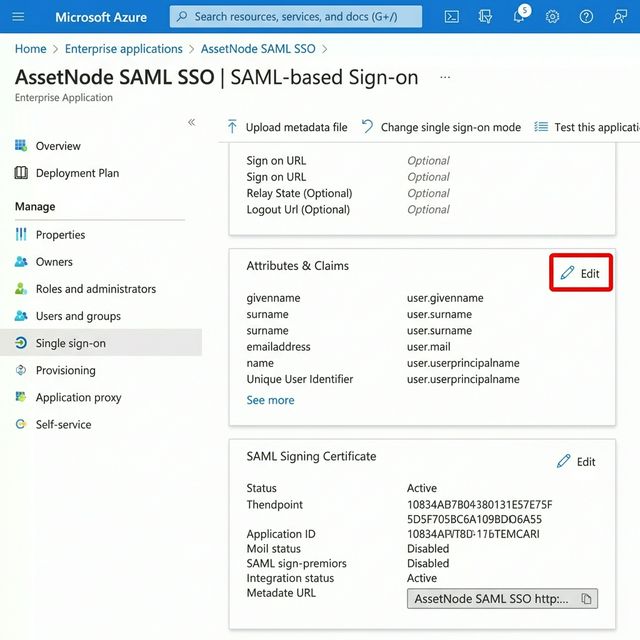
Download het certificaat
Download het “Certificate (Base64)”.
6
Vul de gegevens in AssetNode in
Ga naar Settings → SSO. Vul de Entity ID, de SSO URL en het certificaat in.
7
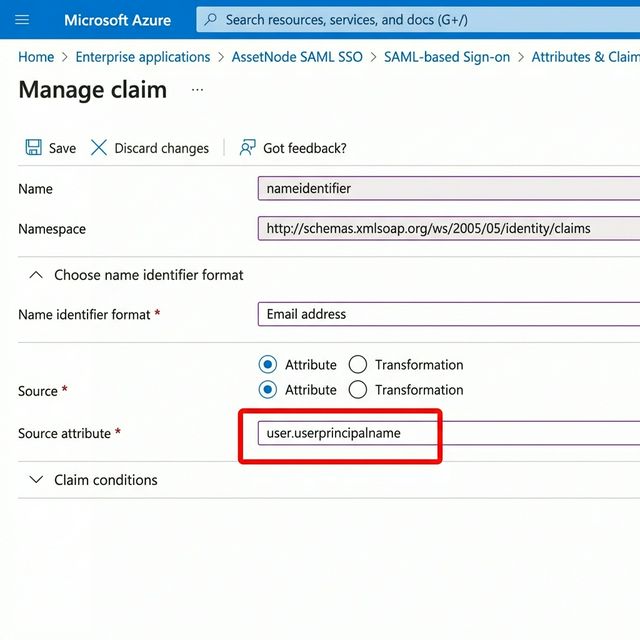
Wijs gebruikers toe
Wijs gebruikers of groepen toe aan de applicatie.
Na het voltooien van de installatie
- Zodra SSO actief is, krijgen nieuwe gebruikers toegang door ze in Azure AD aan de applicatie toe te wijzen.
- Met “Force SSO” schakelt u het inloggen met een wachtwoord volledig uit.