SCIM Provisioning
SCIM with Okta
Automatically sync employee entries with users from Okta. Any changes in Okta will be synchronized to AssetNode in real-time.
Syncs every ~40 minutes
Setup guide (8 steps)
1
Log in to your Okta Admin Console
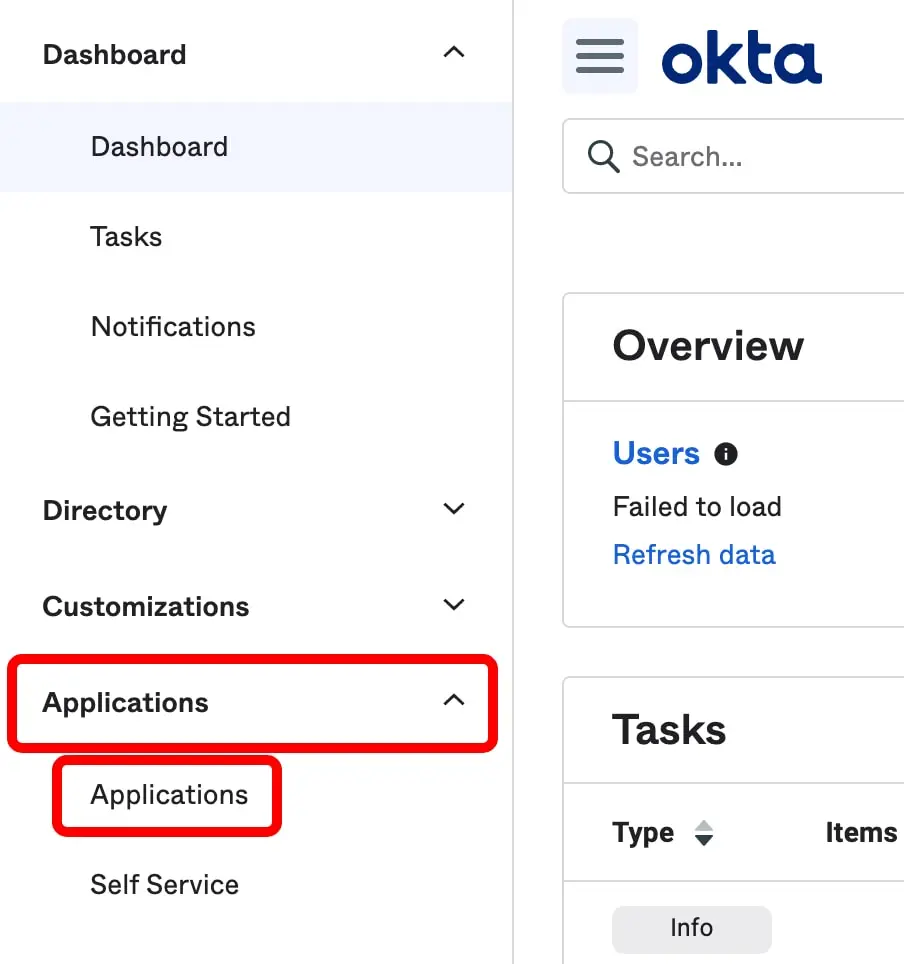
Navigate to your Okta organization admin dashboard.
2
Add a new application
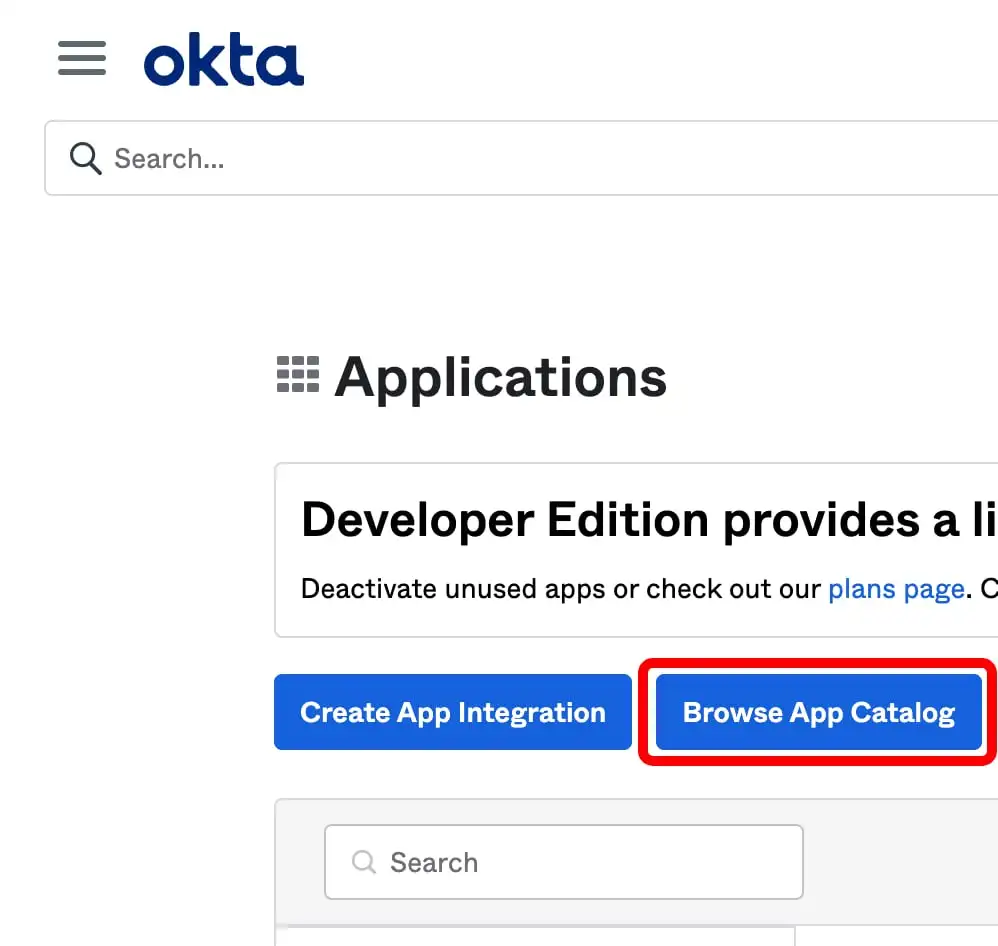
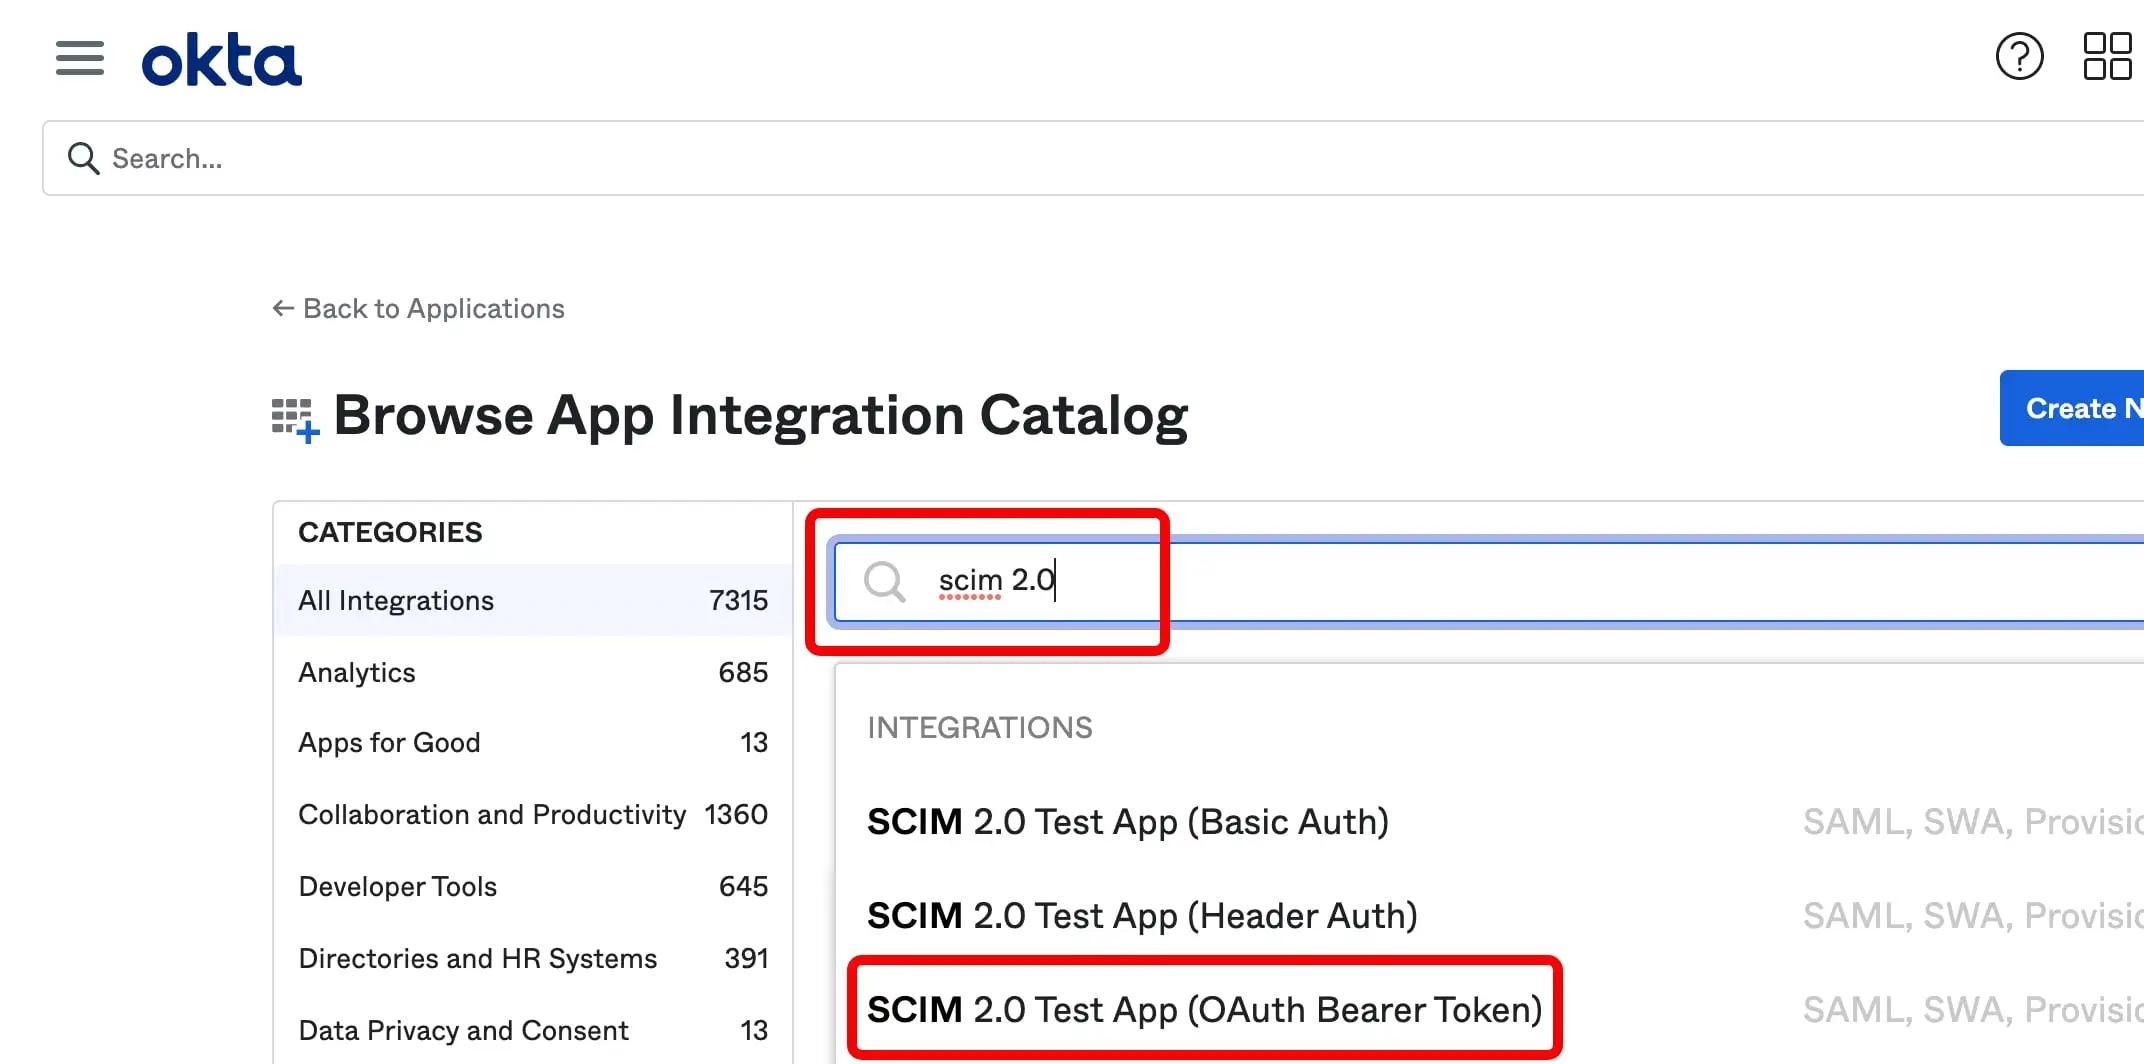
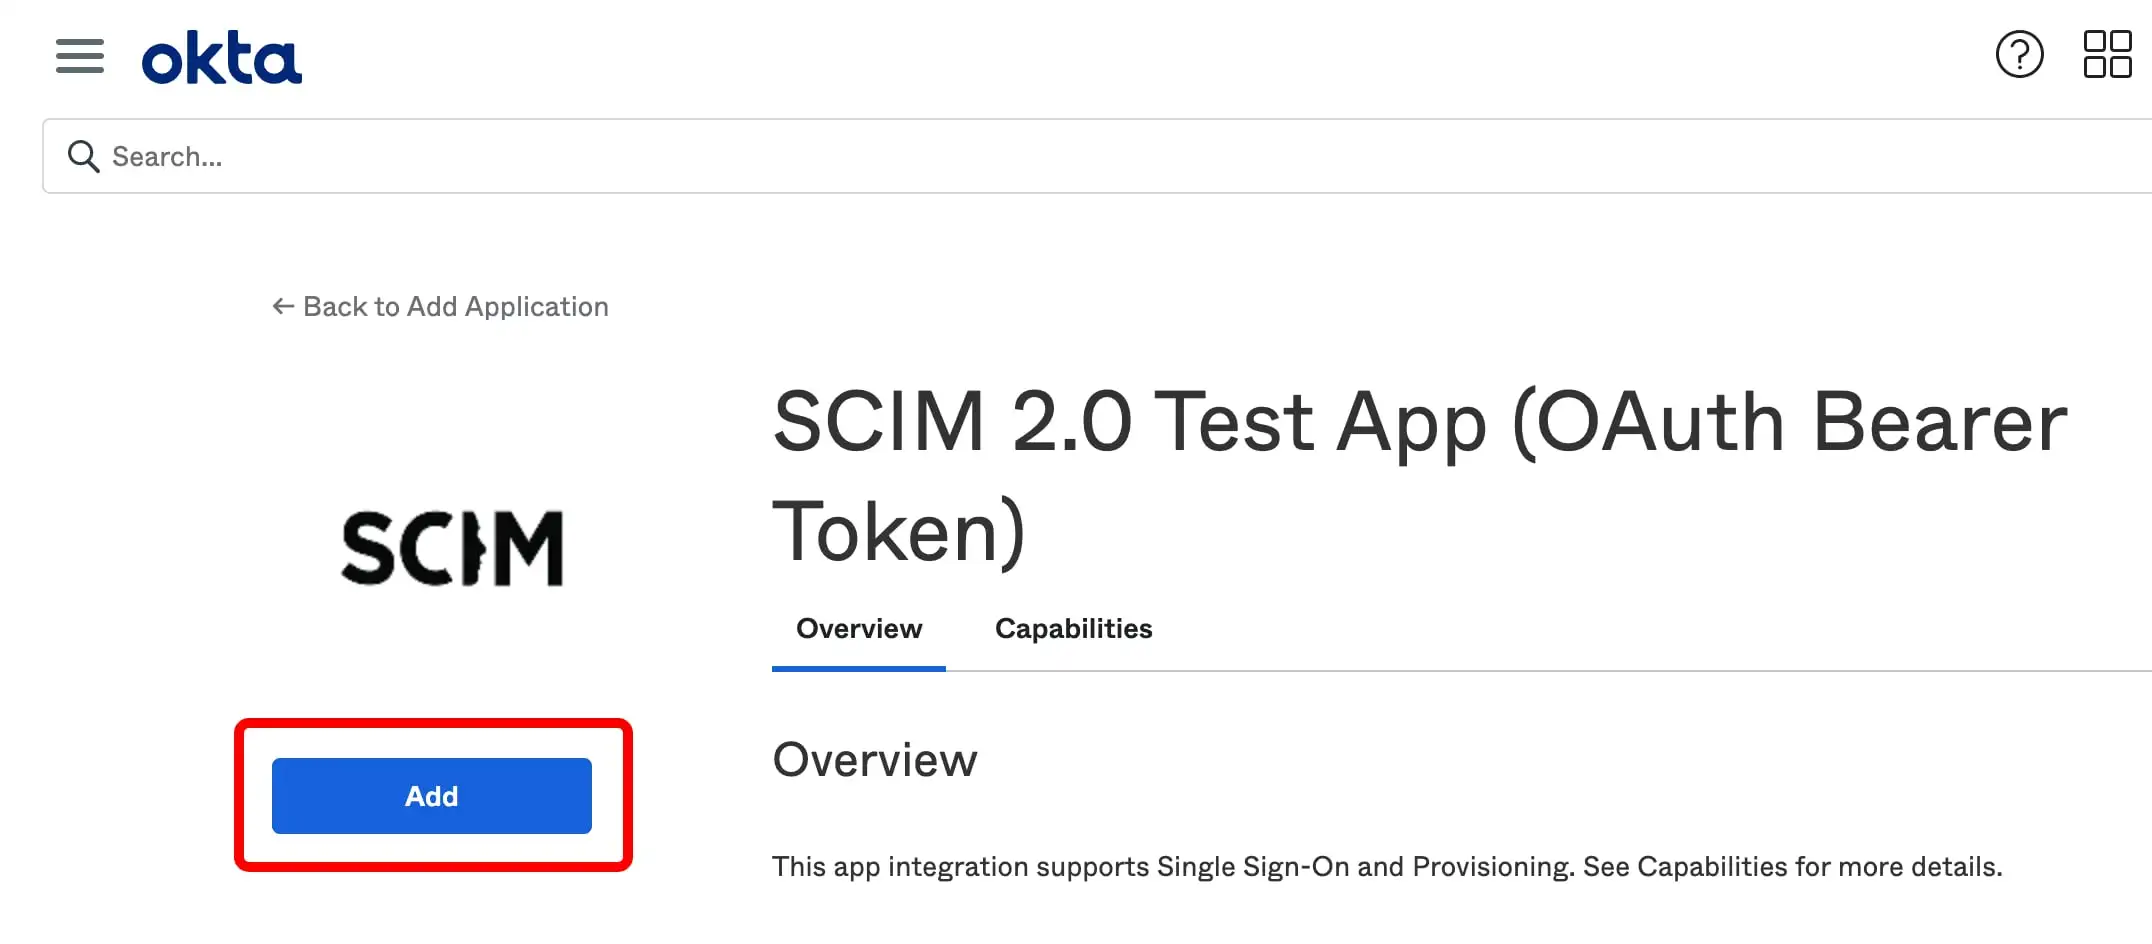
Go to Applications → Applications → Browse App Catalog. Search for "SCIM 2.0 Test App (Header Auth)" and add it.
3
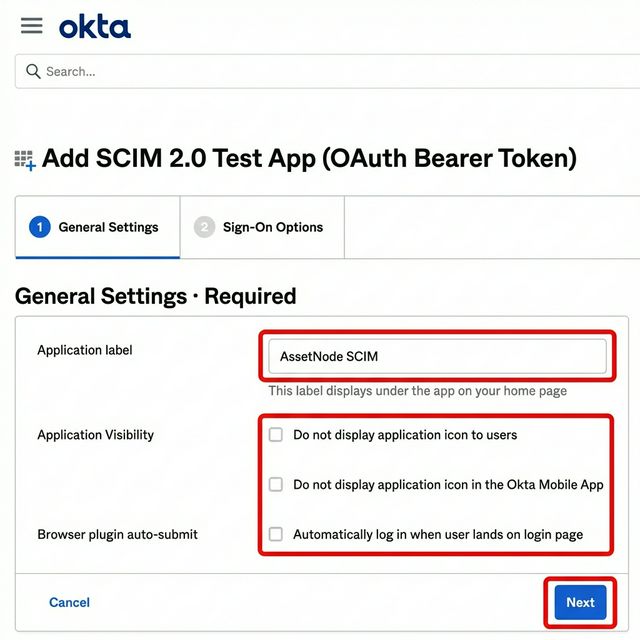
Configure General Settings
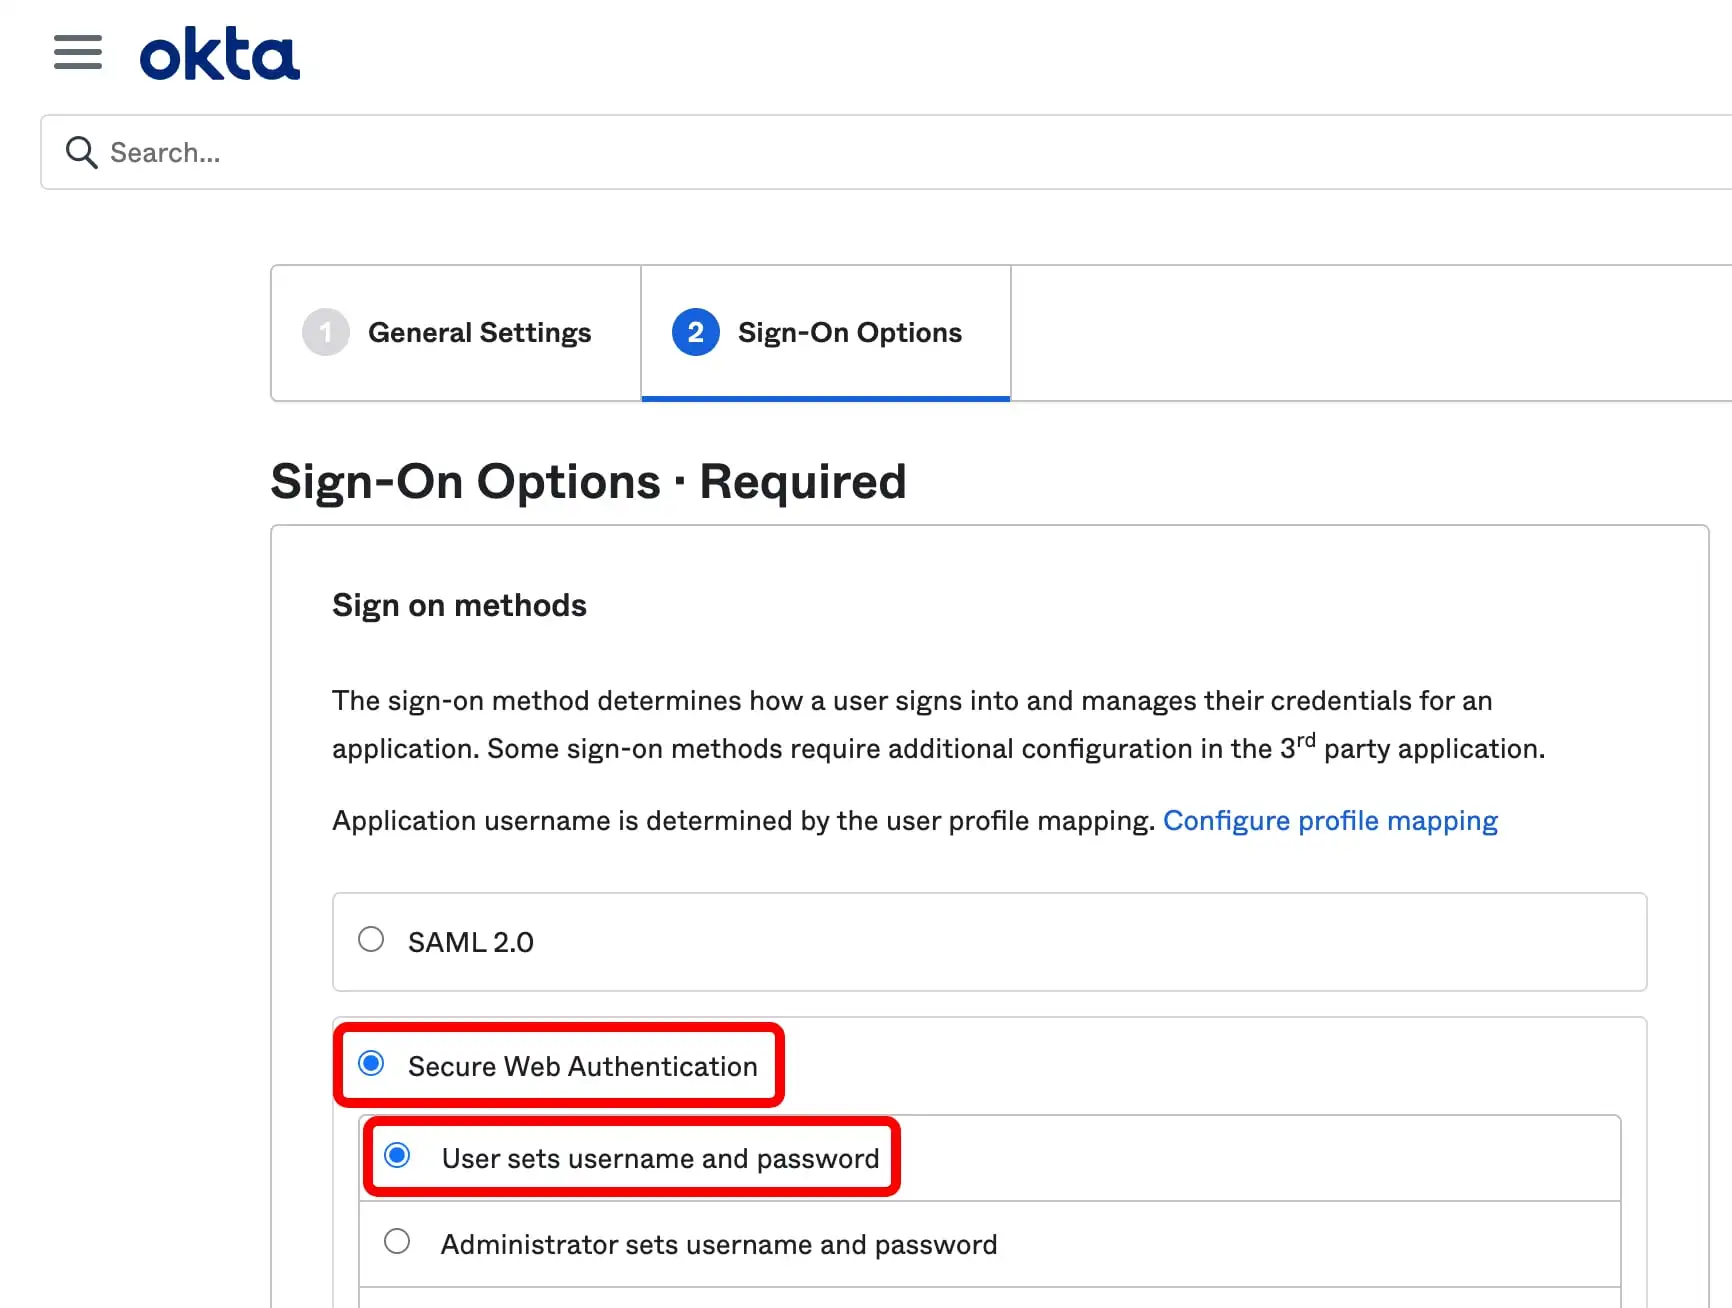
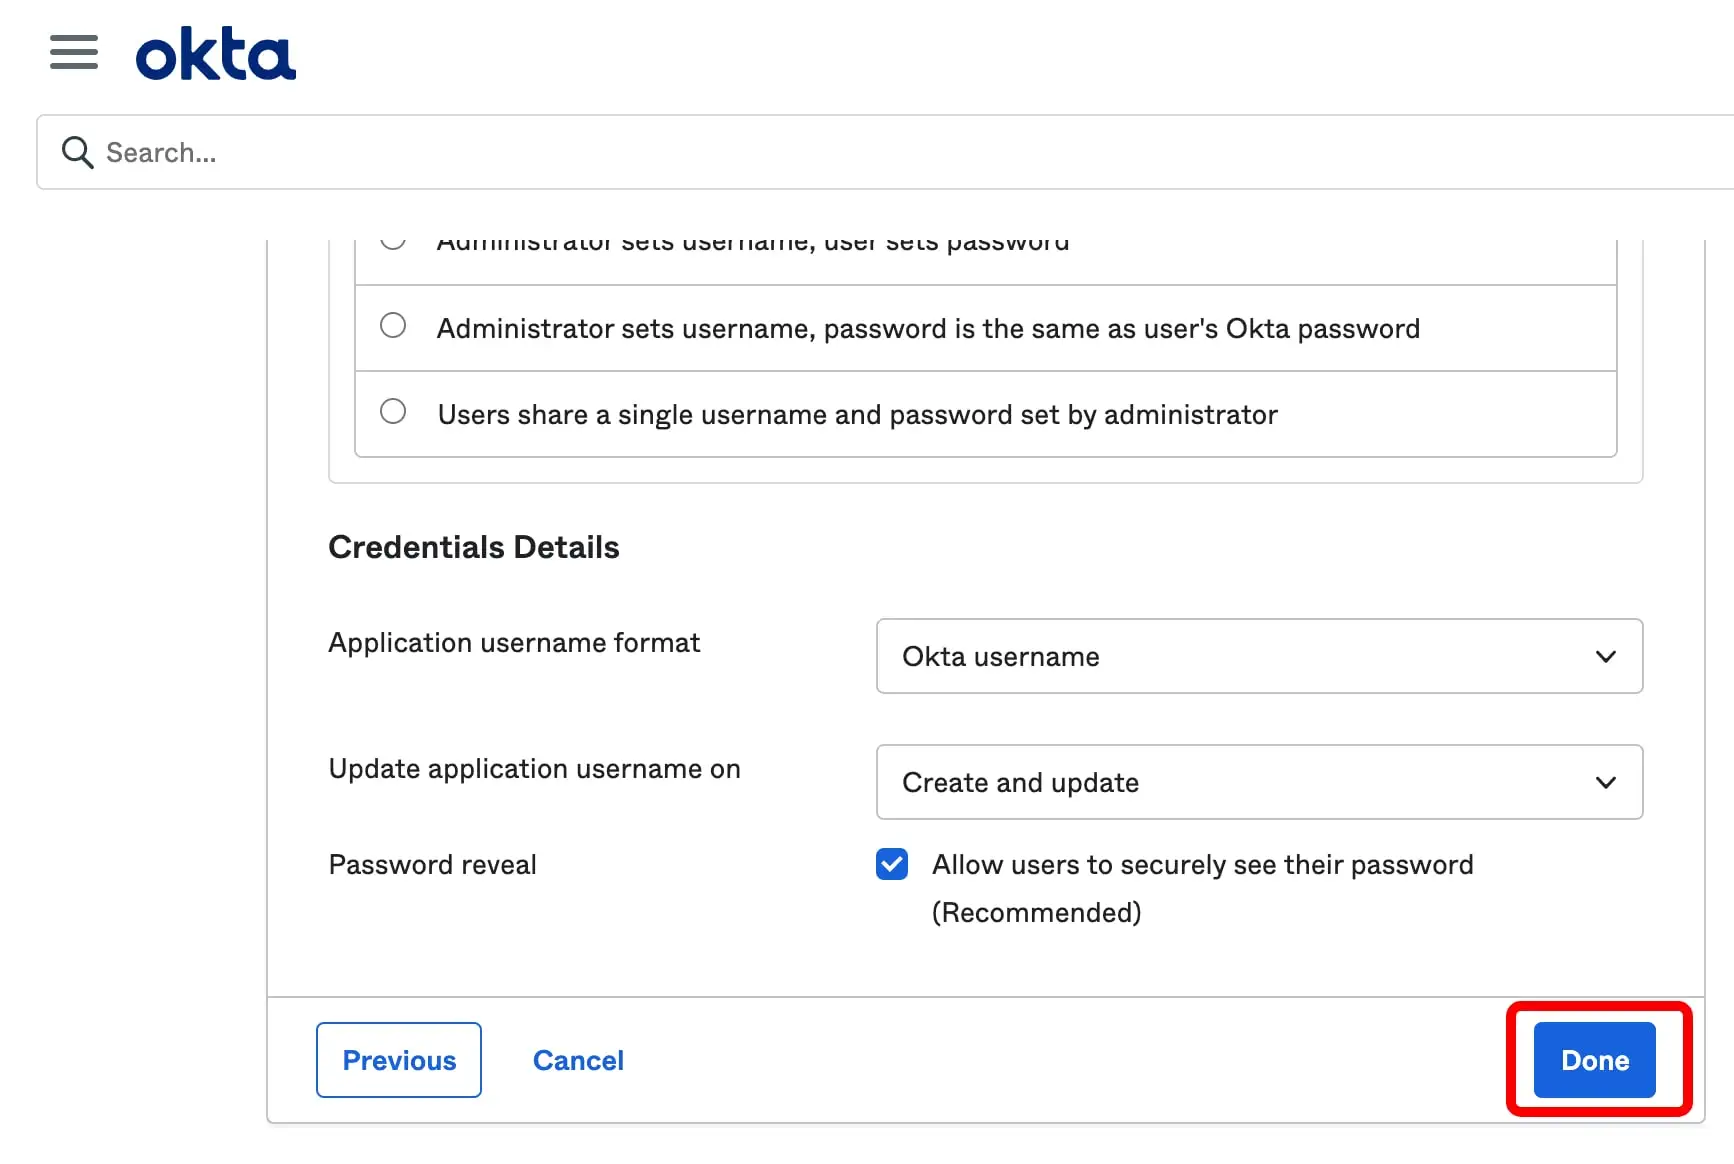
Name the application "AssetNode" and click Next through the sign-on options.
4
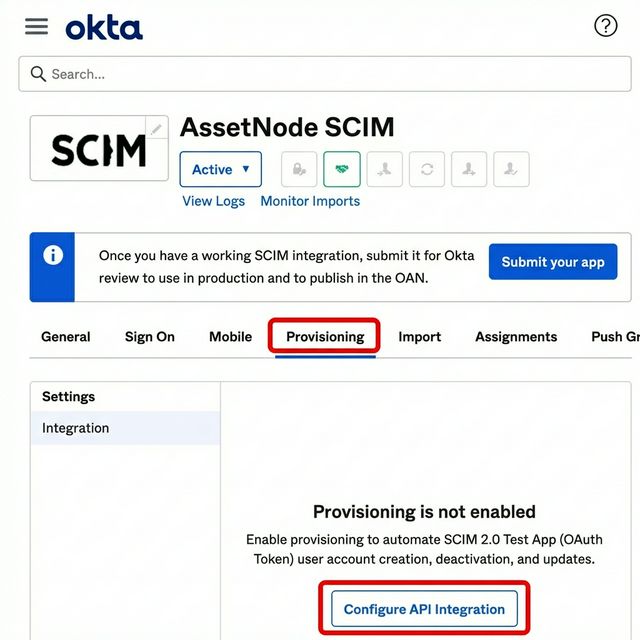
Configure Provisioning
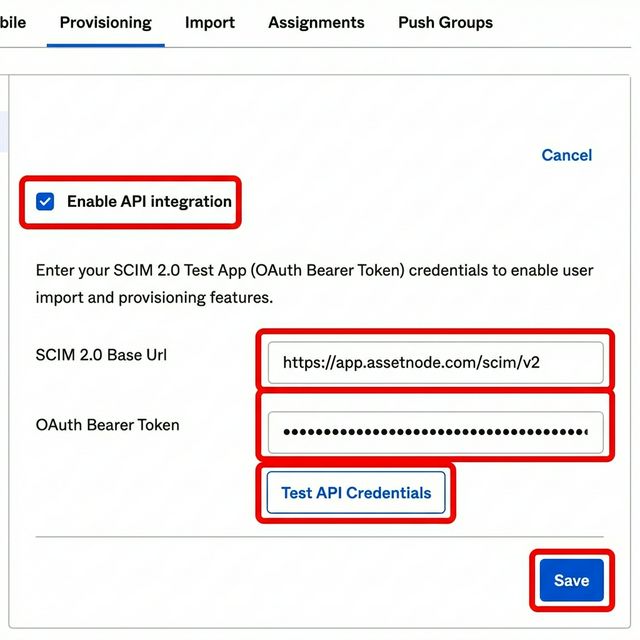
Go to the Provisioning tab → Configure API Integration. Check "Enable API Integration".
5
Enter SCIM credentials
Set the SCIM 2.0 Base URL to the Endpoint URL from your AssetNode SCIM settings. Set the API Token to the Bearer Token from AssetNode.
6
Enable provisioning actions
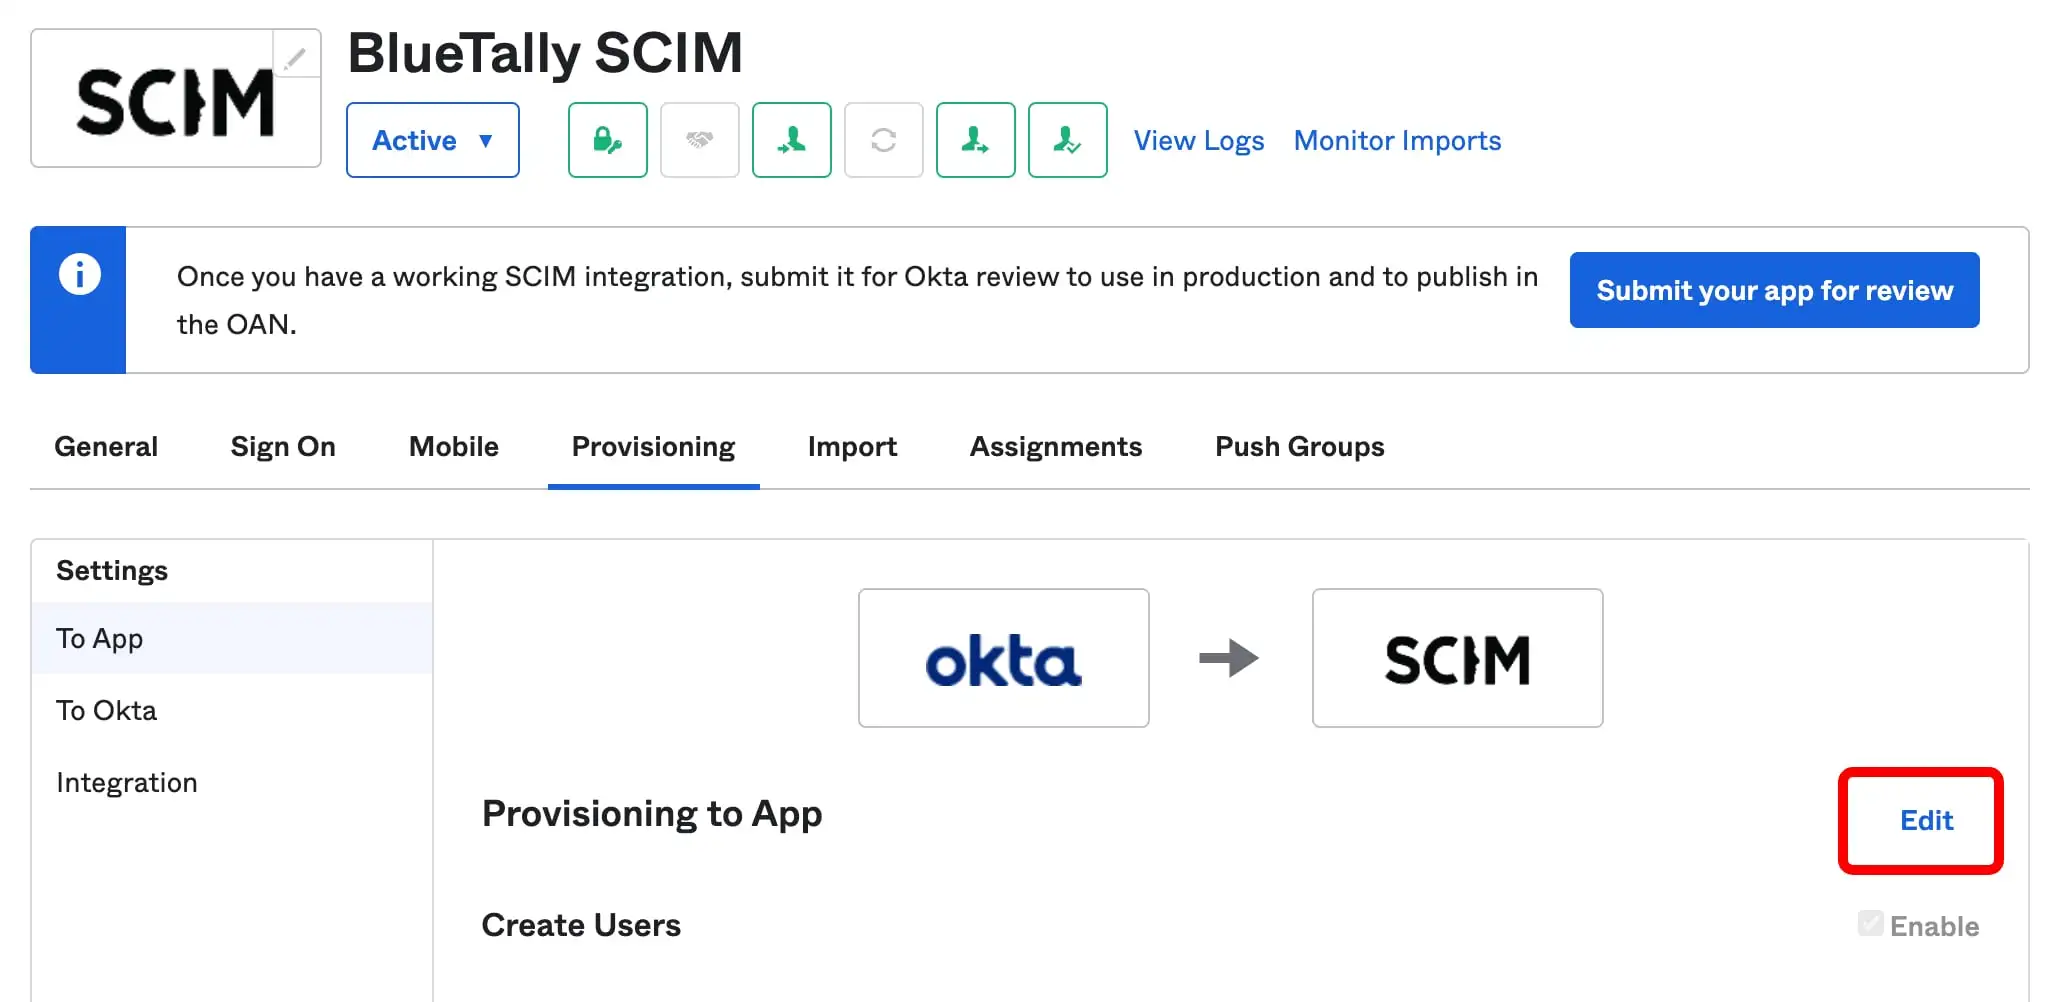
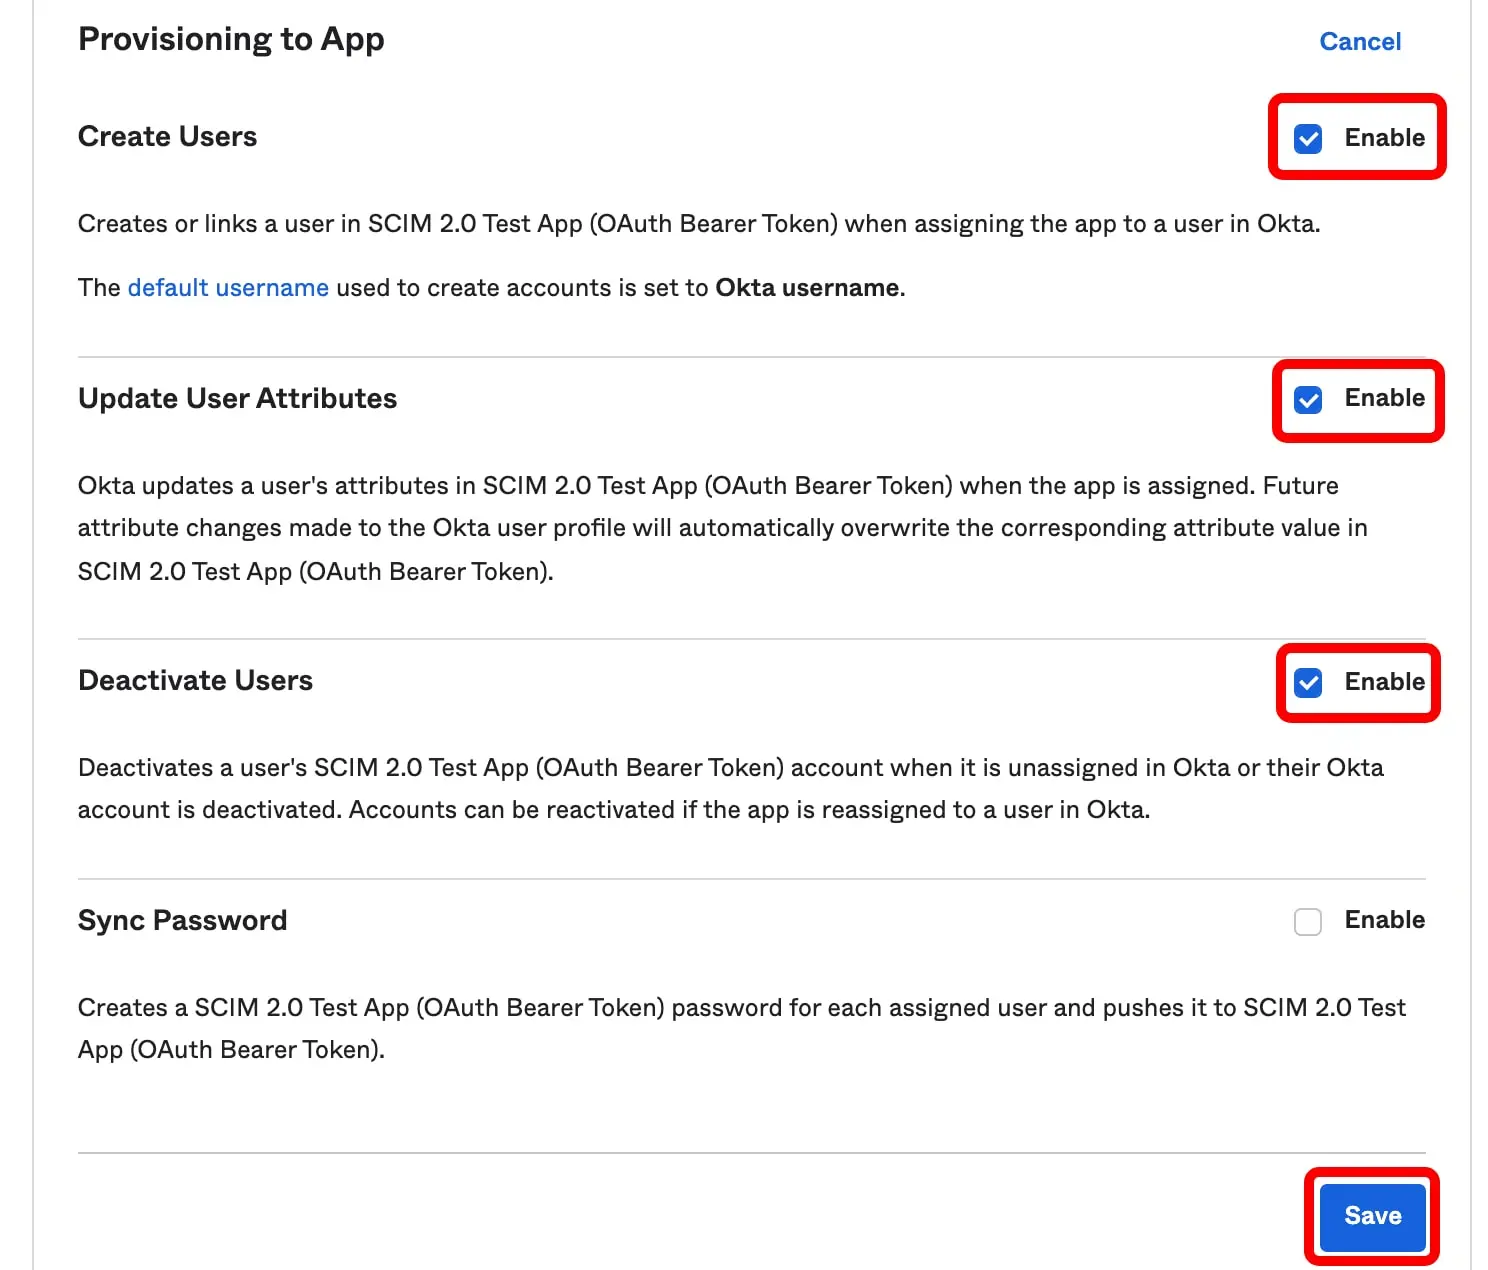
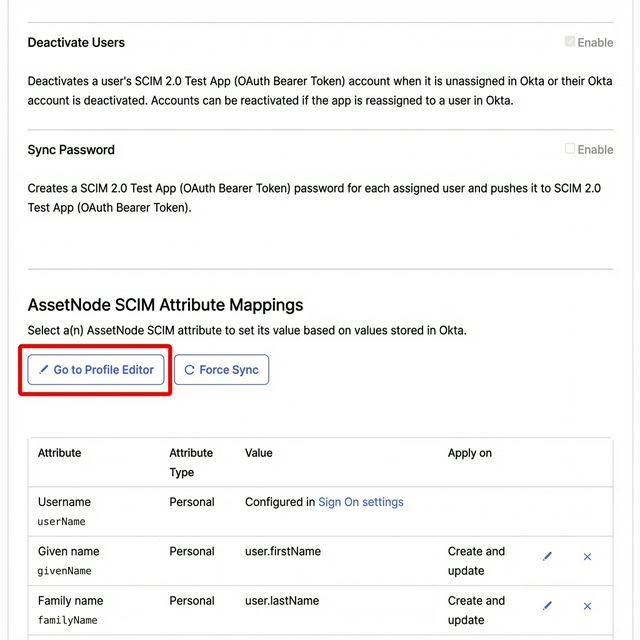
Under "To App": Enable Create Users, Update User Attributes, and Deactivate Users.
7
Assign users
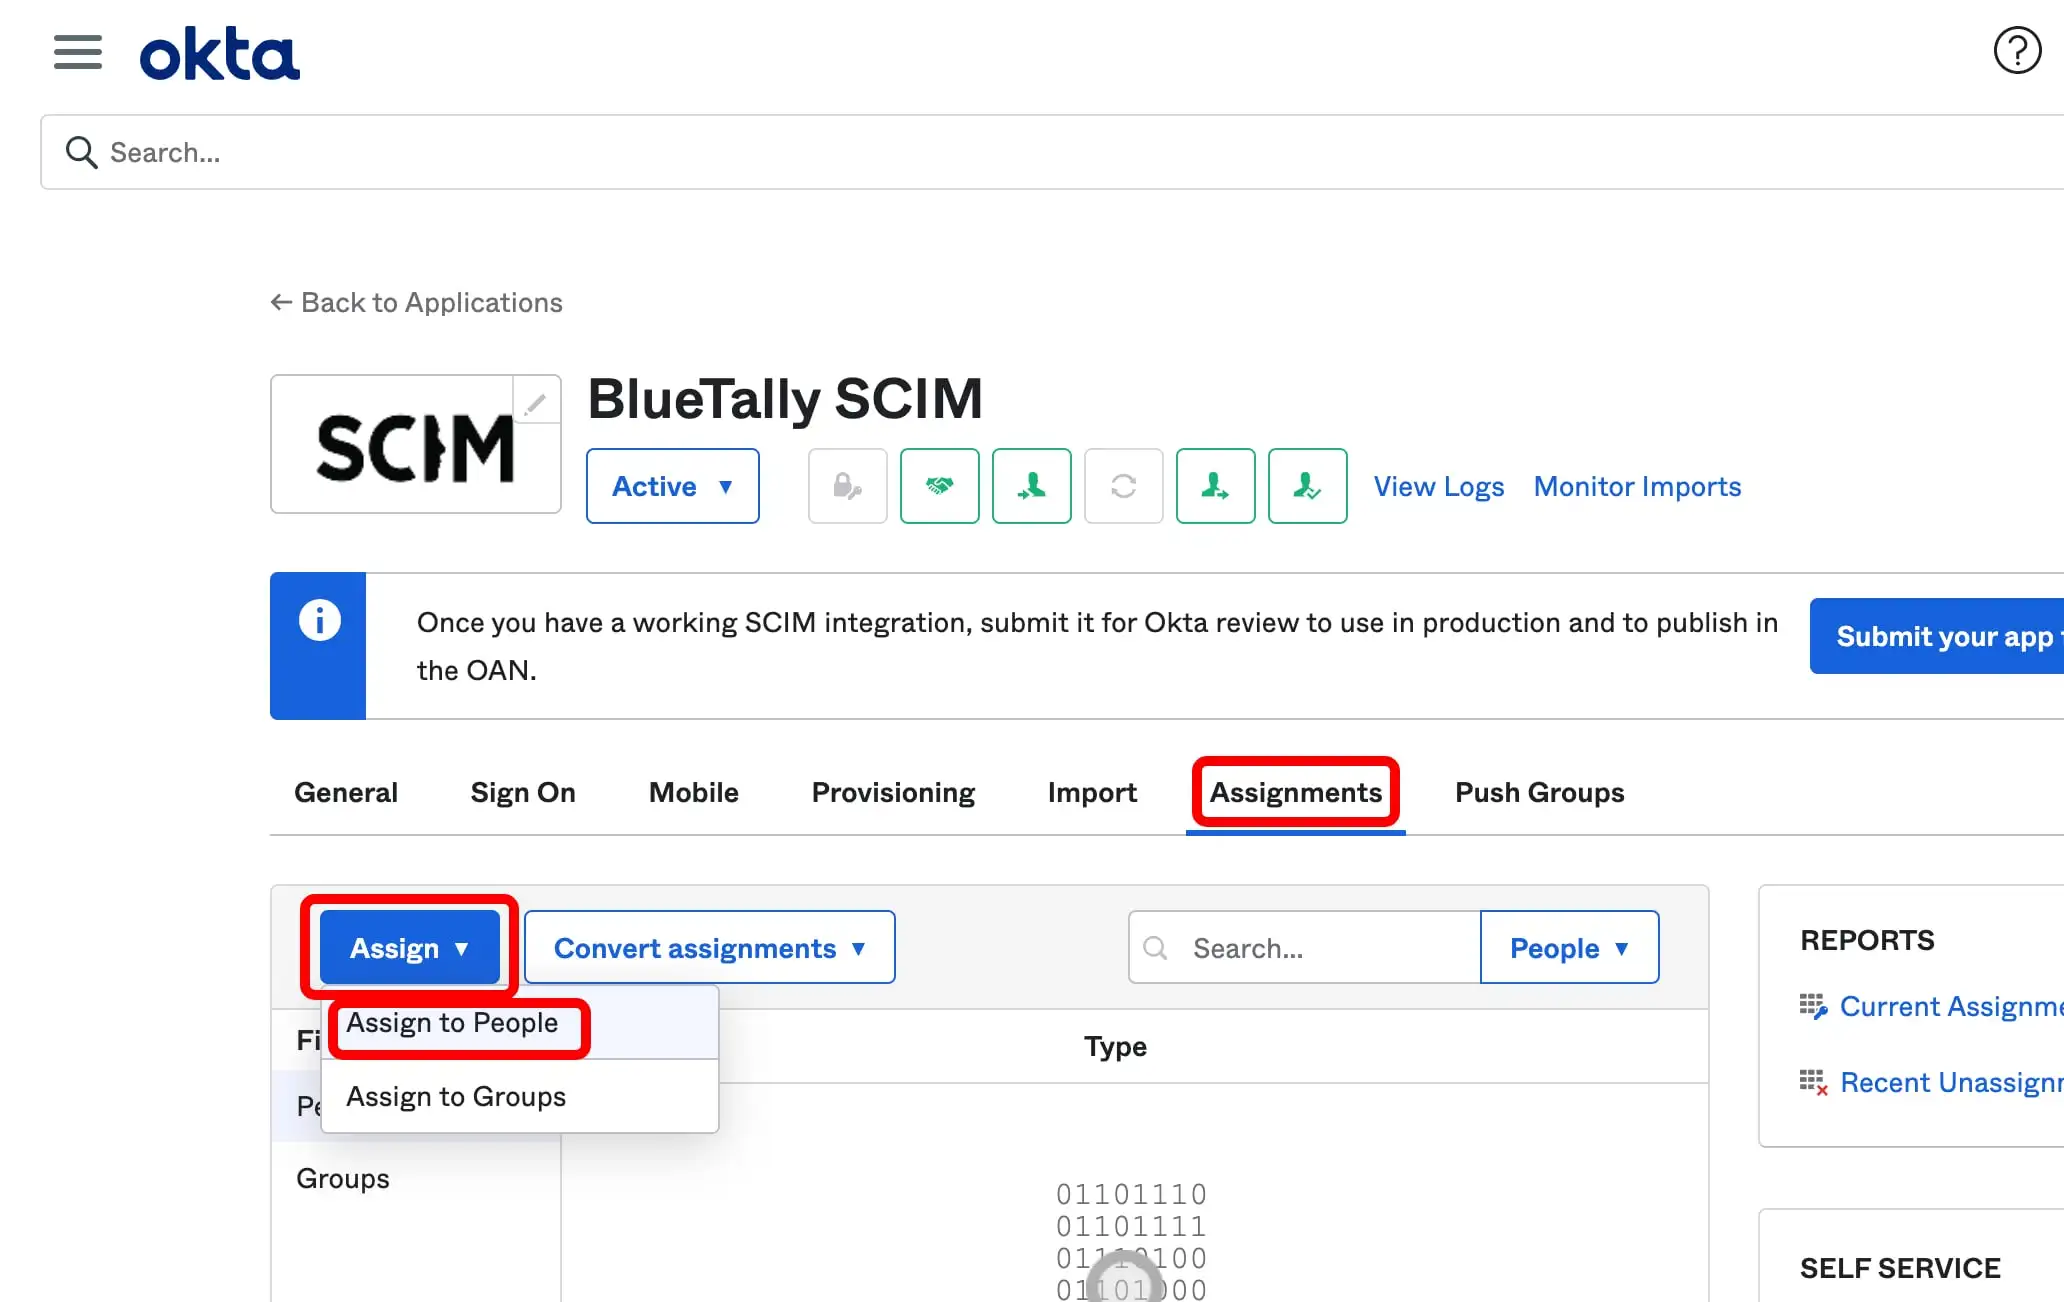
Go to the Assignments tab and assign the users or groups you want to sync.
8
Enable additional sync options (Optional)
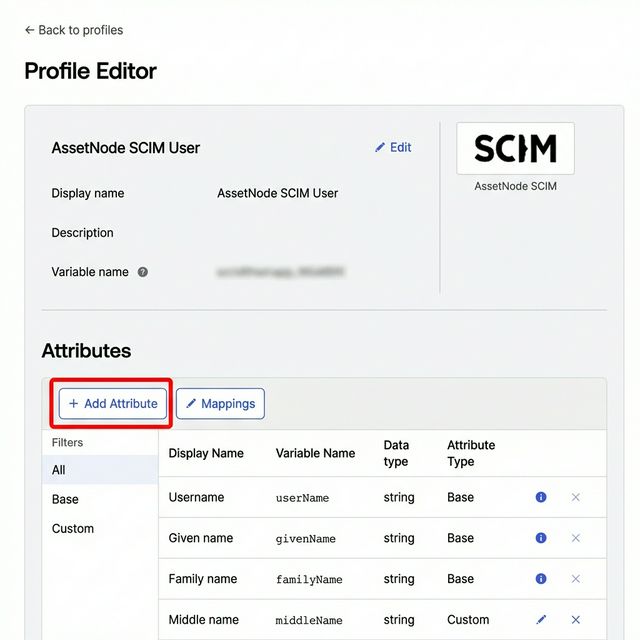
In AssetNode → Settings → SCIM, enable location, department, and manager sync as needed.
After completing setup
- Synchronization takes place approximately every 40 minutes.
- Any changes to users in Okta will be reflected in AssetNode.
- If you remove a user from Okta, they are marked as "Archived" in AssetNode but not deleted.
- Enable location, department, and manager sync options in AssetNode's SCIM settings.