SCIM Provisioning
SCIM with OneLogin
Automatically sync employee entries with users from OneLogin. Setup your integration in only a few steps. To sync a person's department, location and/or manager from OneLogin to AssetNode, you need to enable the corresponding option in your AssetNode account settings in the SCIM 2.0 section before you enable provisioning.
Syncs every ~40 minutes
Setup guide (18 steps)
1
Log in to your OneLogin account
Navigate to your OneLogin admin portal and sign in.
2
Add a new application
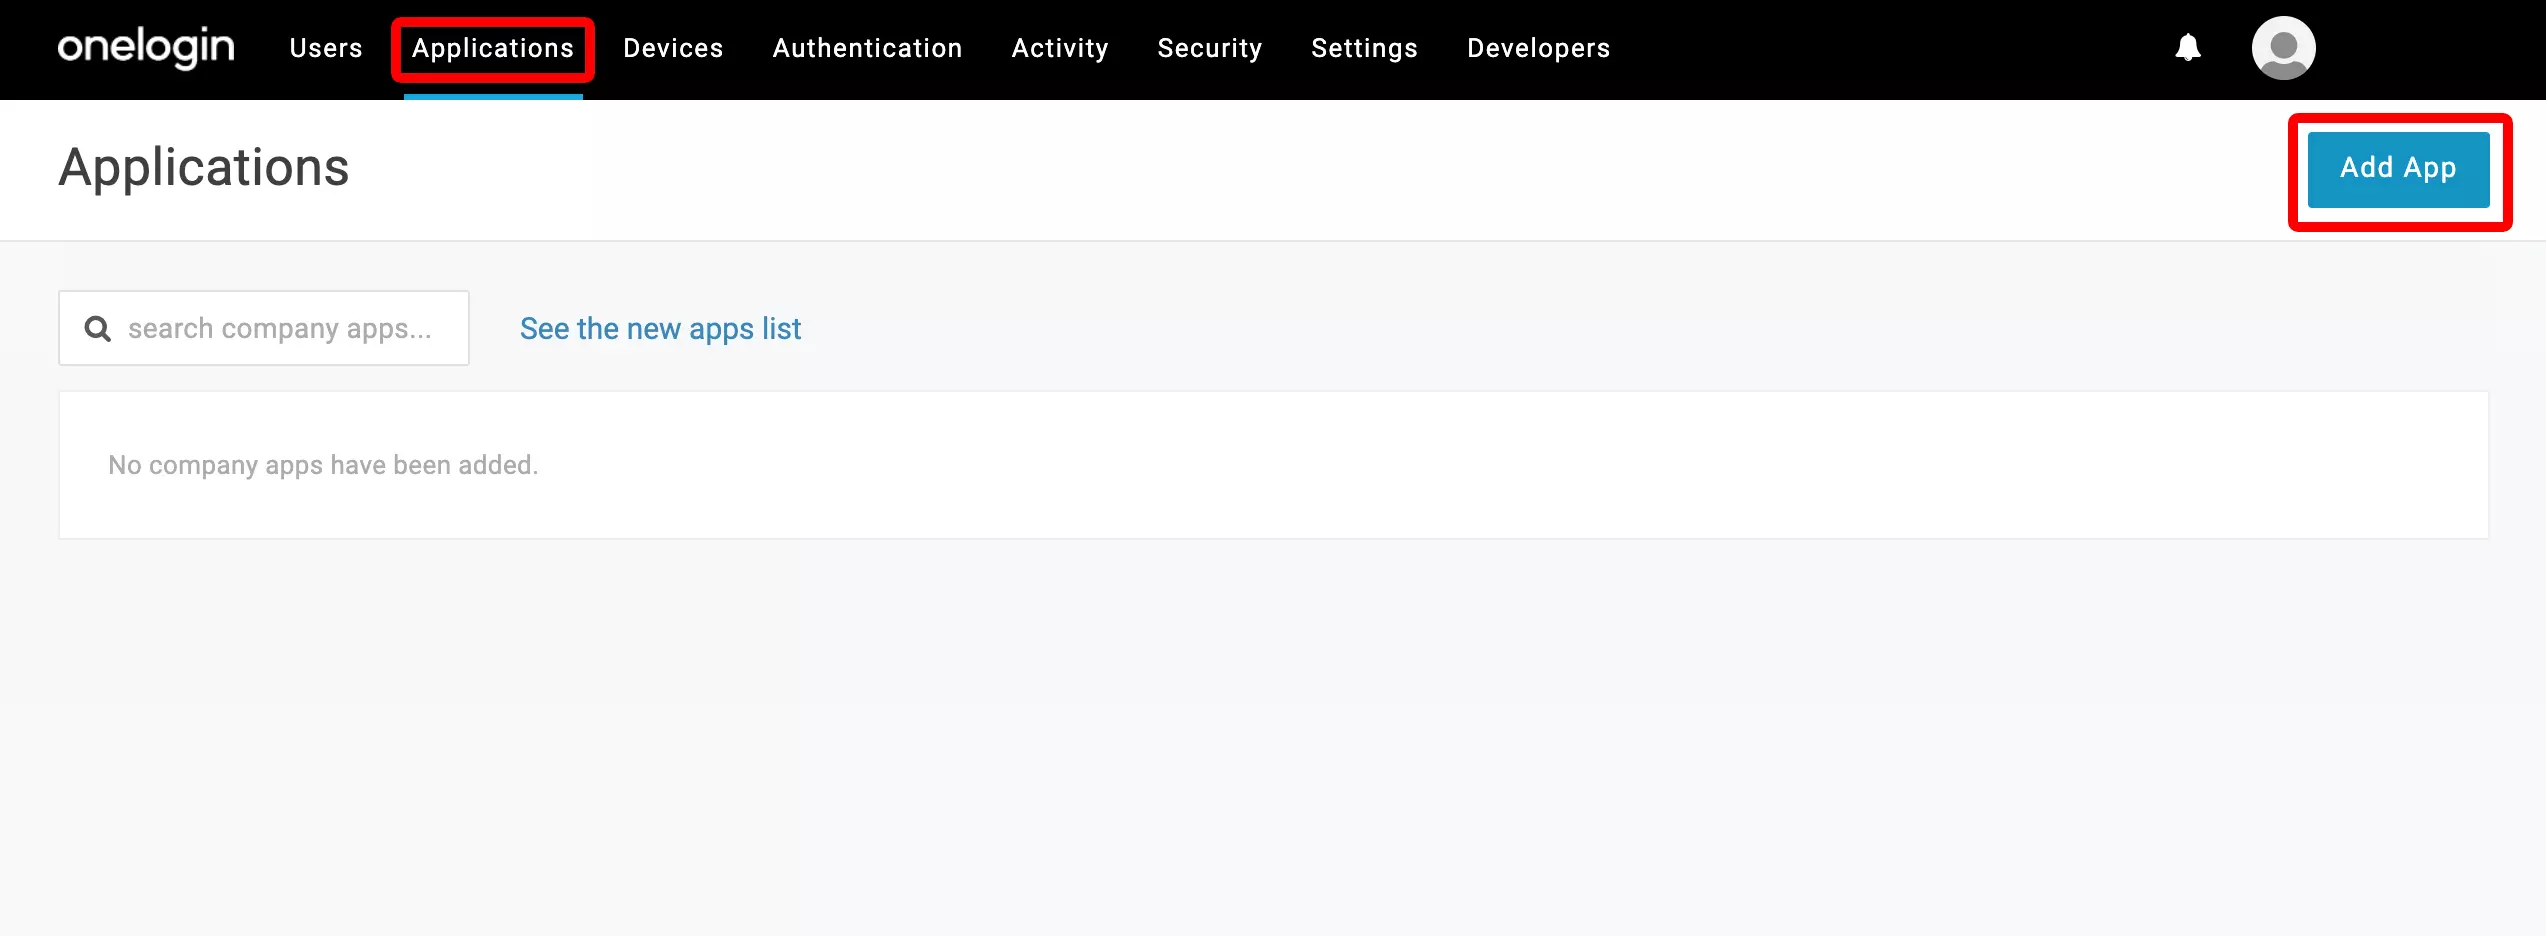
Click on "Applications", then on "Add App".
3
Search for the SCIM app
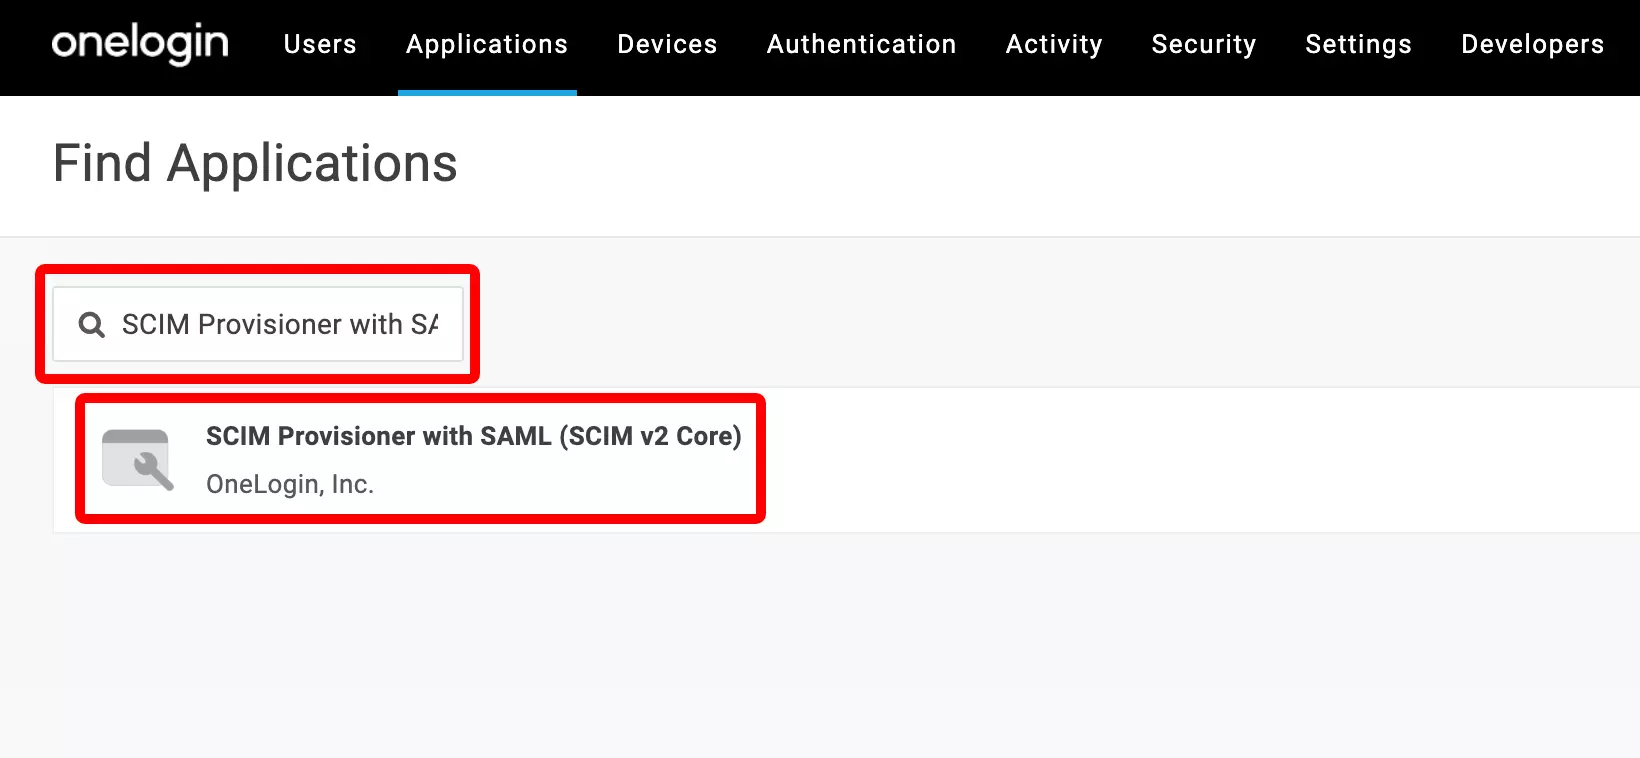
Search for "SCIM Provisioner with SAML (SCIM v2 Core)" and select it.
4
Name and save the application
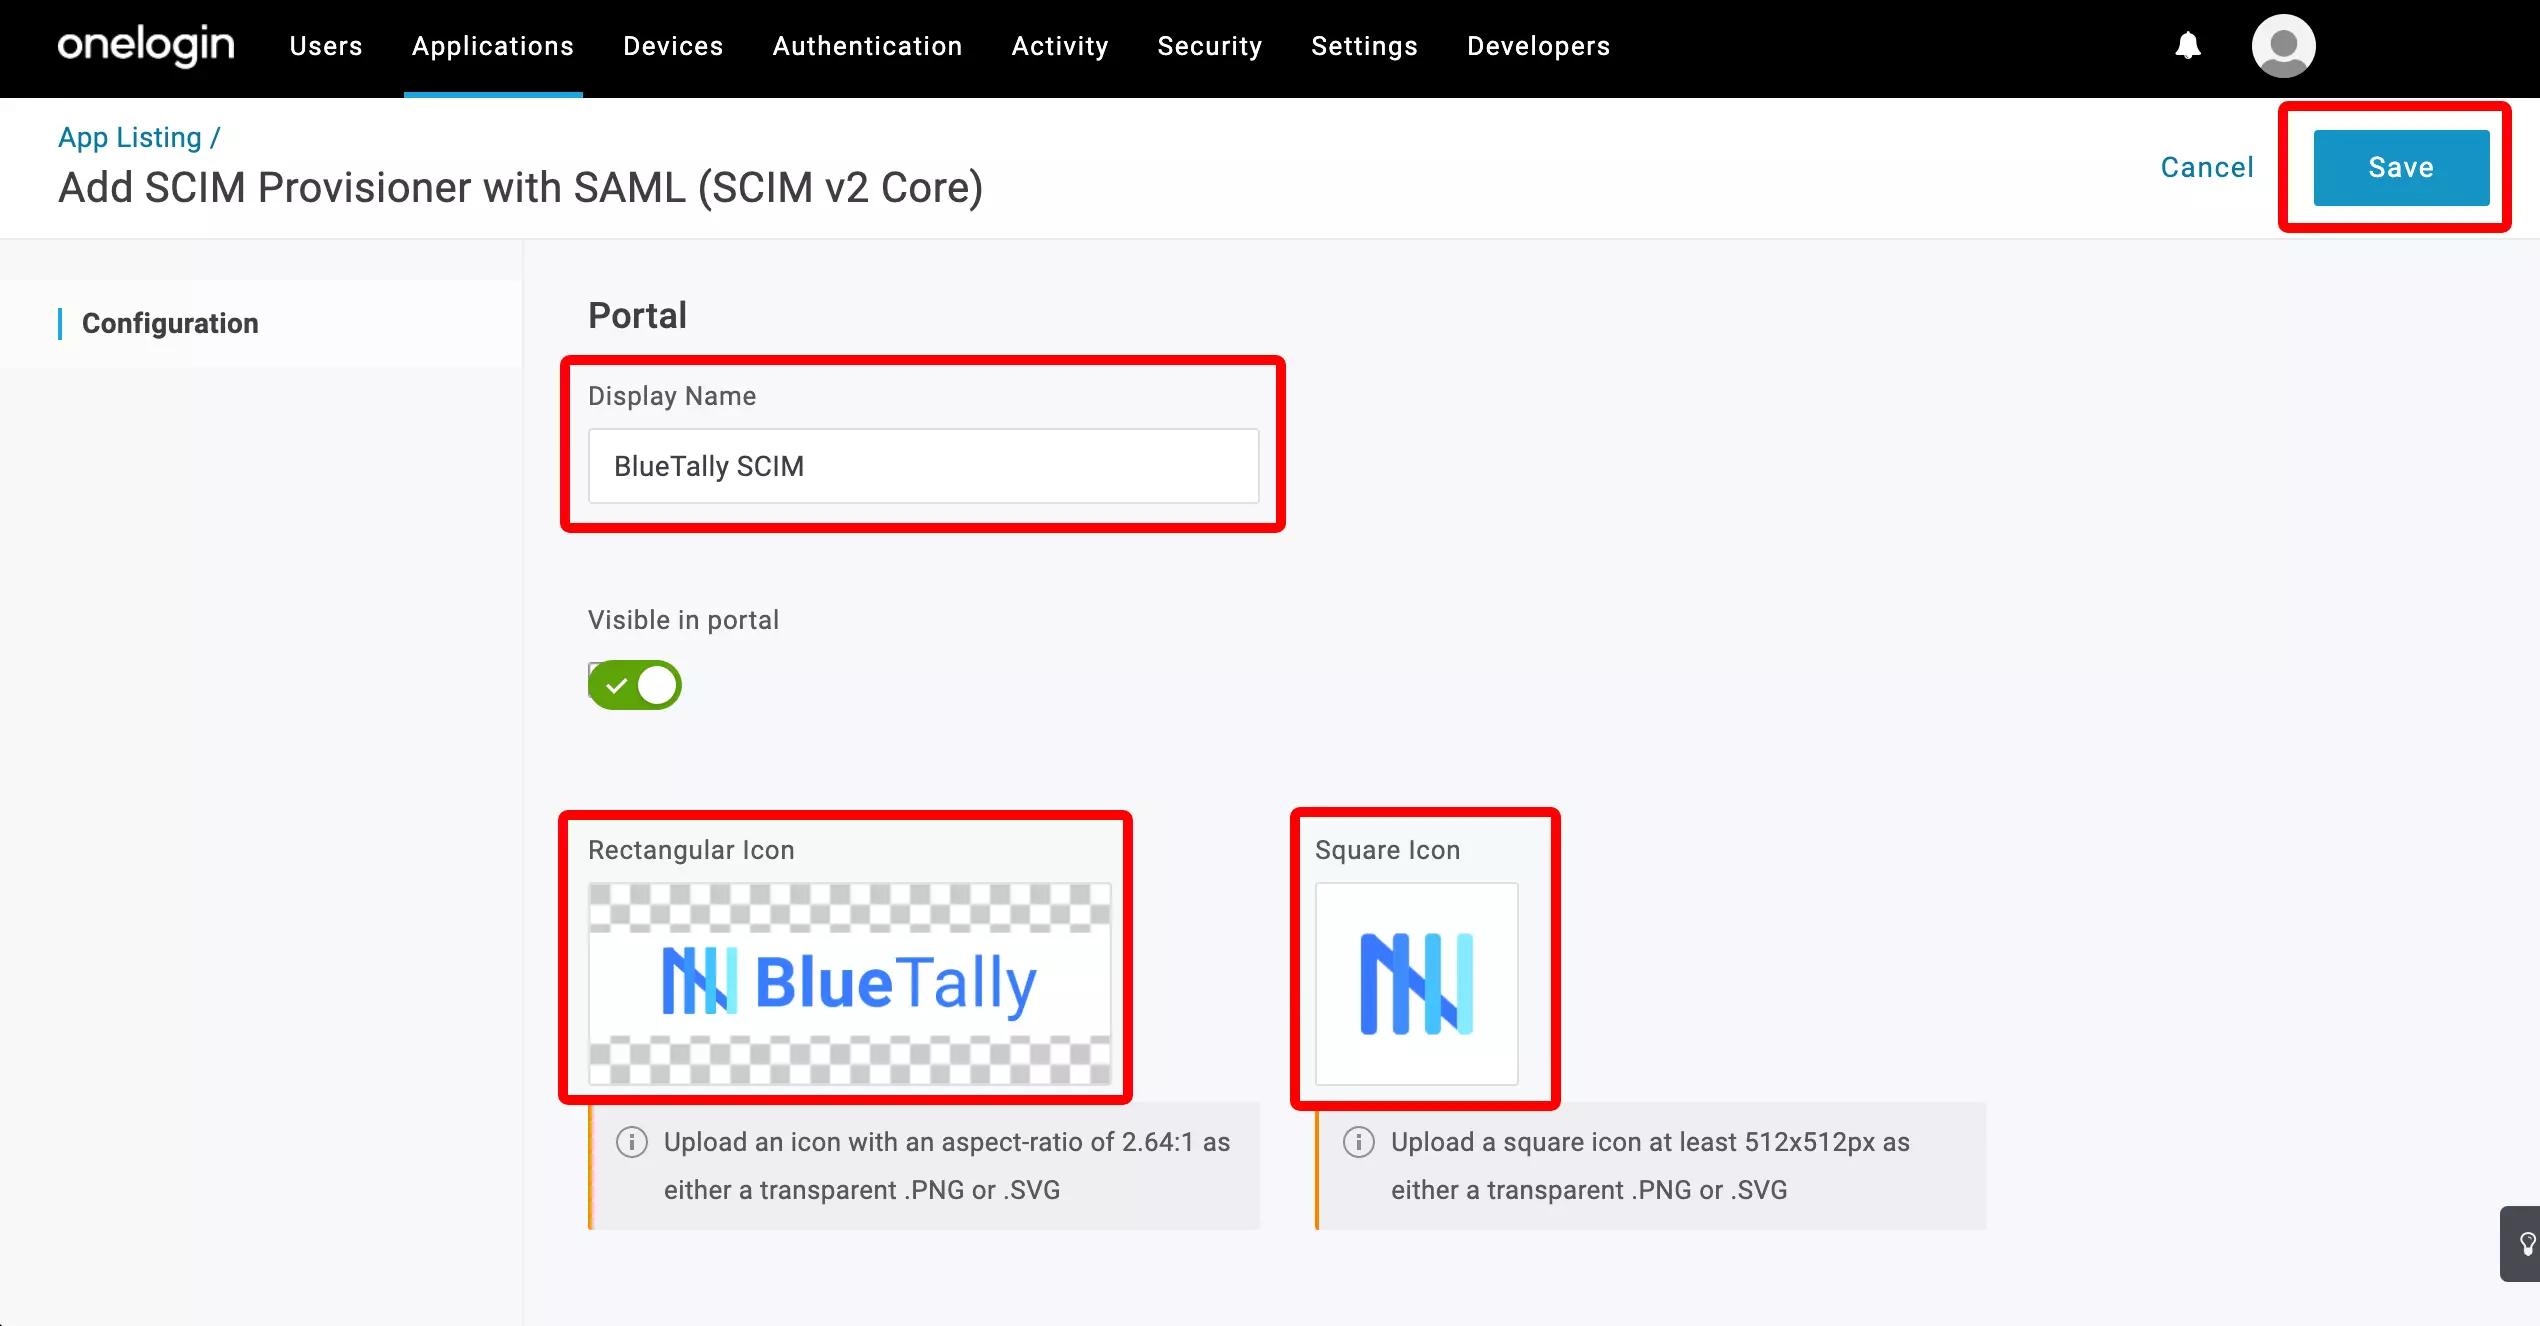
Give it a name (like "AssetNode SCIM") and click "Save". You might get an error notification after this, but you can safely ignore it.
5
Open the Parameters tab
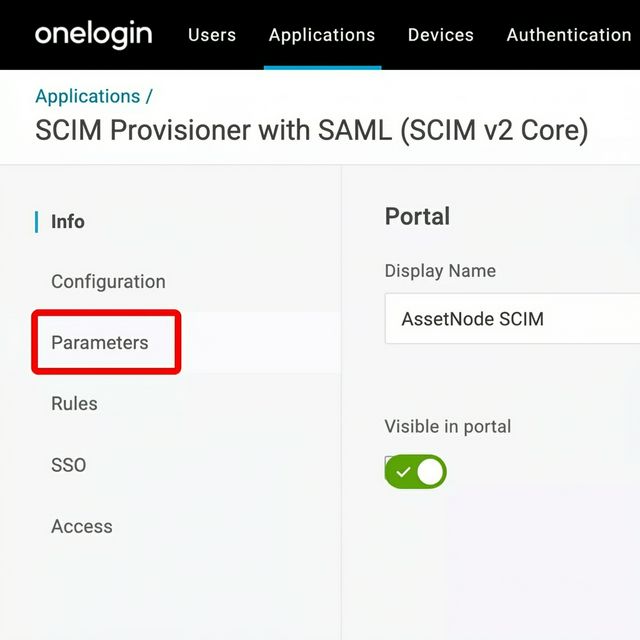
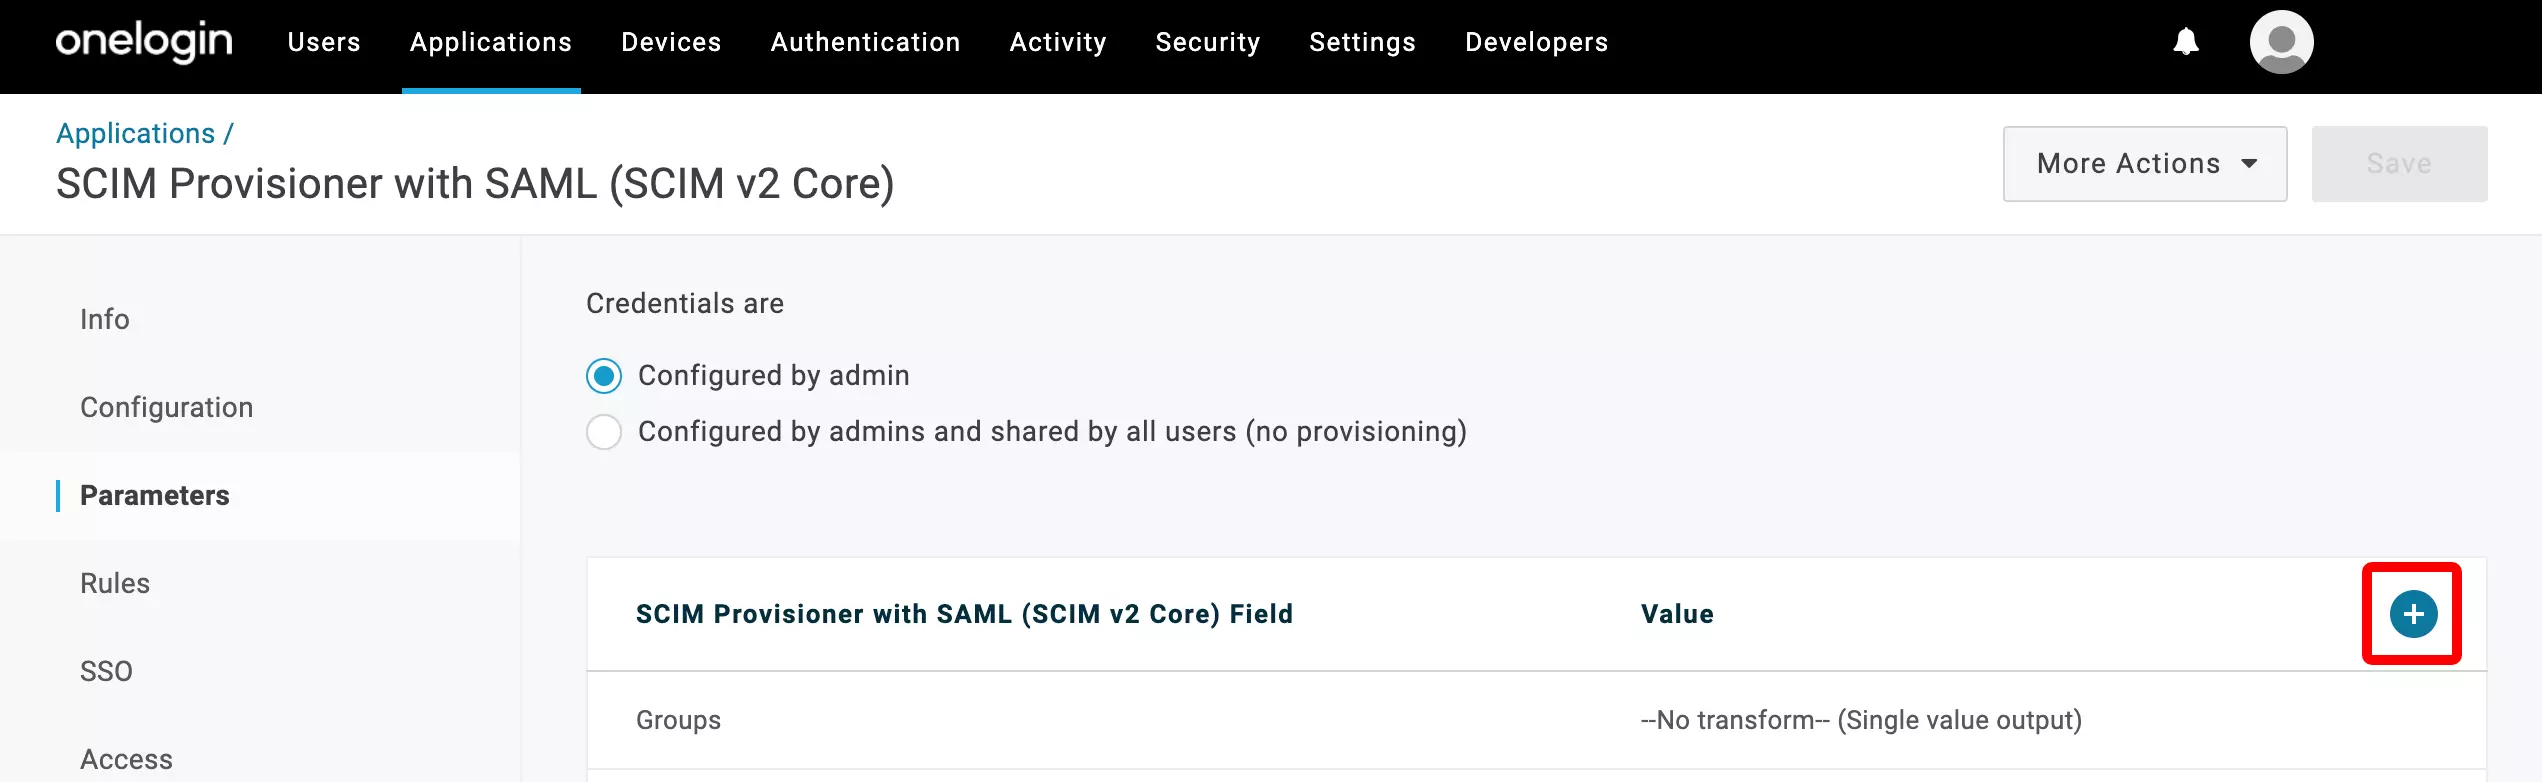
Click on "Parameters" in the left menu bar.
6
Add the "name" parameter
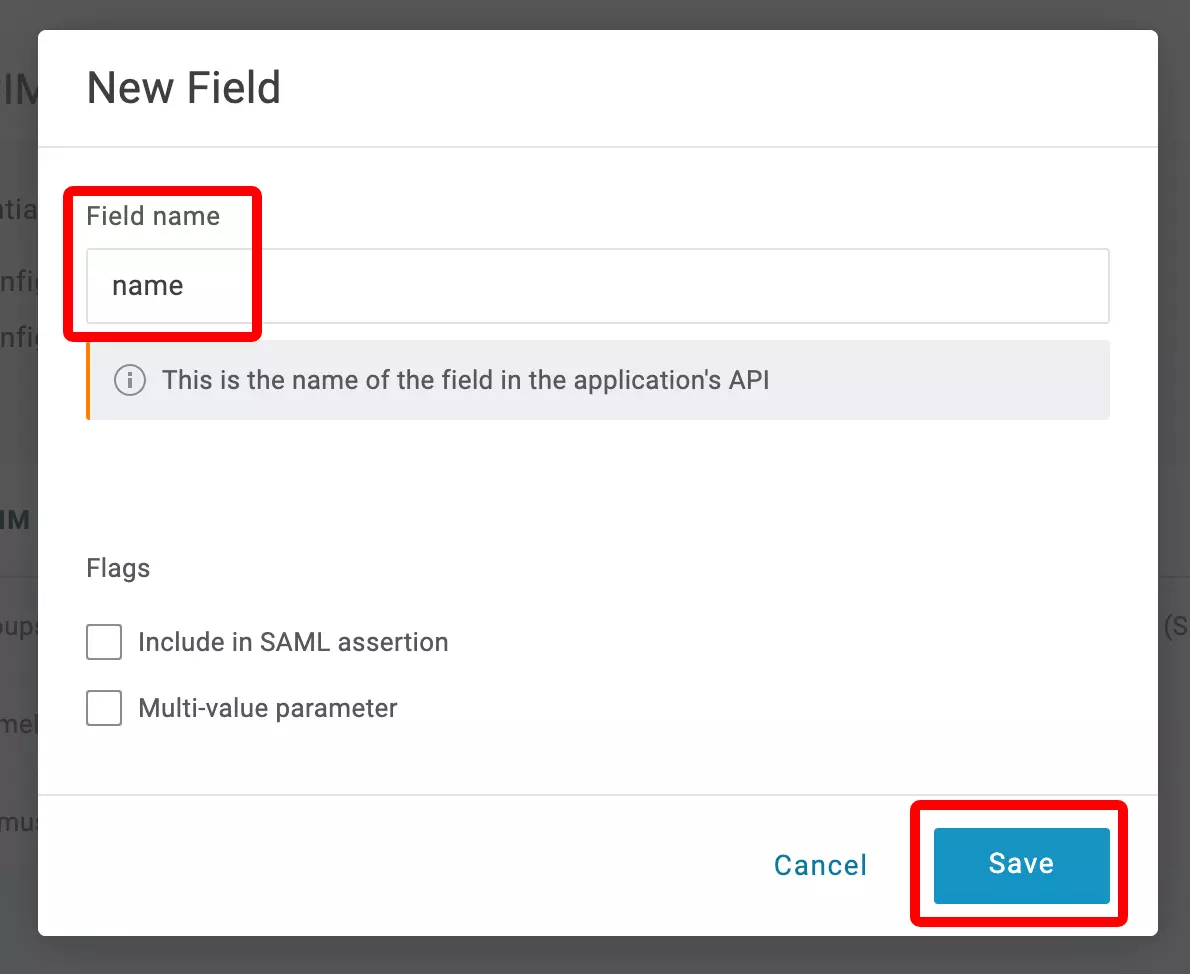
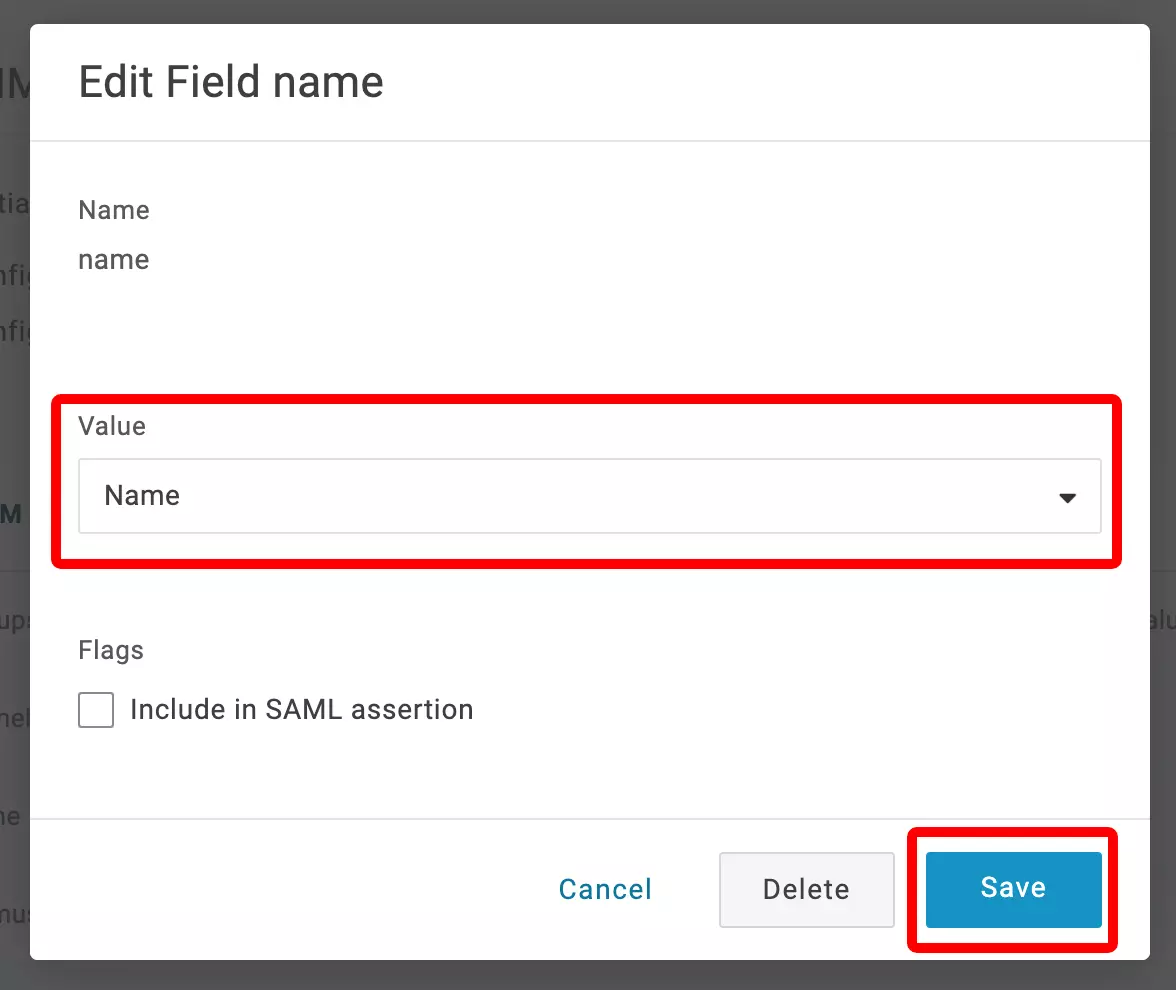
Click on the "+" to add a new parameter. Enter "name" in the Field Name and click "Save". Then search for "Name" in the Value dropdown, select it and click "Save".
7
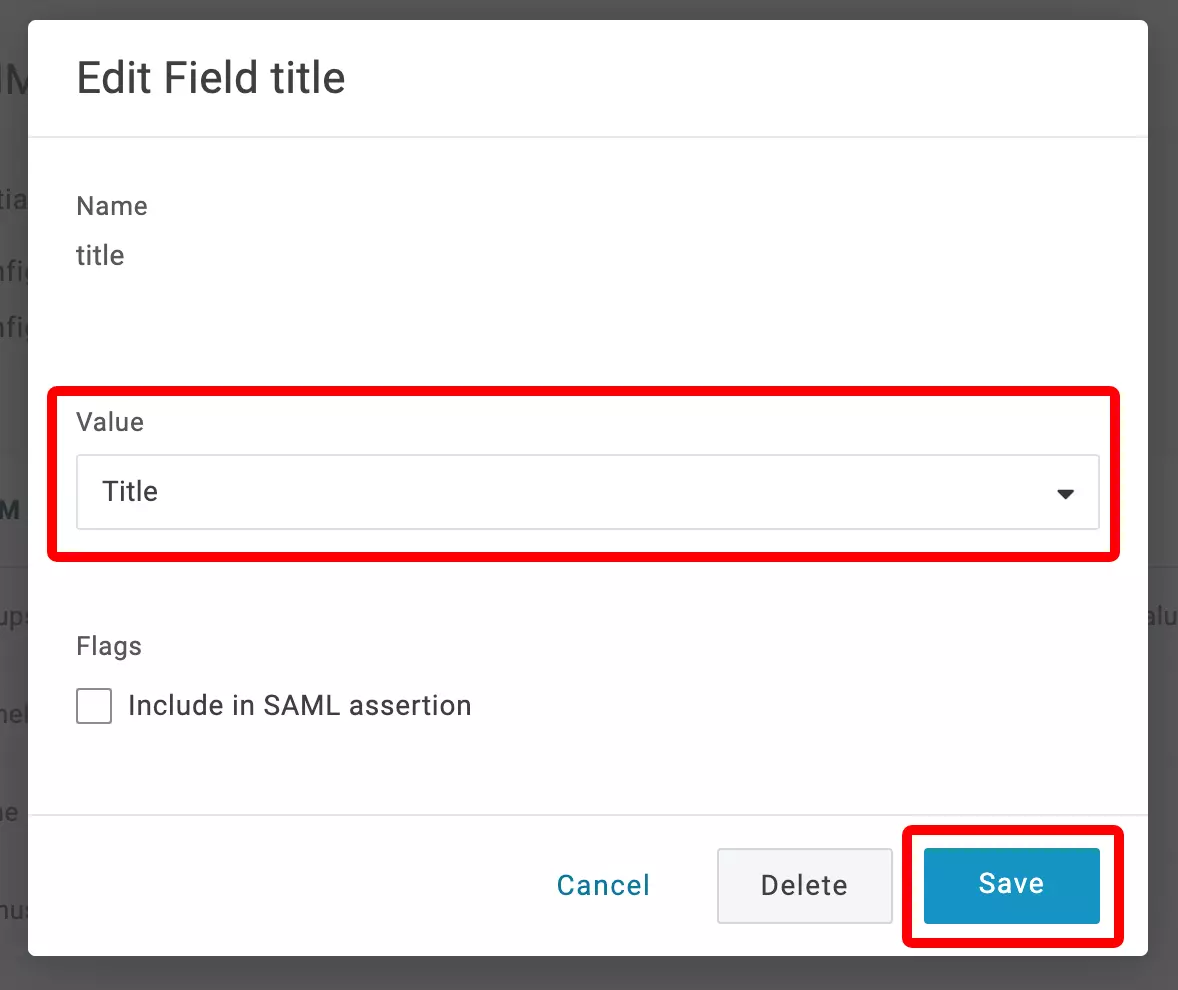
Add the "title" parameter
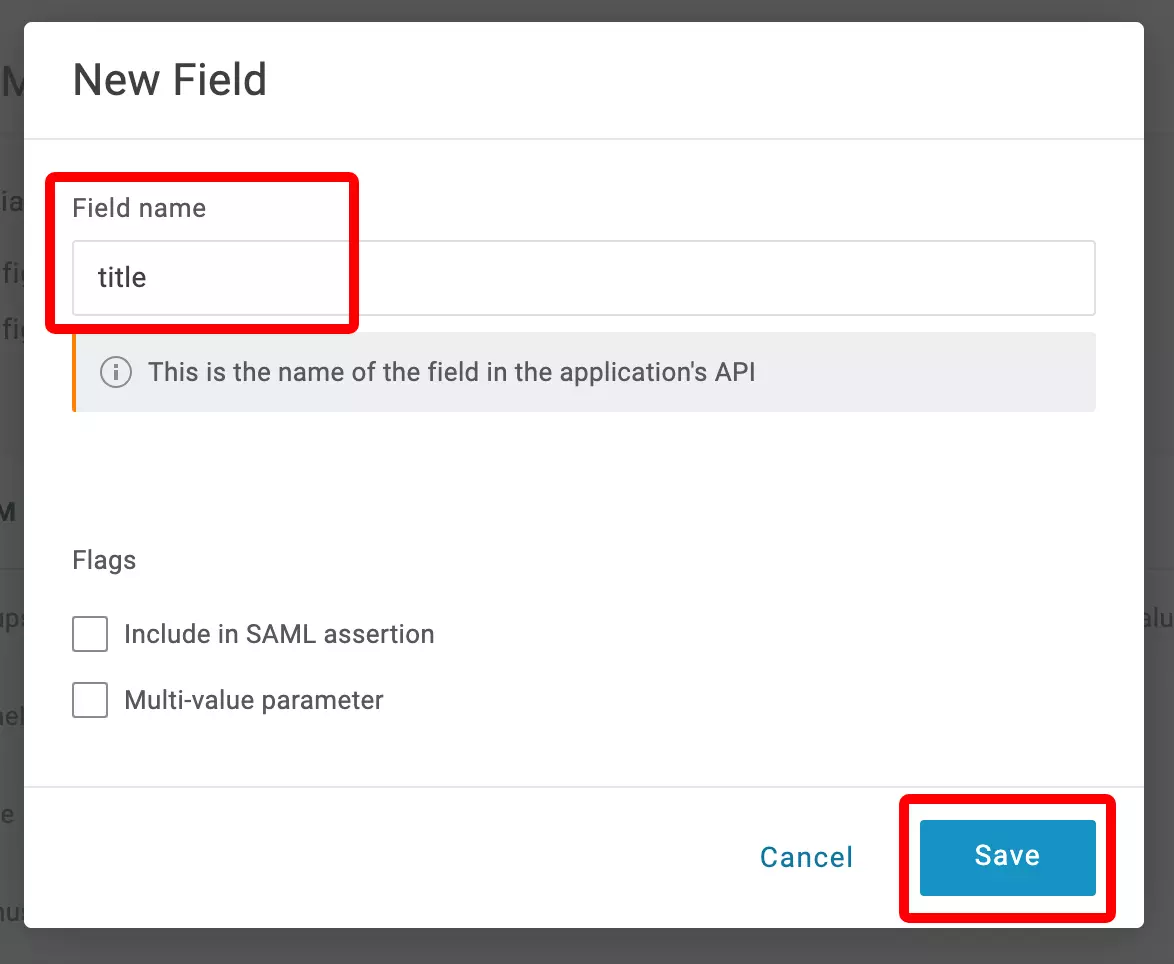
Add another parameter with the Field Name "title". Search for "Title" in the Value dropdown, select it and click "Save".
8
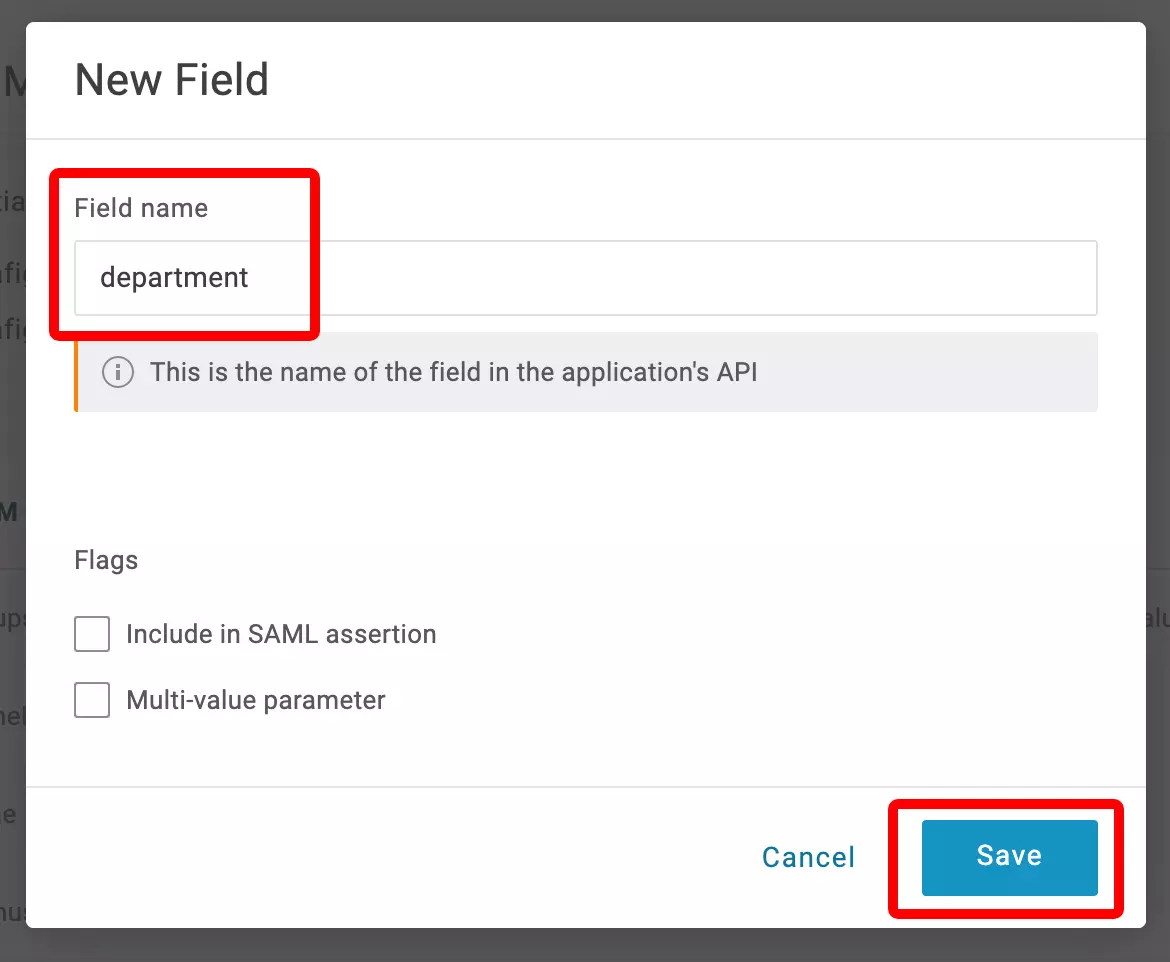
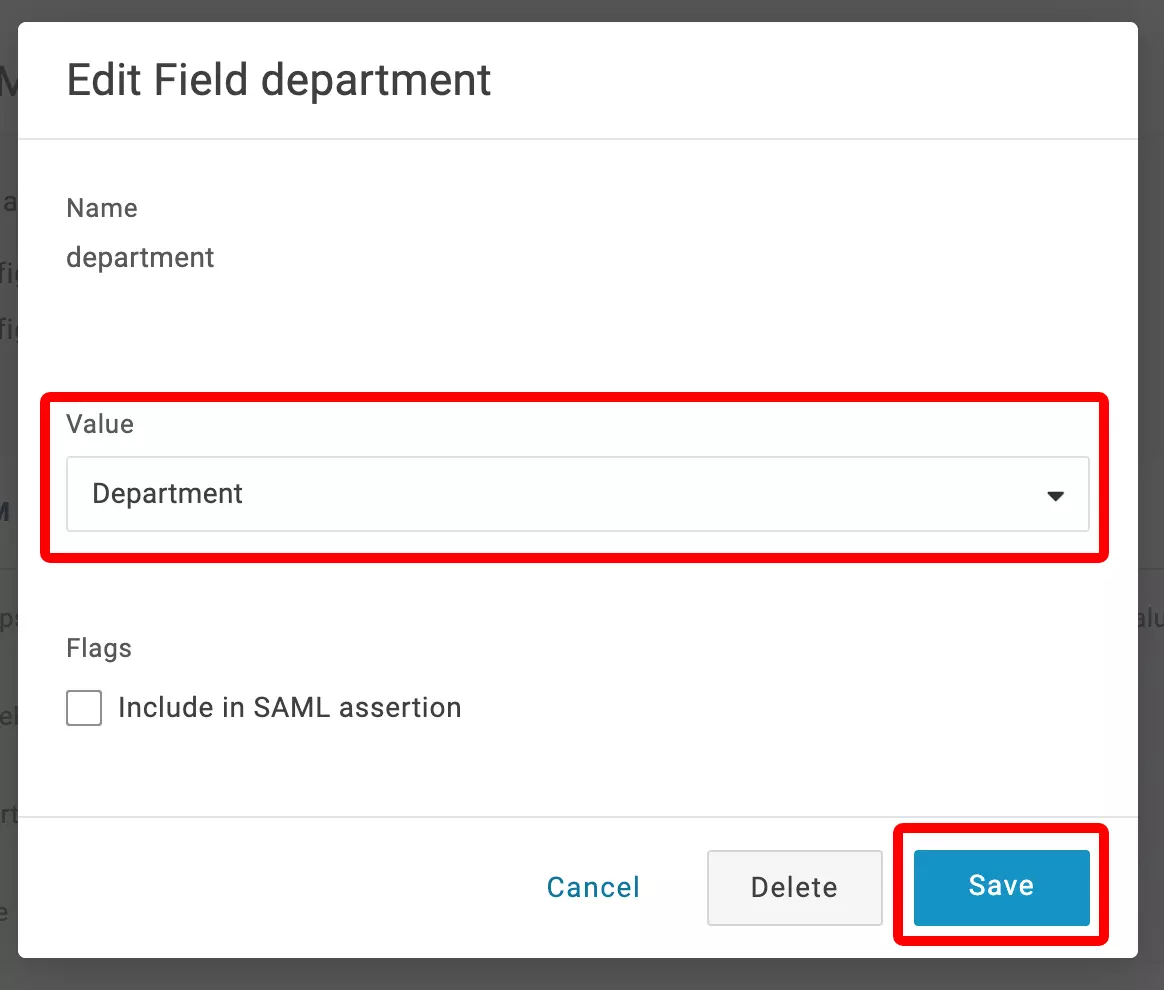
Add the "department" parameter
Add another parameter with the Field Name "department". Search for "Department" in the Value dropdown, select it and click "Save".
9
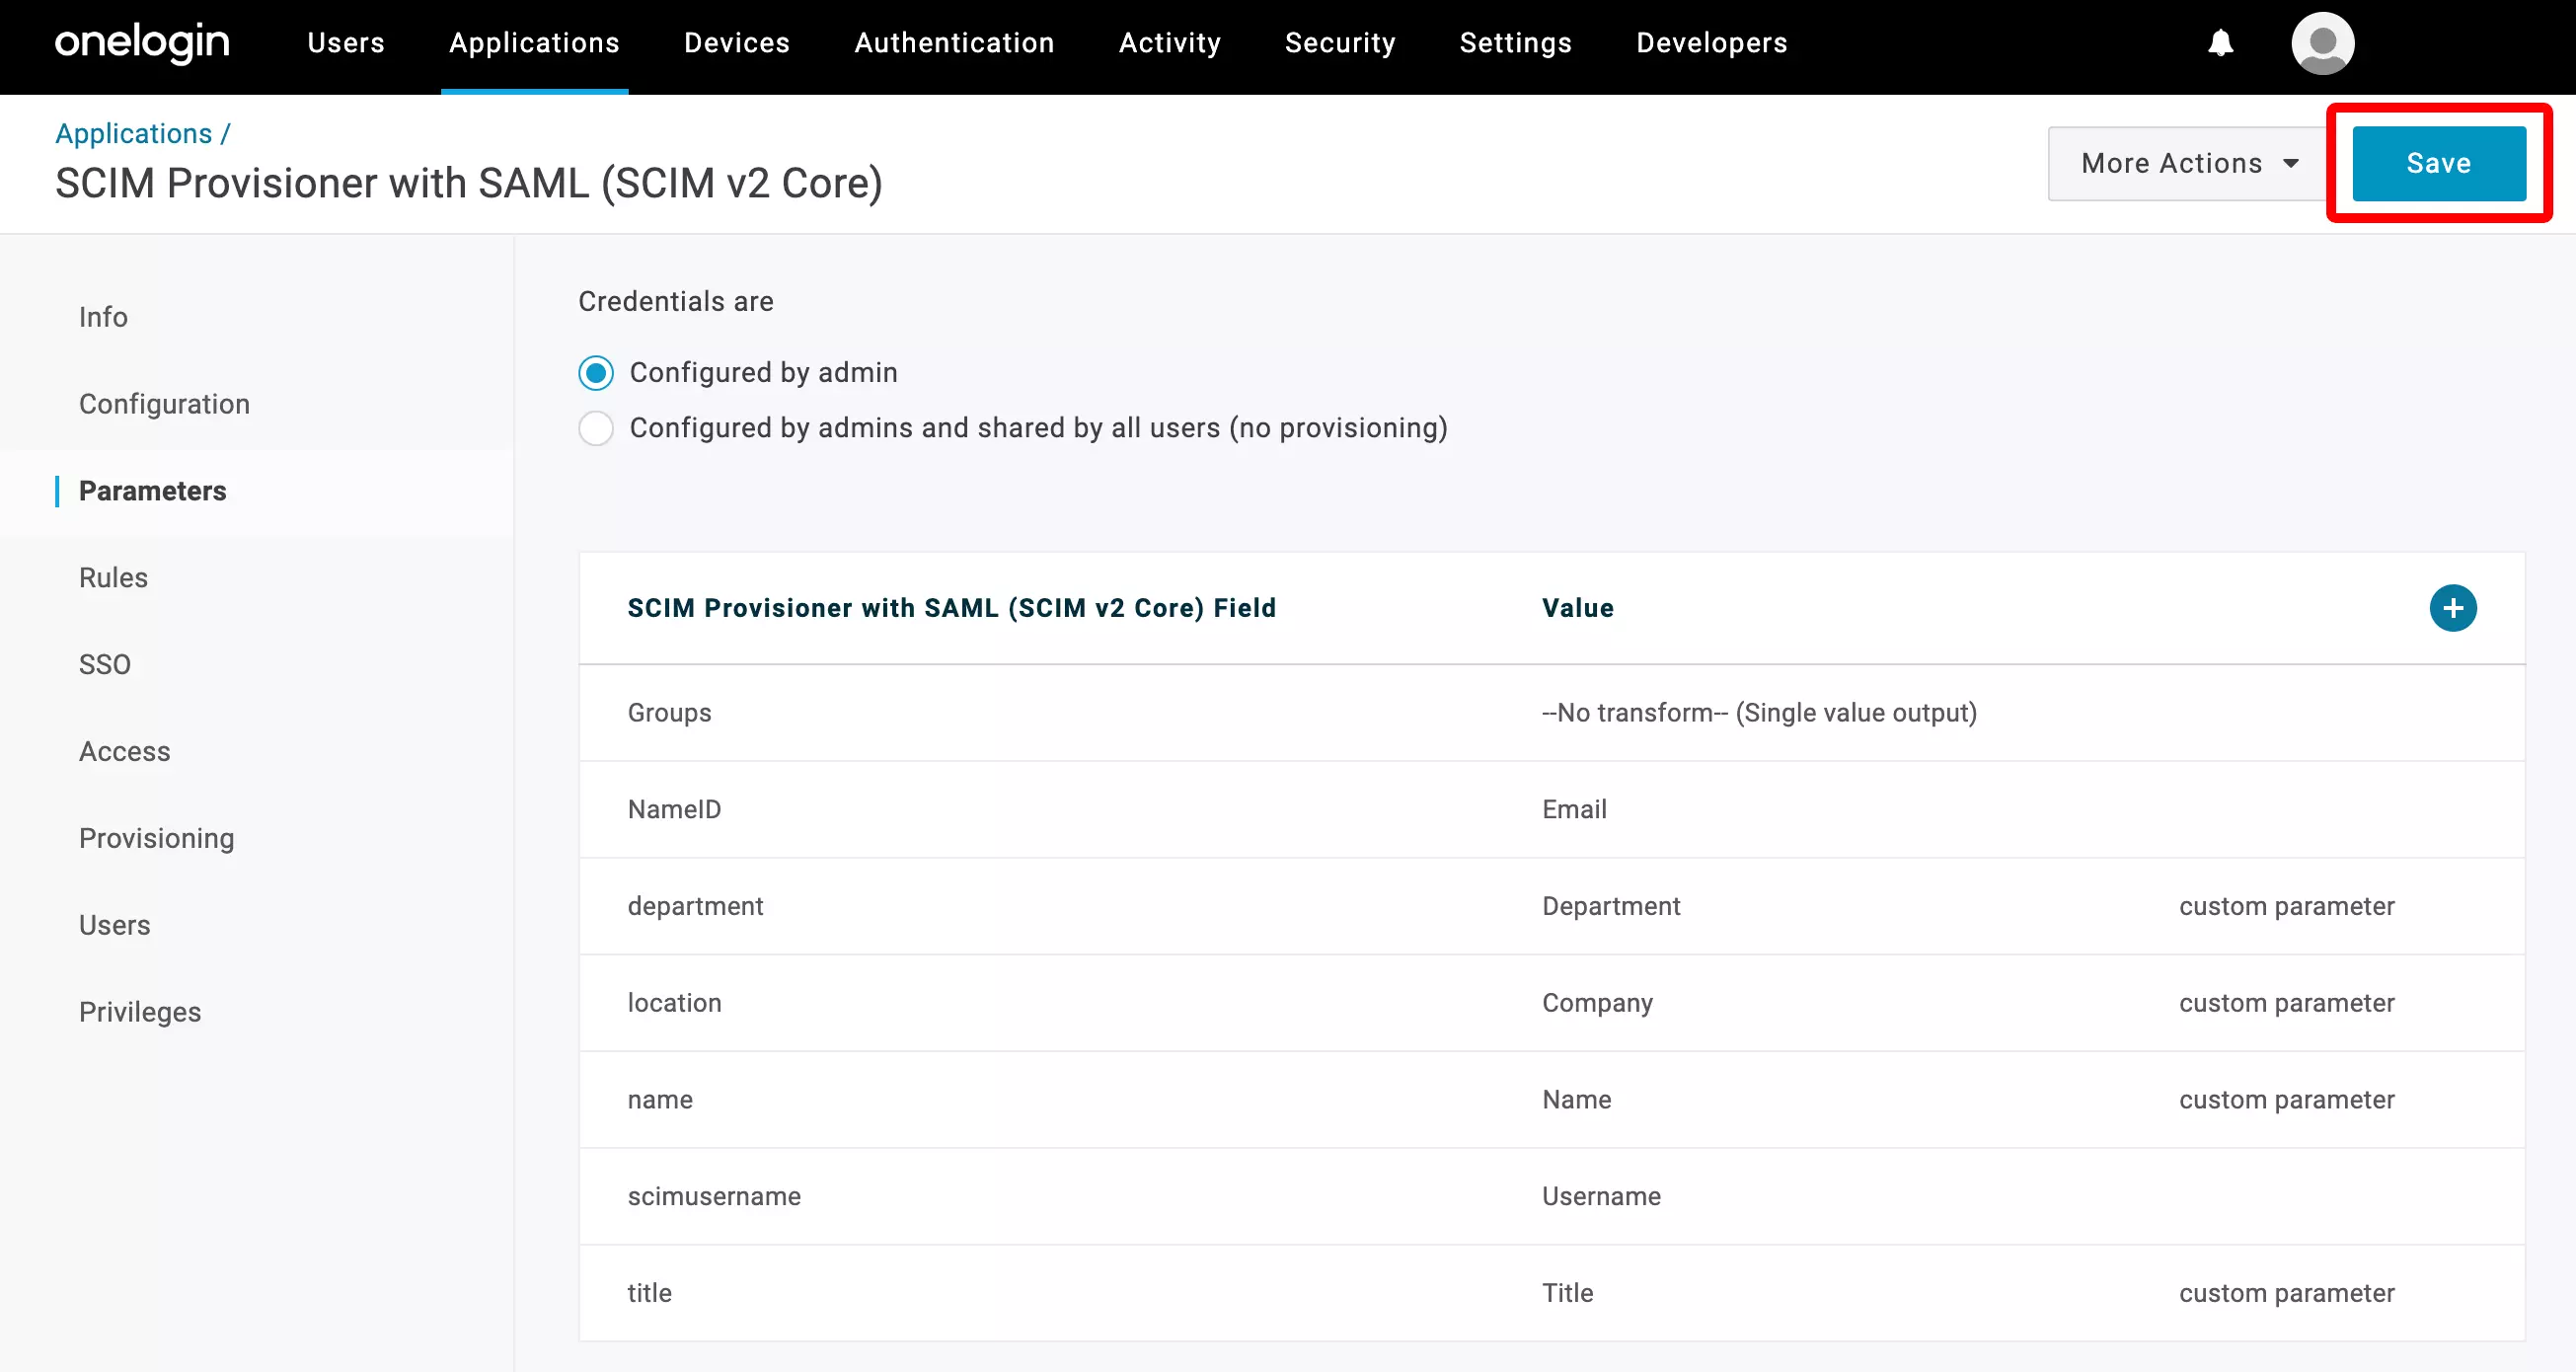
Add the "location" parameter (optional)
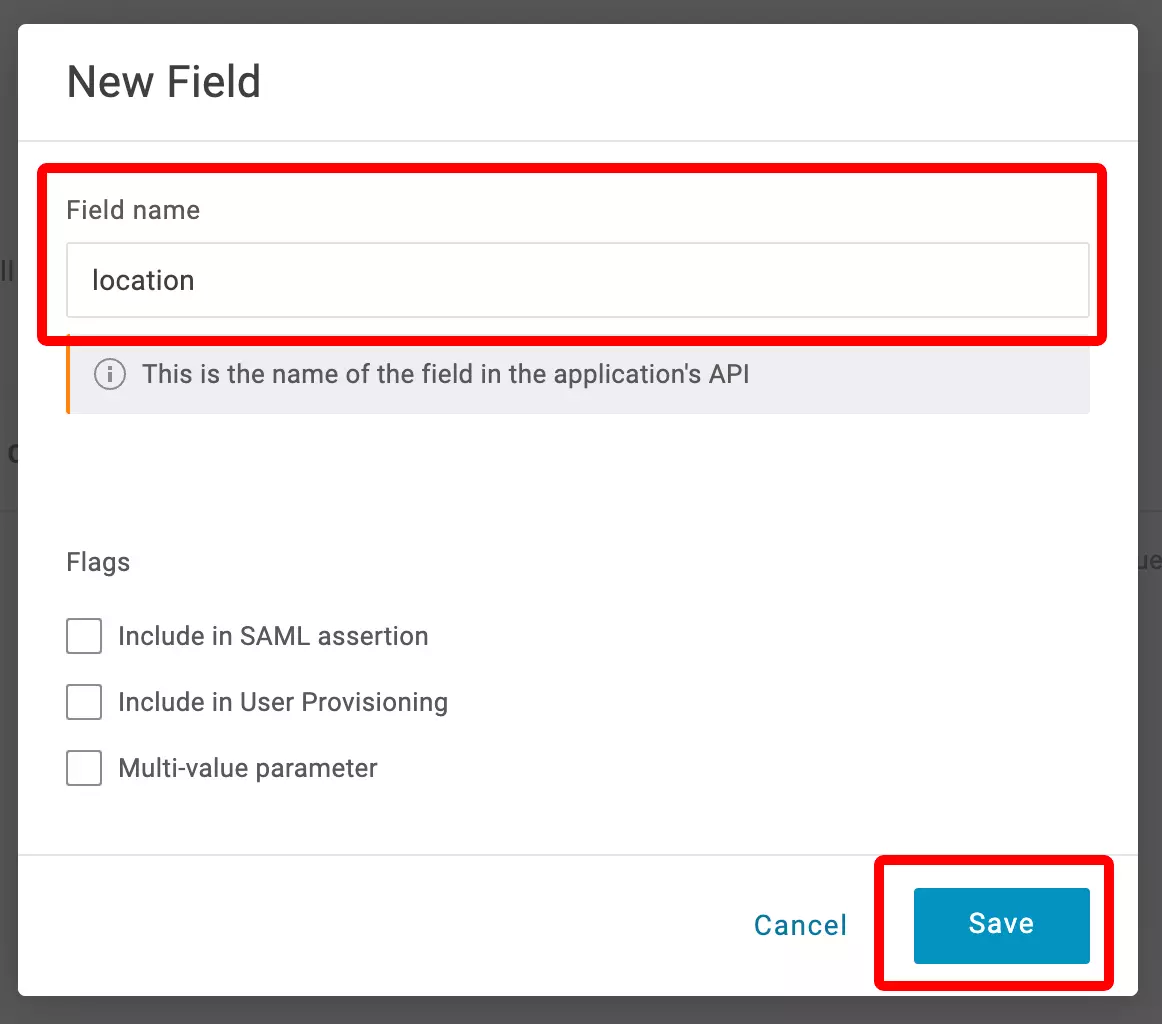
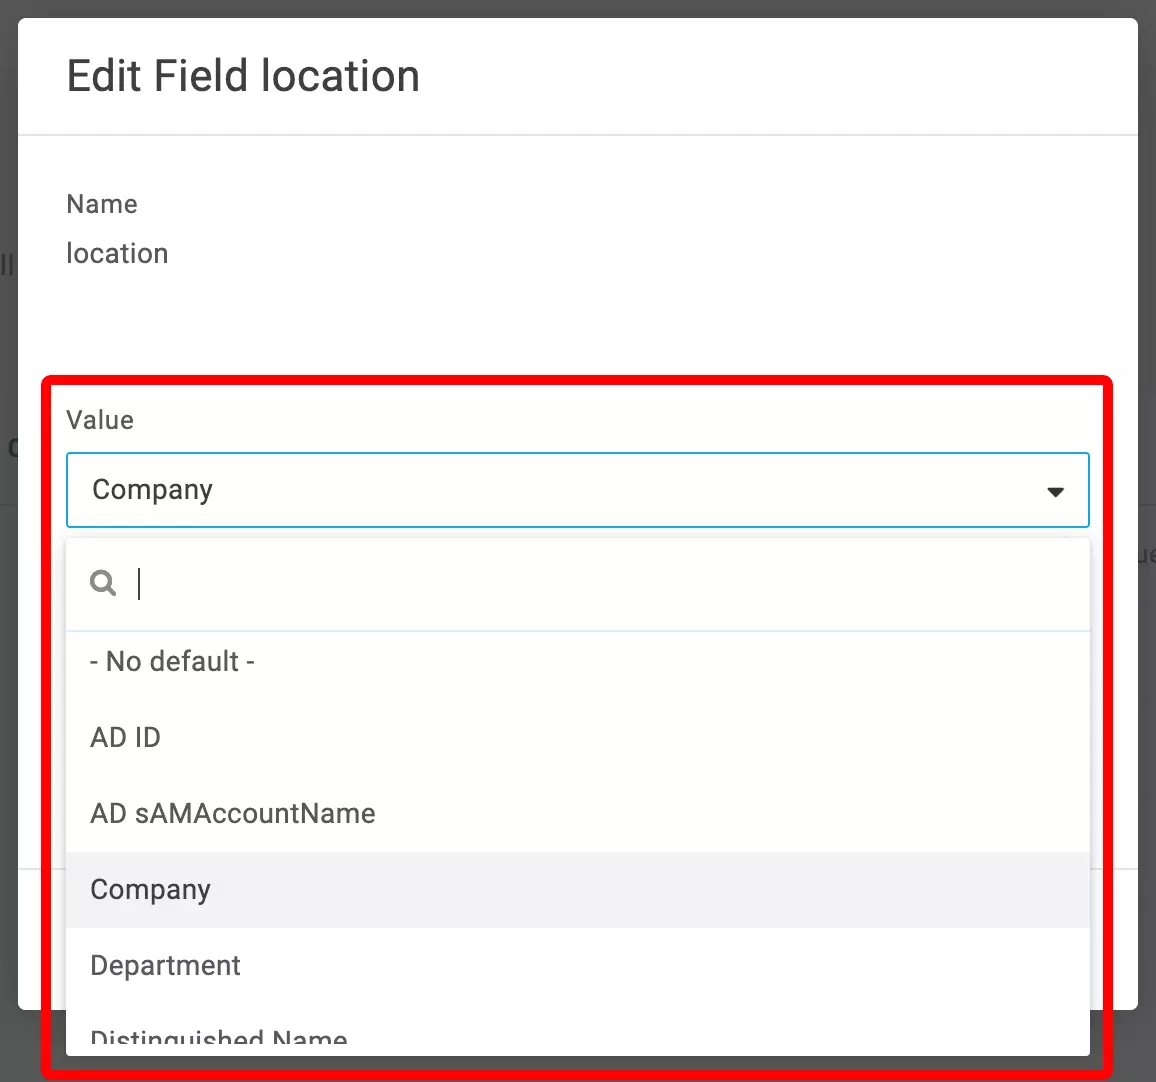
Add another parameter with the Field Name "location". Select which field in OneLogin you'd like to map to the employee's location field in AssetNode (e.g. "company"). You can skip this step if you don't want to sync the location.
10
Save the parameters
Click on "Save" in the top right corner to save all the parameter mappings.
11
Configure SCIM connection
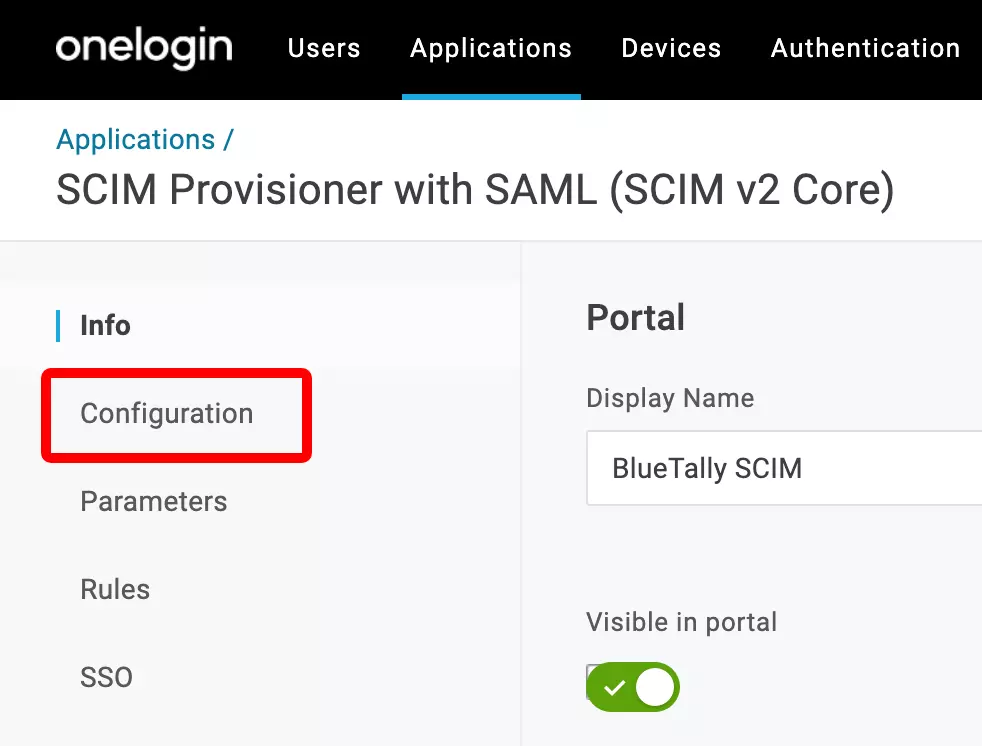
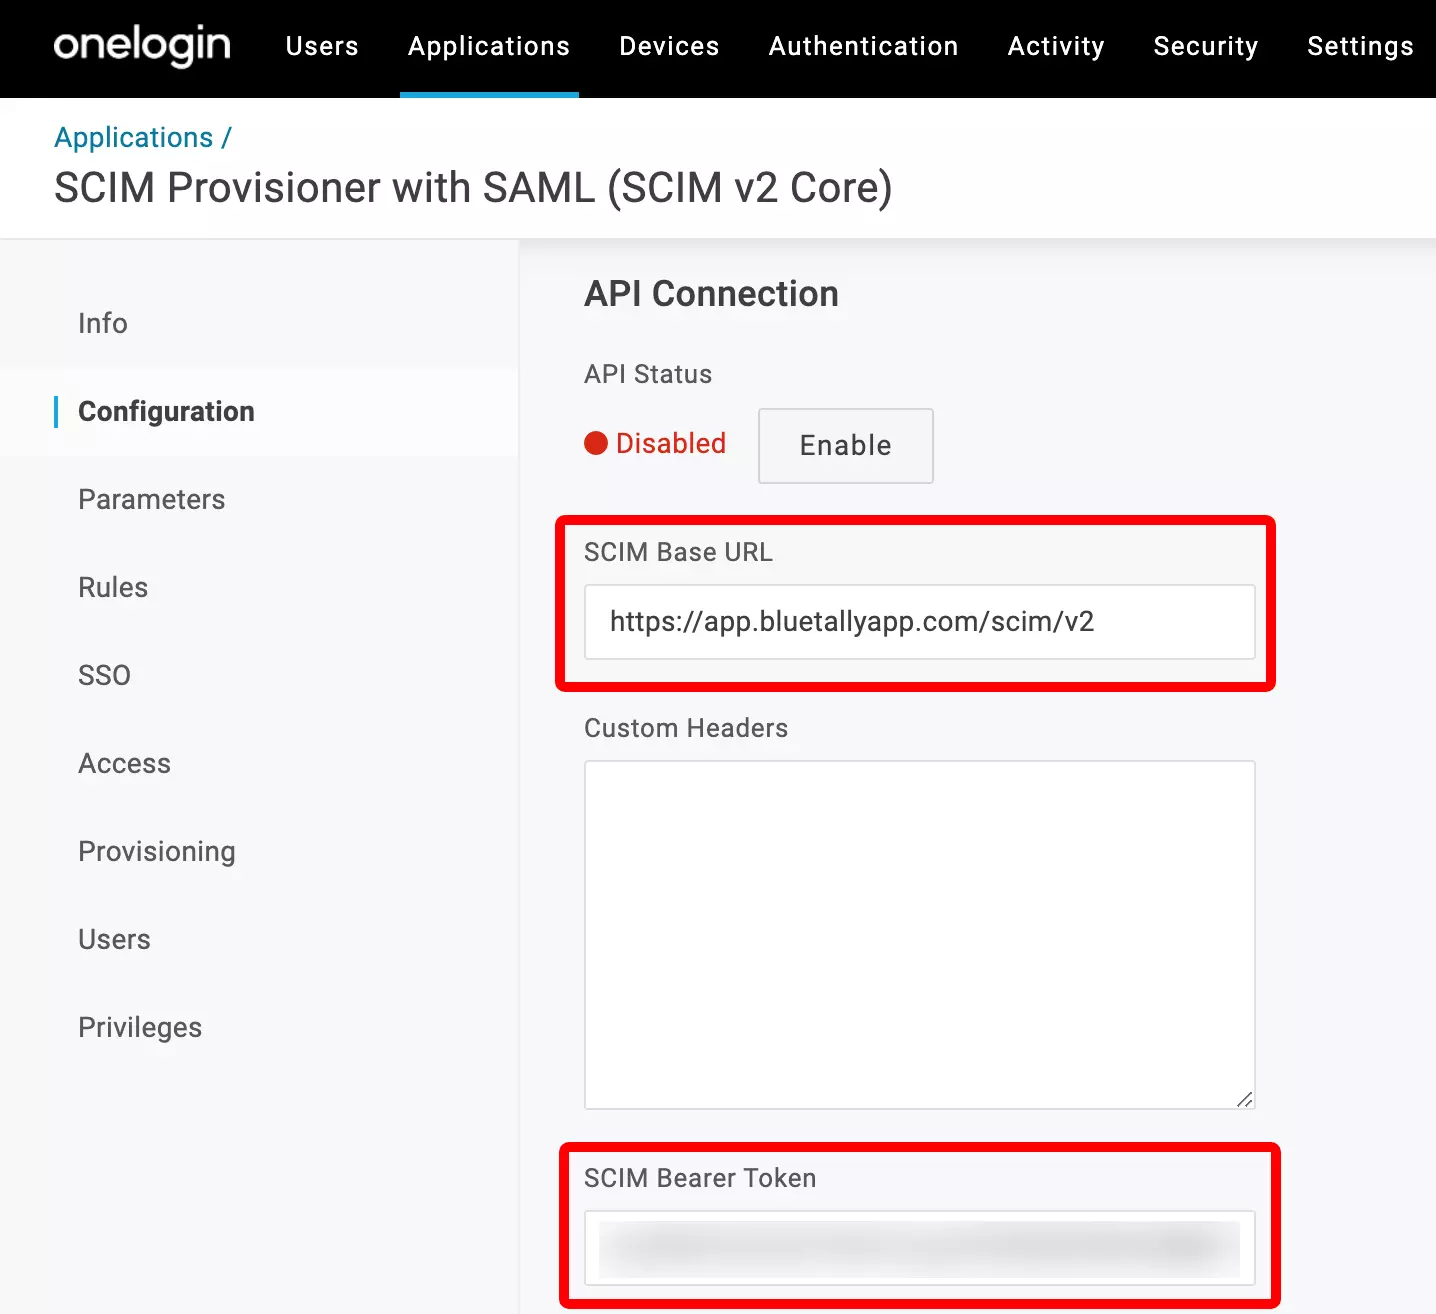
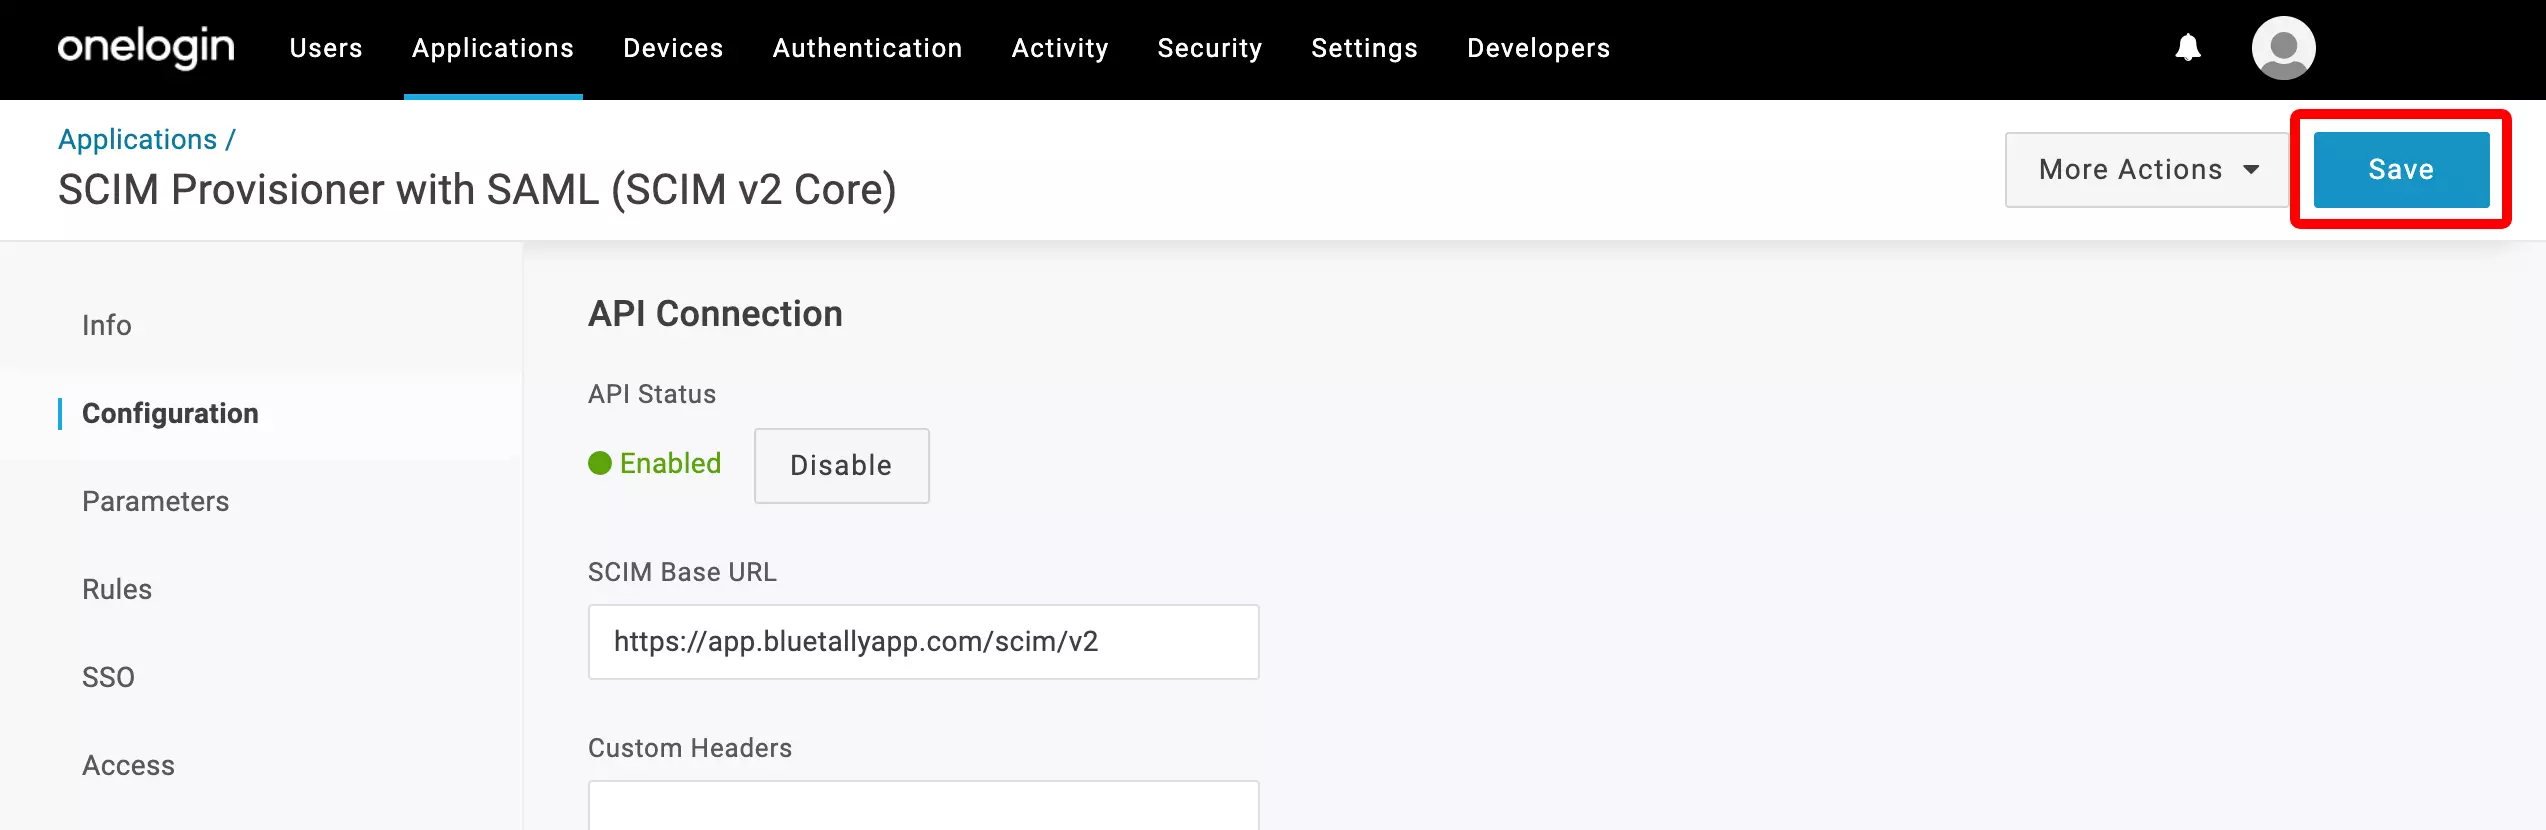
Click on "Configuration" in the left menu bar. Copy the "Endpoint URL" and the "Secret Token" from your AssetNode account settings (SCIM 2.0 section), and paste them into the "SCIM Base URL" and "SCIM Bearer Token" fields.
12
Paste the SCIM JSON Template
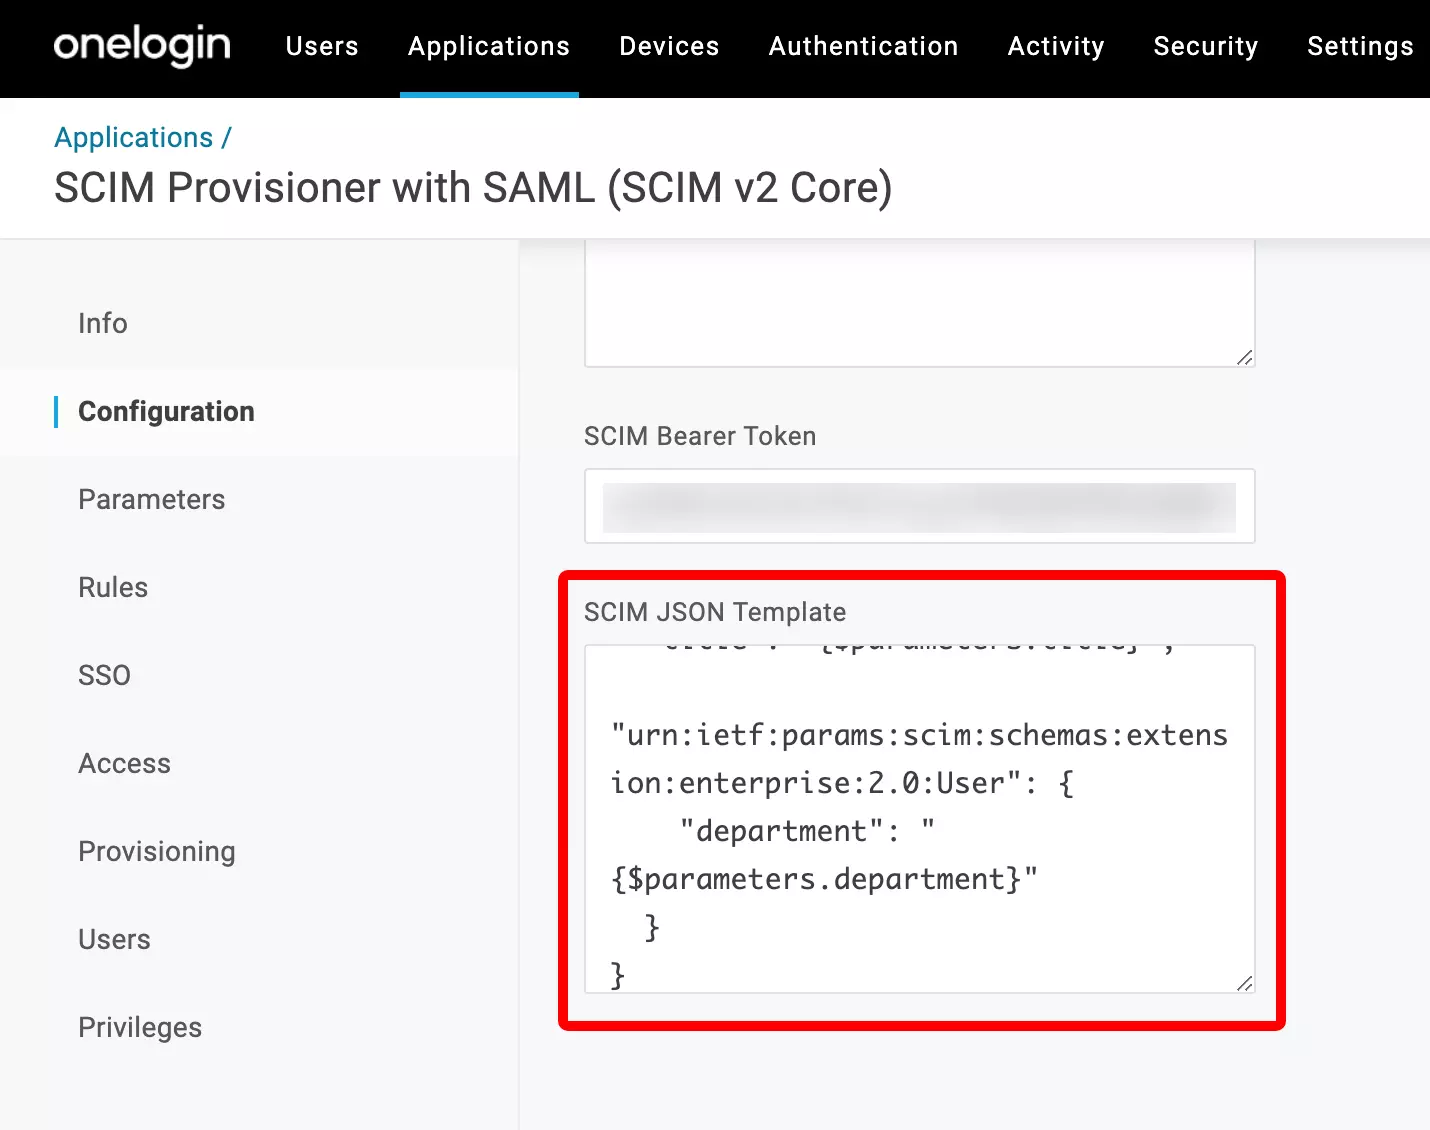
Scroll down and paste the SCIM JSON Template into the "SCIM JSON Template" field.
13
Enable the API connection
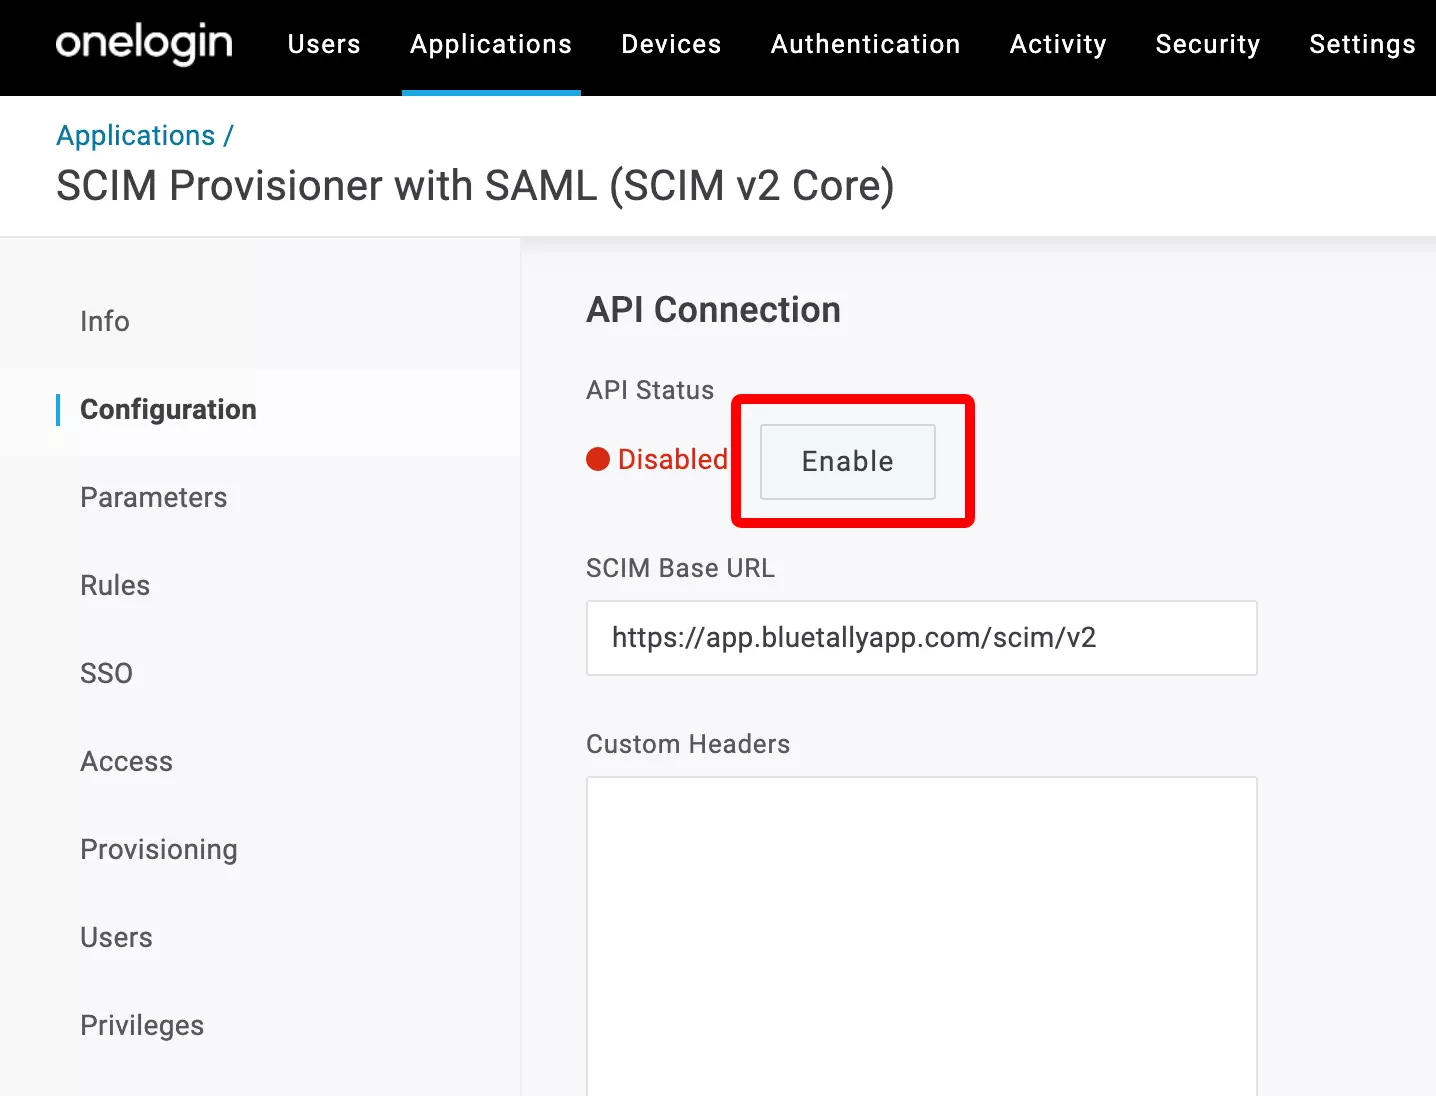
Scroll back up and click on "Enable" to activate the SCIM connection.
14
Save the configuration
Click on "Save" in the top right corner.
15
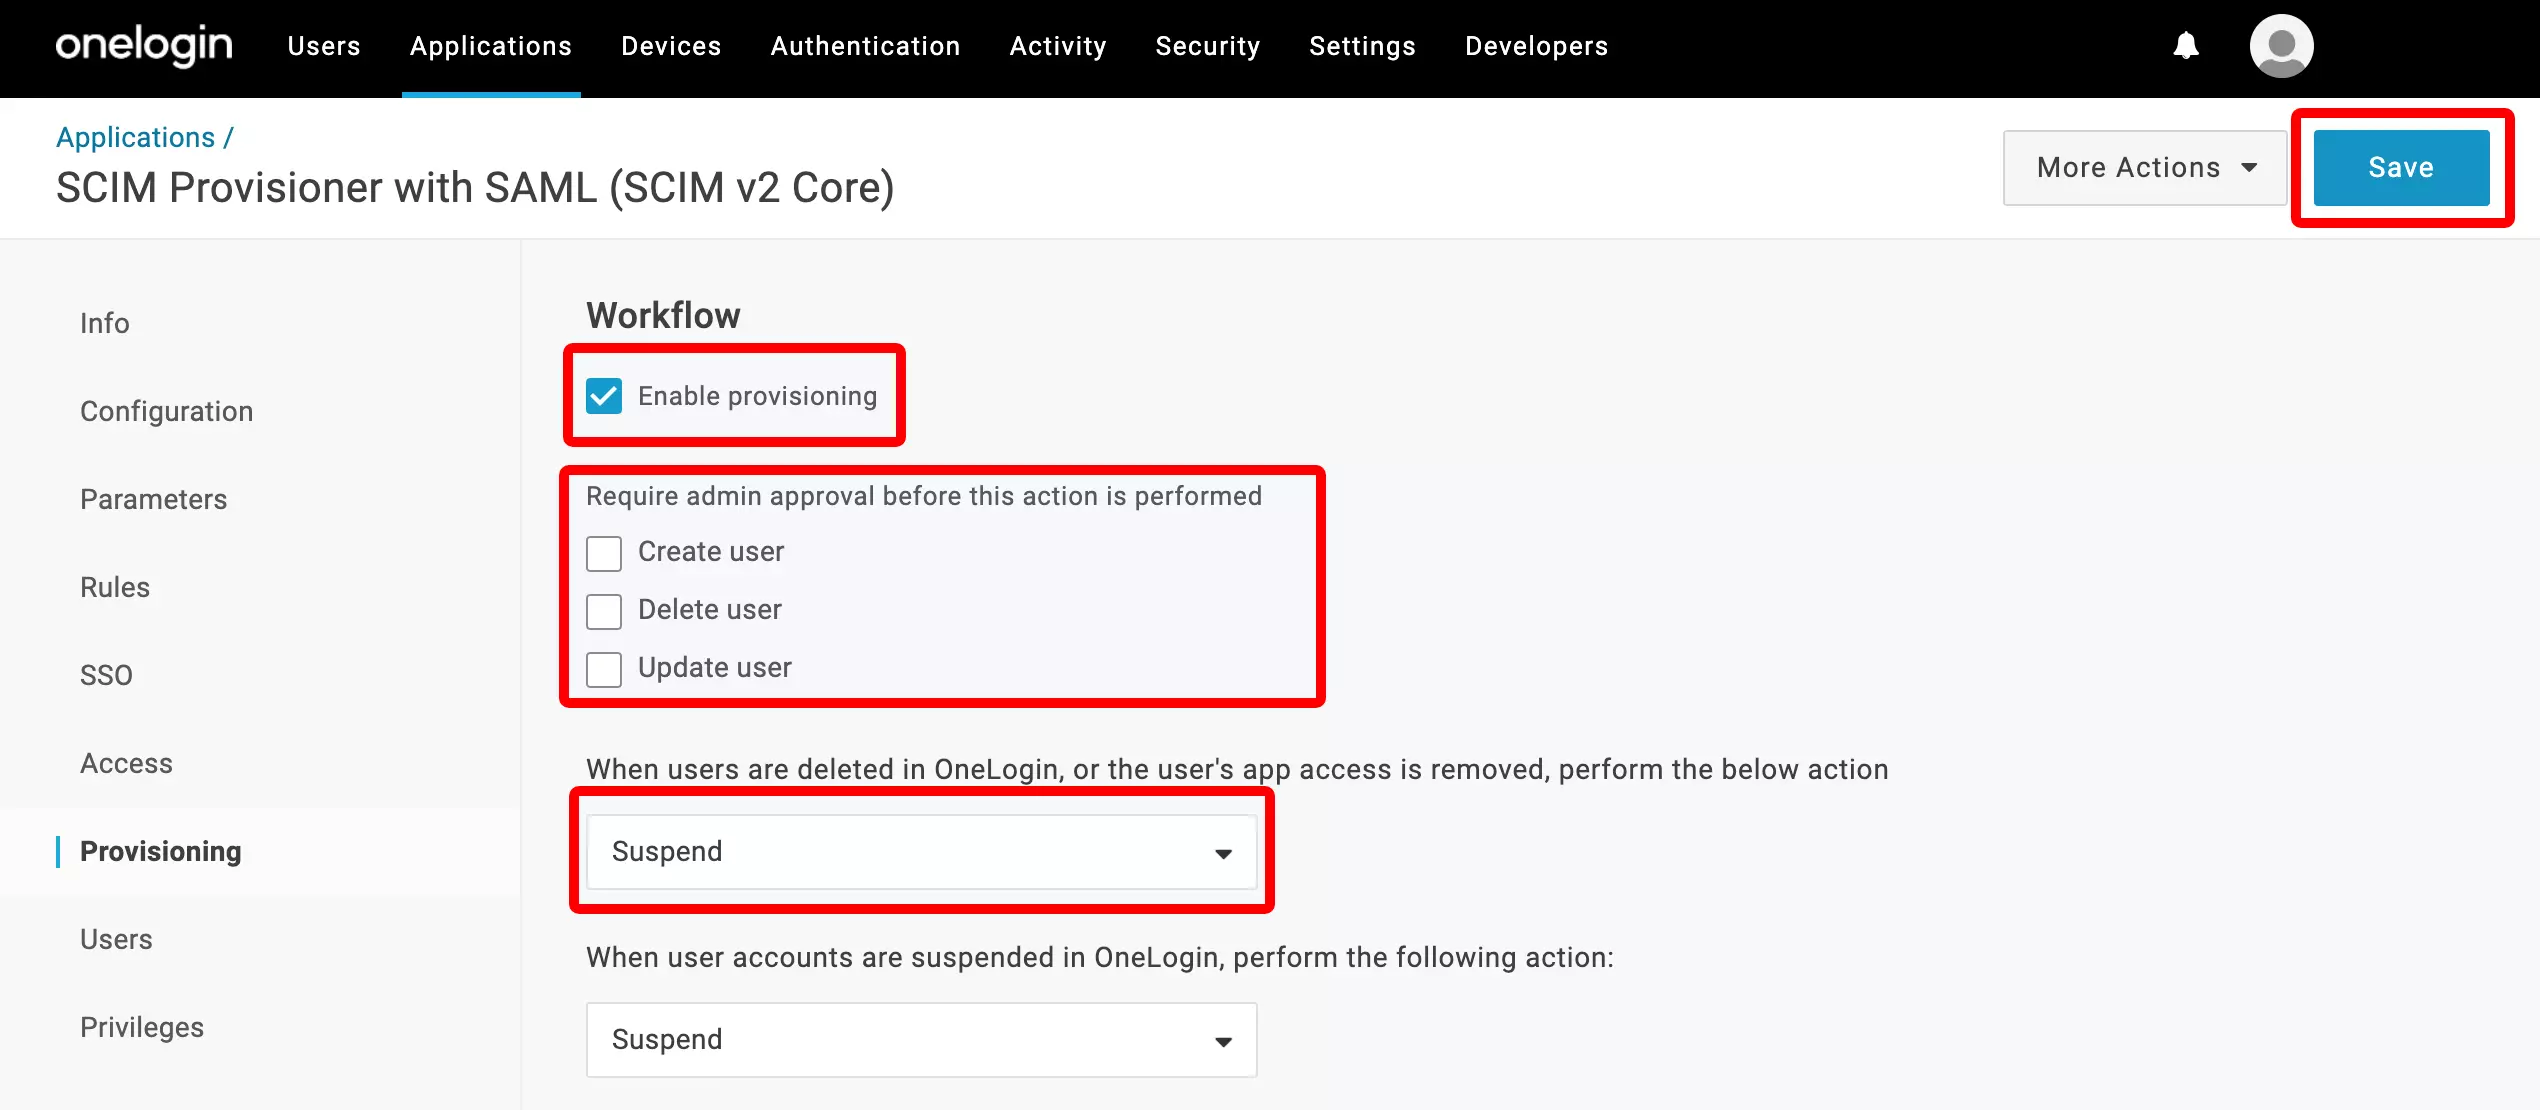
Configure Provisioning
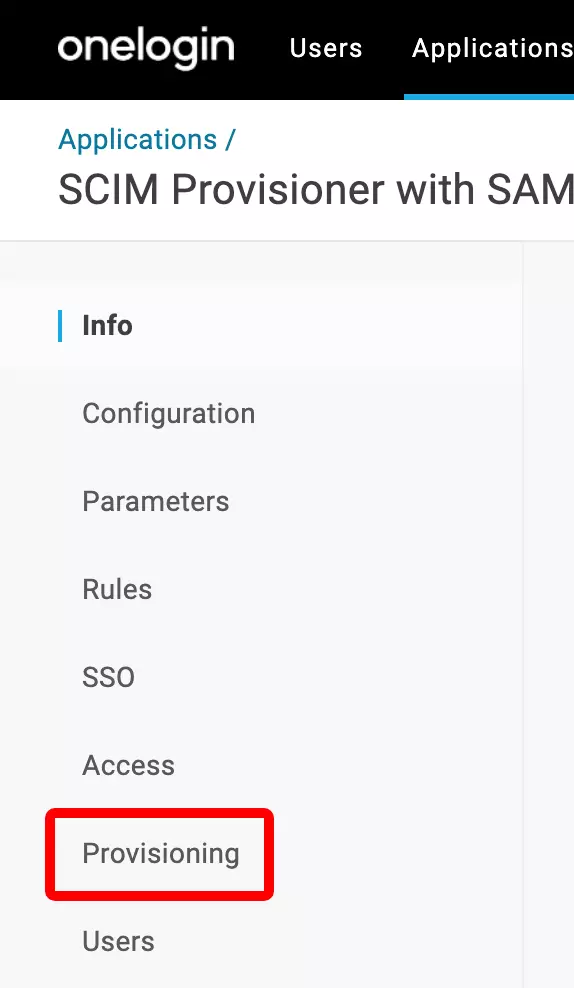
Click on "Provisioning" in the left menu bar. Check the "Enable Provisioning" checkbox. Un-check the "Create user", "Delete user" and "Update user" fields. Change the deletion dropdown value to "Suspend". Click "Save".
16
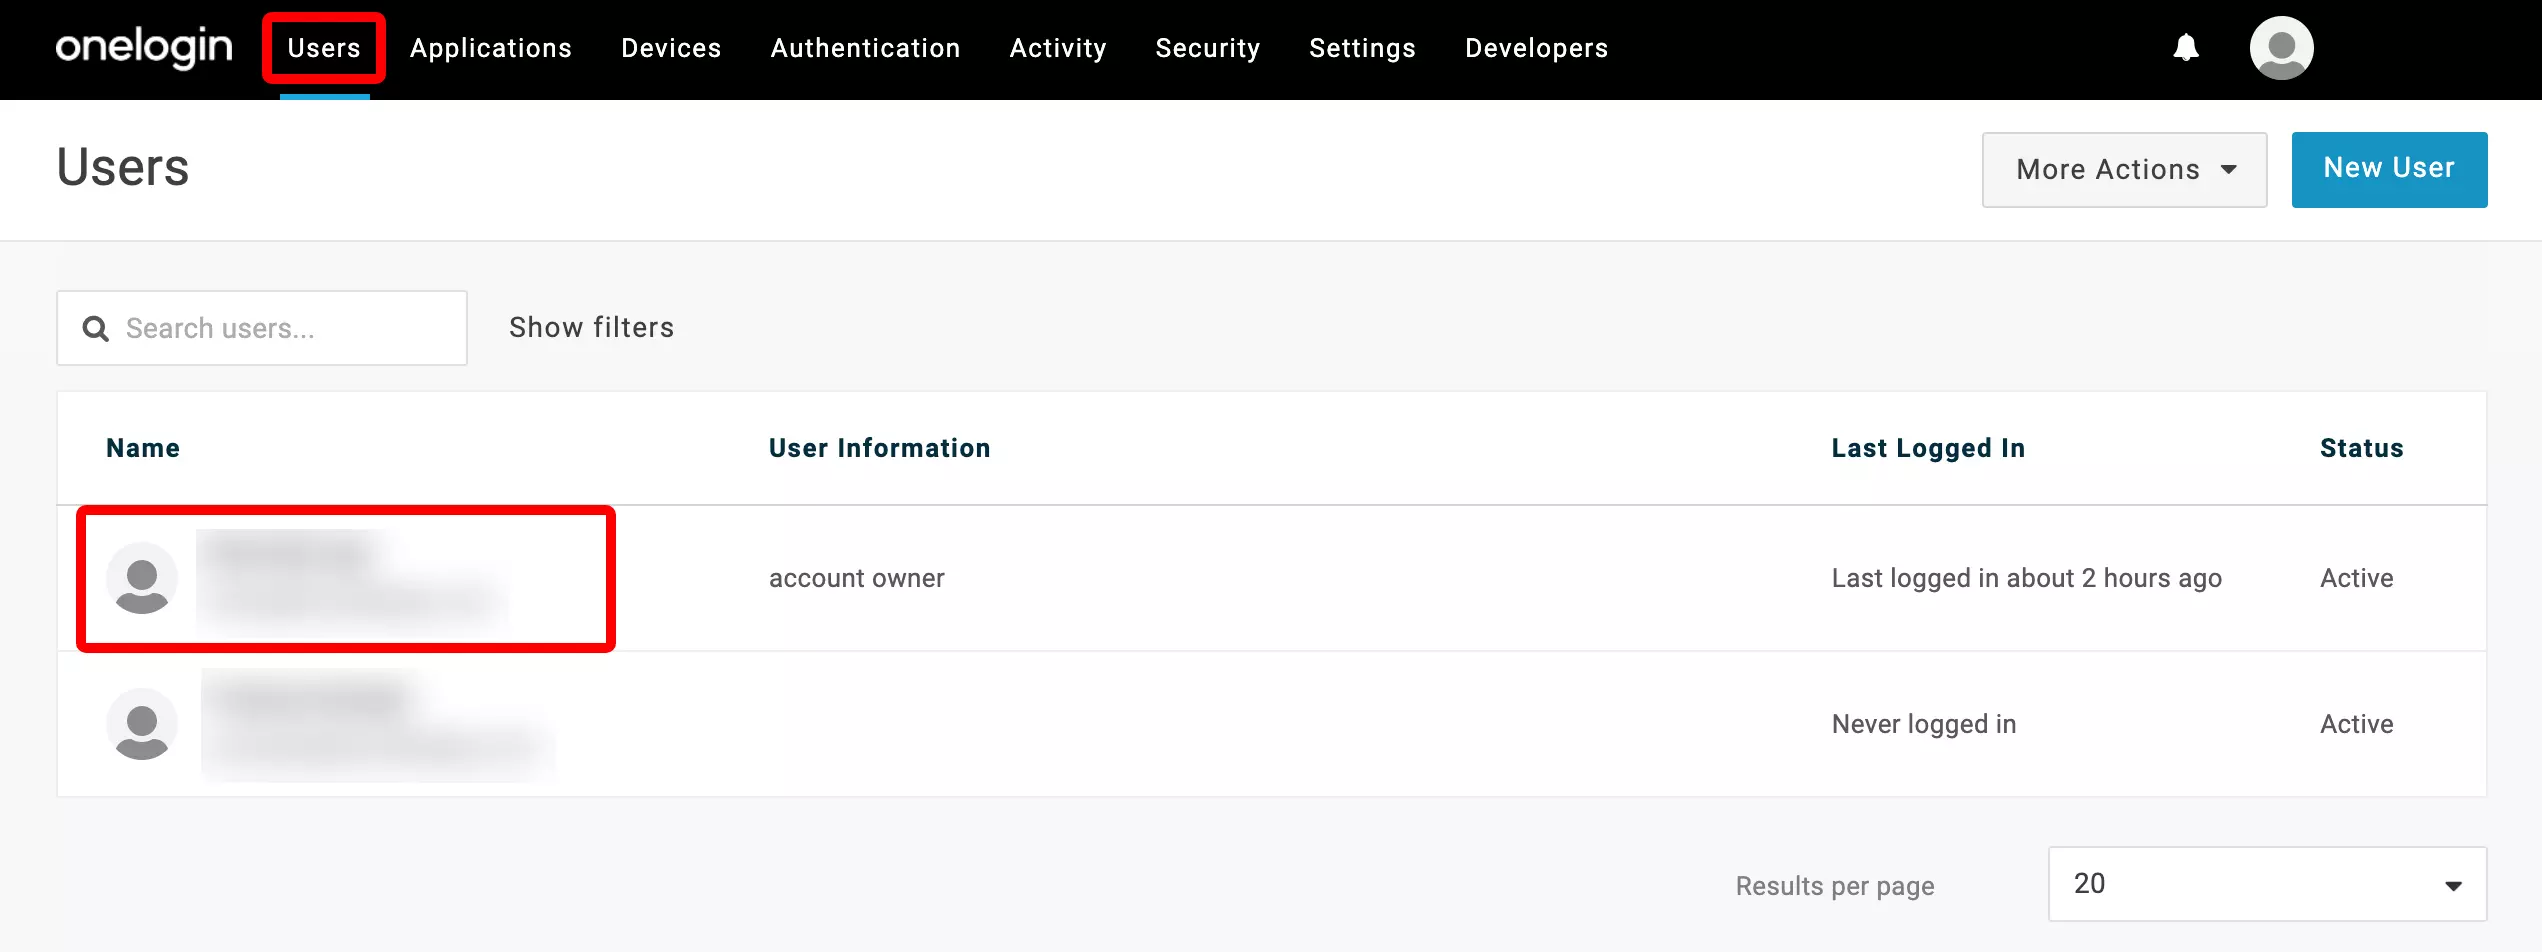
Select a user to assign
Click on "Users" in the top menu bar and then select a user that you would like to add to the app.
17
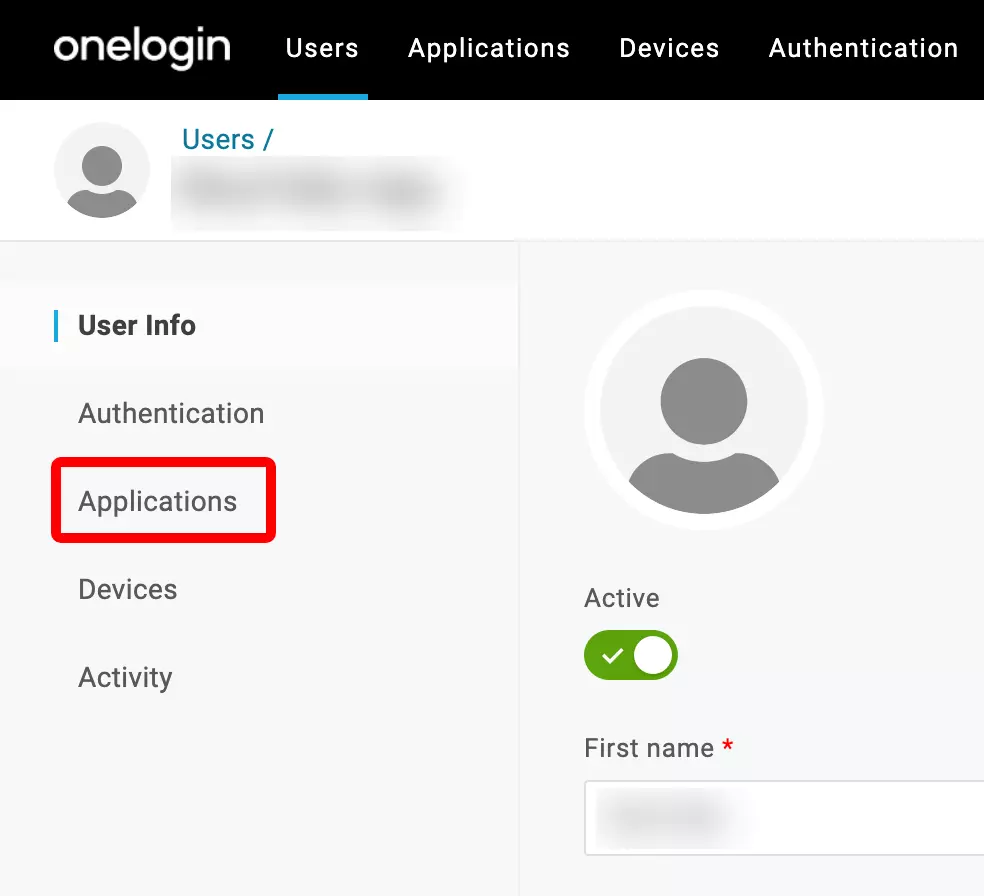
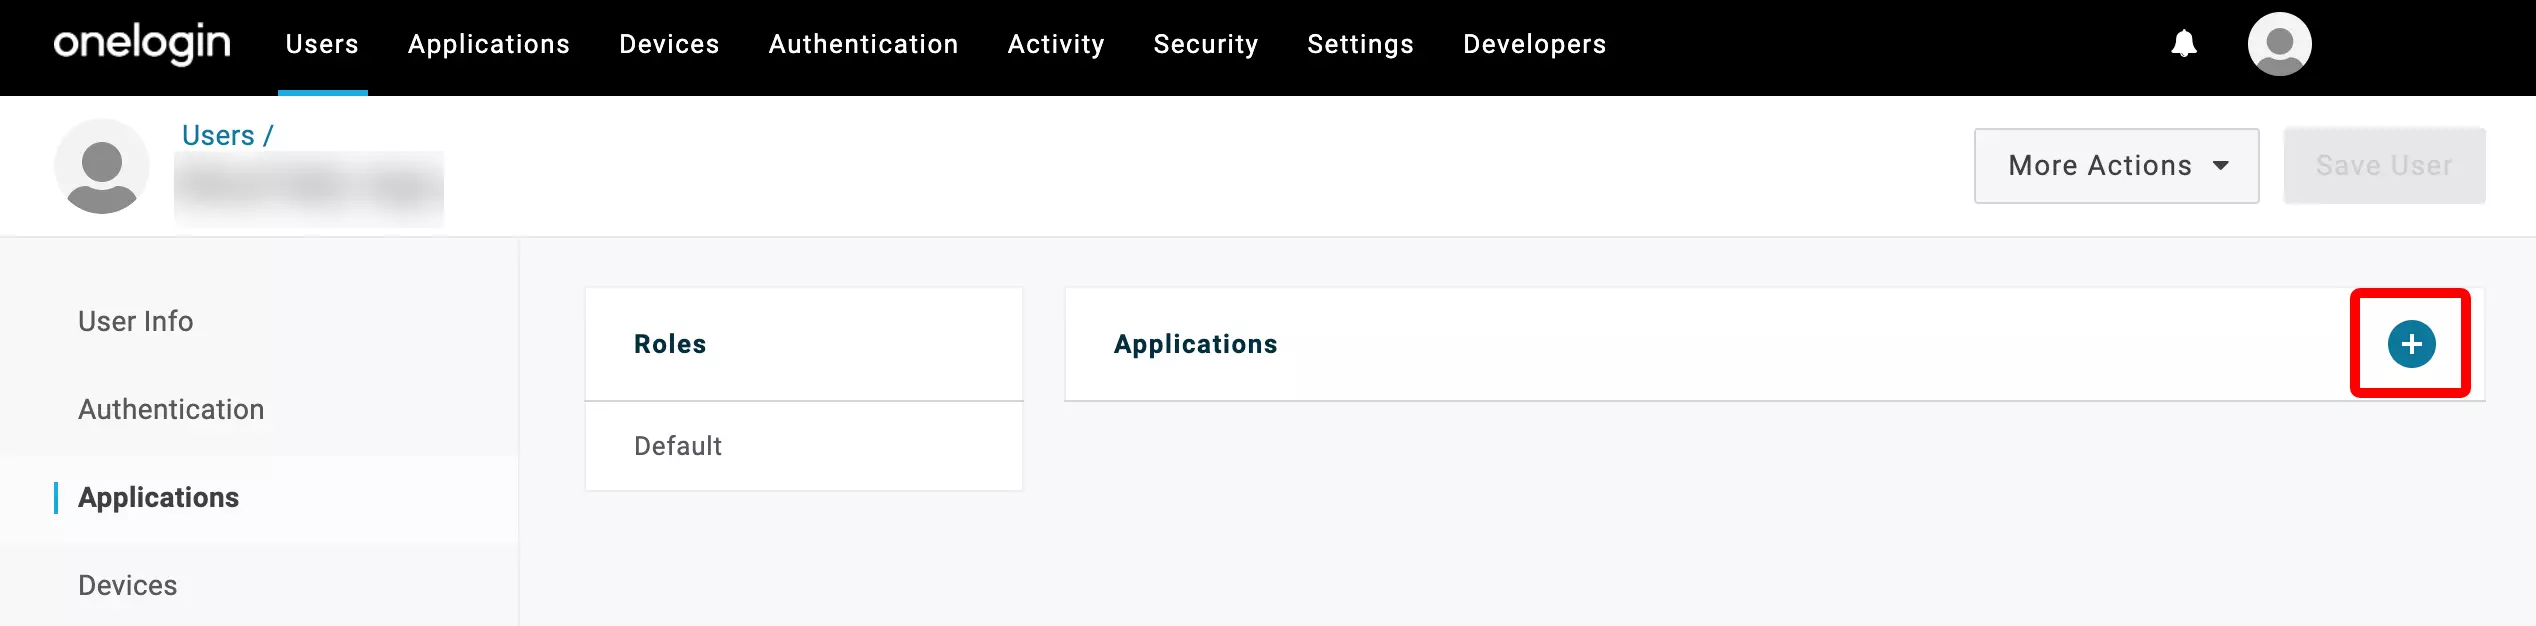
Add user to the application
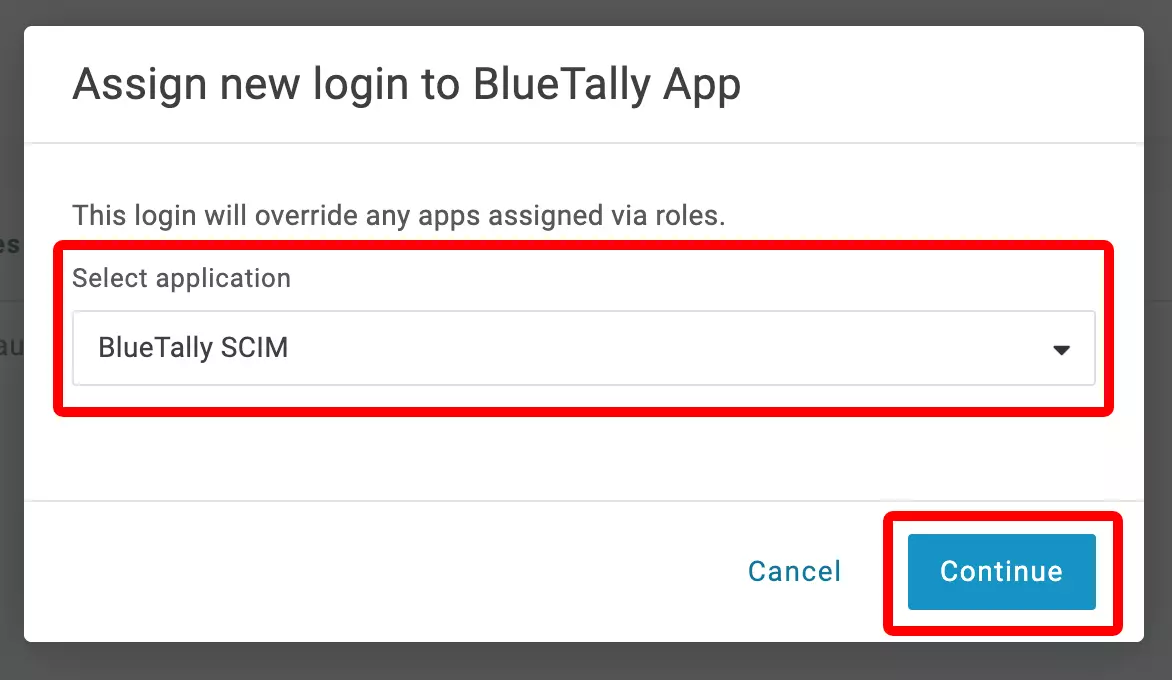
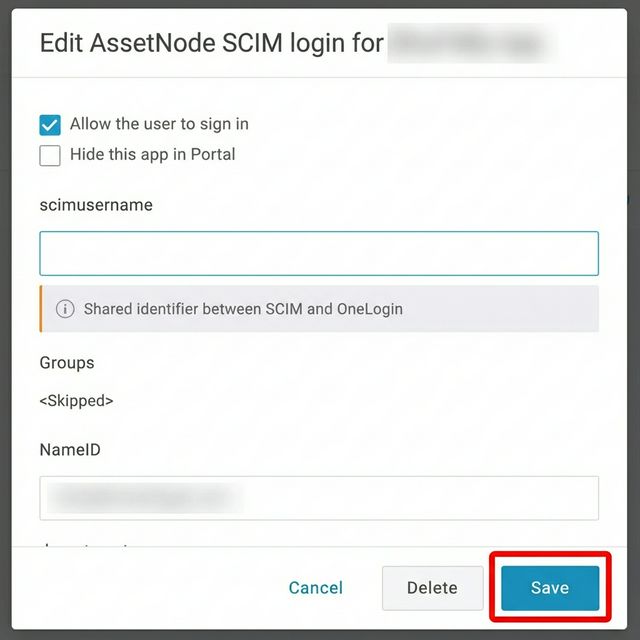
Click on "Applications", then click the "+" button. Select the app you just created (AssetNode SCIM) and click "Continue". Then click "Save".
18
Verify provisioning
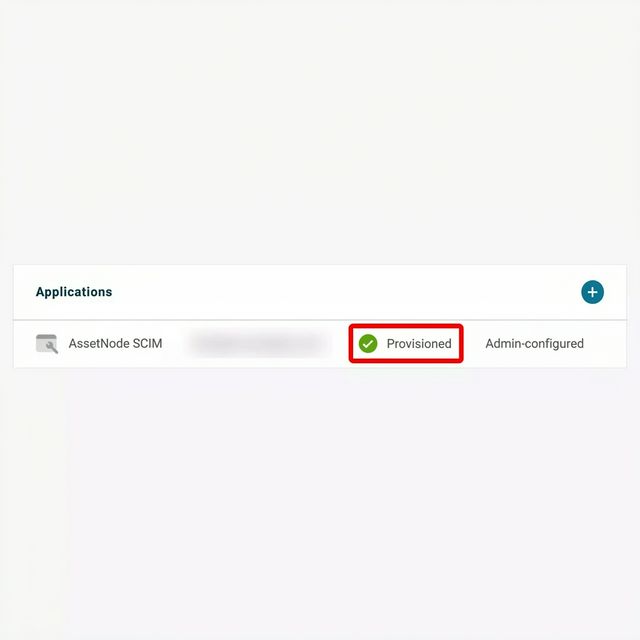
You can now see that the user has been provisioned and added to the app. Repeat the user assignment process for all the users you'd like to add as employees.
After completing setup
- The synchronization takes place approximately every 40 minutes. Any changes you make to users in OneLogin will be automatically reflected in AssetNode.
- To sync the employee's location, enable "Set employee location info from Identity Provider" in your AssetNode SCIM settings.
- To sync the employee's department, enable "Set employee department info from Identity Provider" in your AssetNode SCIM settings.
- If you remove a user from OneLogin, they are marked as "Archived" in AssetNode (not deleted) — they may still have assets checked out.