Single Sign-On
Single Sign-On with Azure Active Directory
Let your team members log in to AssetNode using their Microsoft credentials.
Setup guide (7 steps)
1
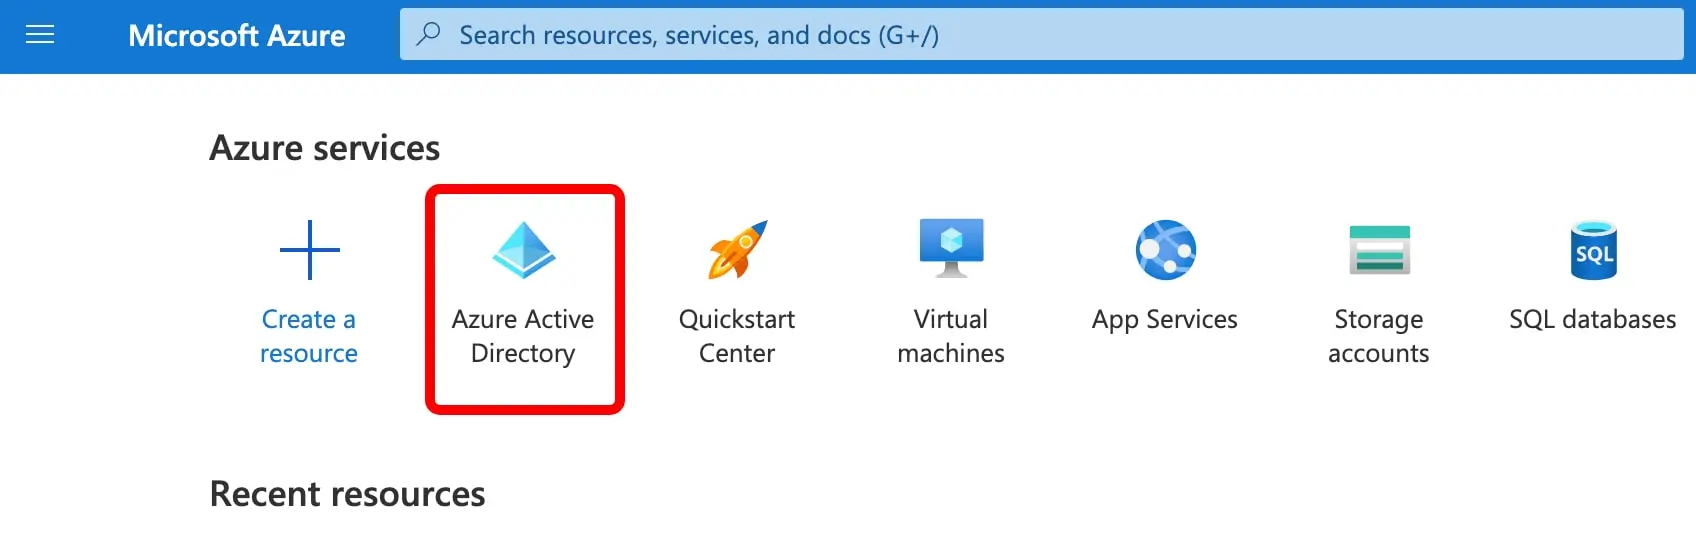
Log in to your Azure Portal
Navigate to portal.azure.com.
2
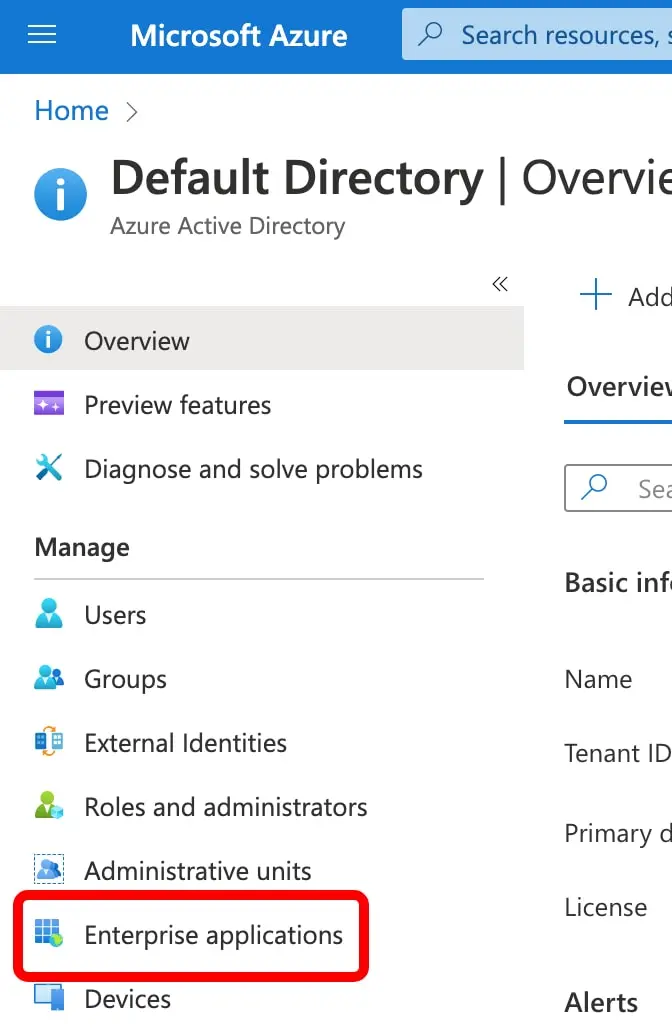
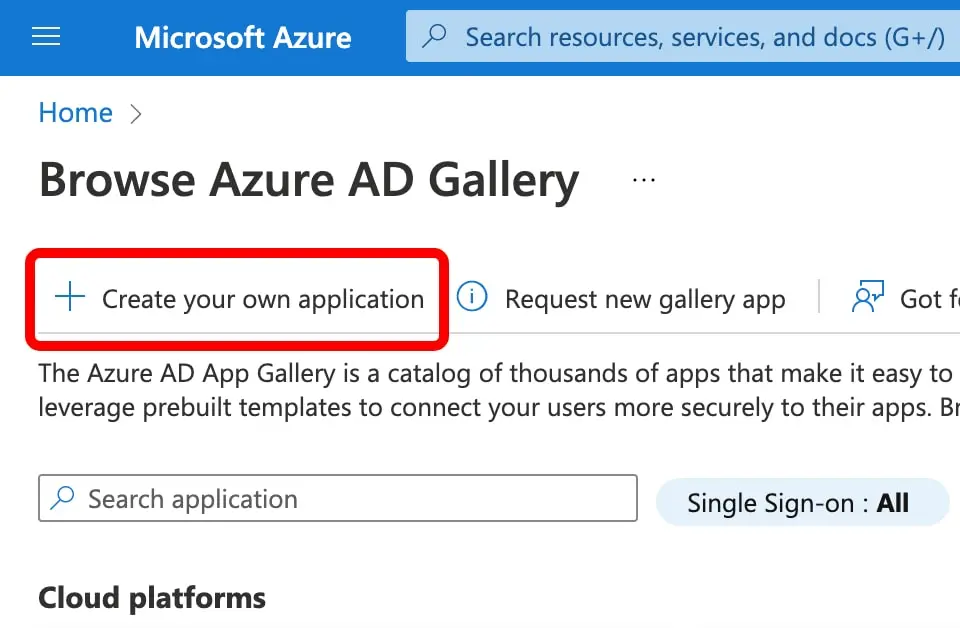
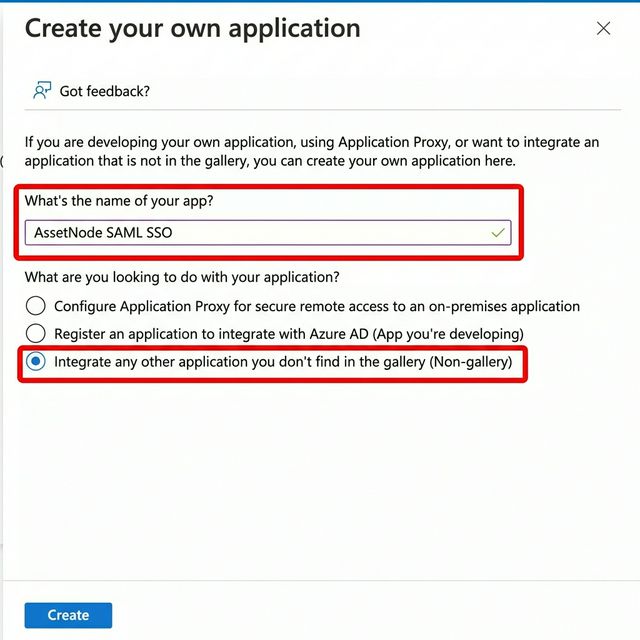
Create an Enterprise Application
Go to Enterprise Applications → New Application → Create your own.
3
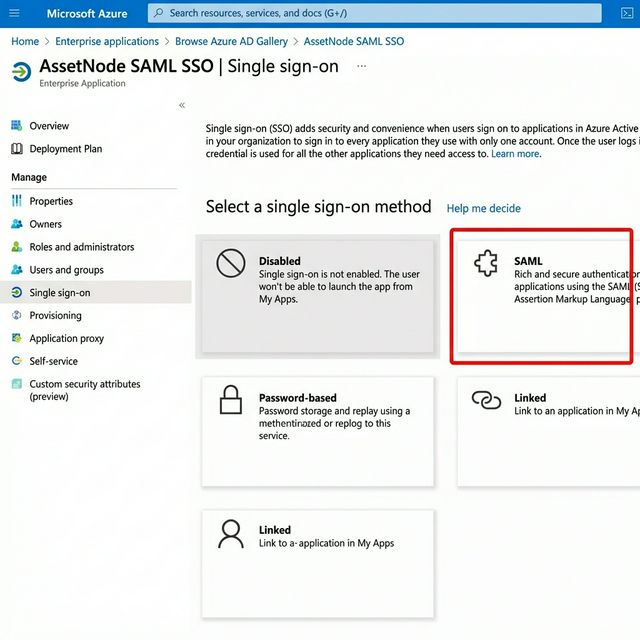
Configure Single Sign-On
Go to Single sign-on → Select "SAML".
4
Set up Basic SAML Configuration
Set the Entity ID and Reply URL from your AssetNode SSO settings.
5
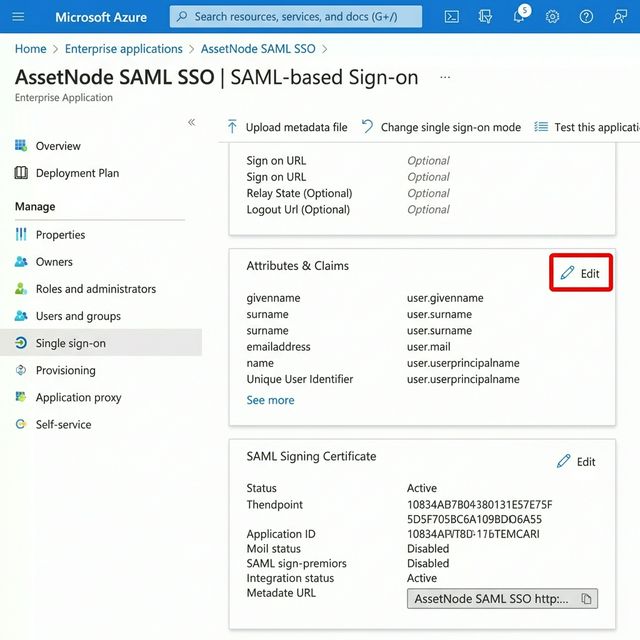
Download the certificate
Download the "Certificate (Base64)".
6
Enter details in AssetNode
Go to Settings → SSO section. Enter Entity ID, SSO URL, and certificate.
7
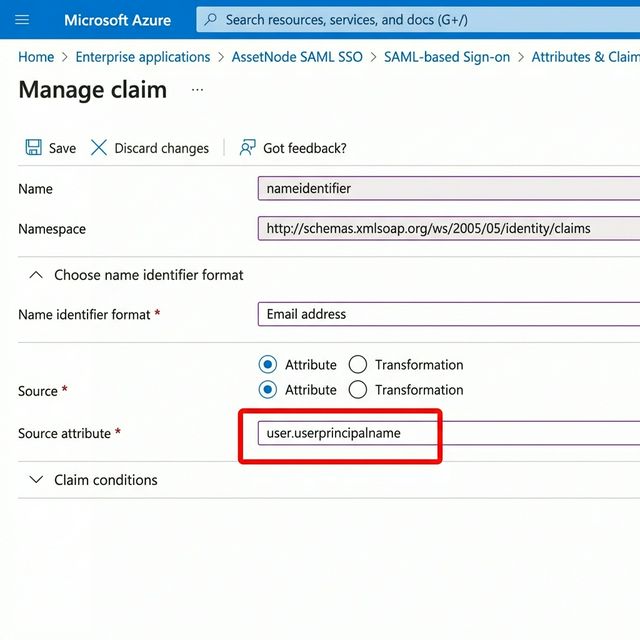
Assign users
Assign users or groups to the application.
After completing setup
- Once SSO is active, new users get access by being assigned in Azure AD.
- You can enable "Force SSO" to disable password-based login entirely.