Single Sign-On
Single Sign-On with OneLogin
Let your team members log in to AssetNode using their OneLogin credentials.
Setup guide (6 steps)
1
Log in to your OneLogin account
Navigate to your OneLogin admin portal.
2
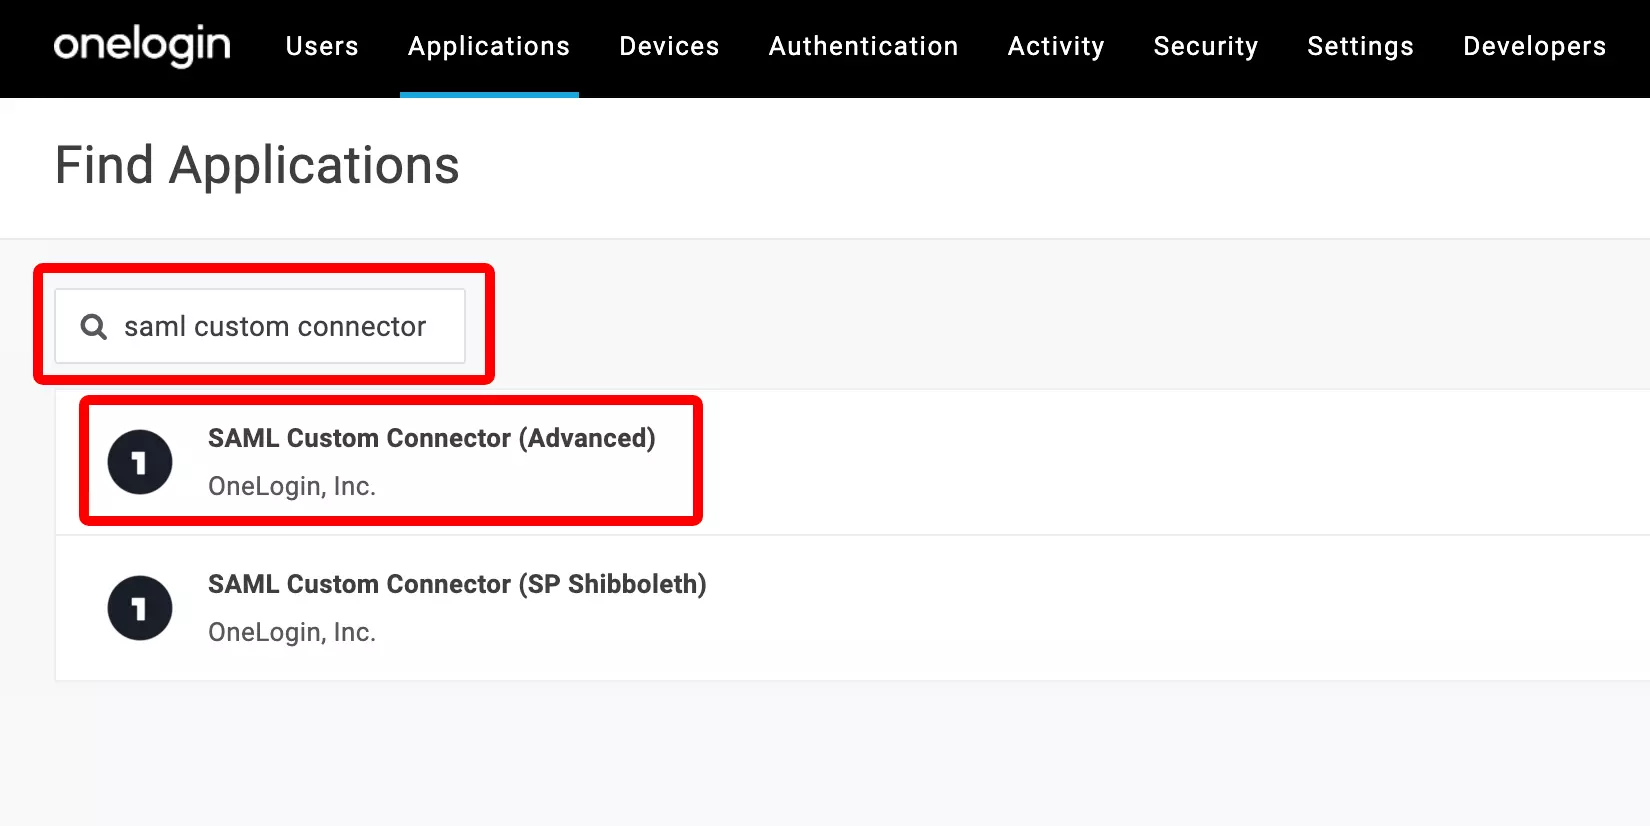
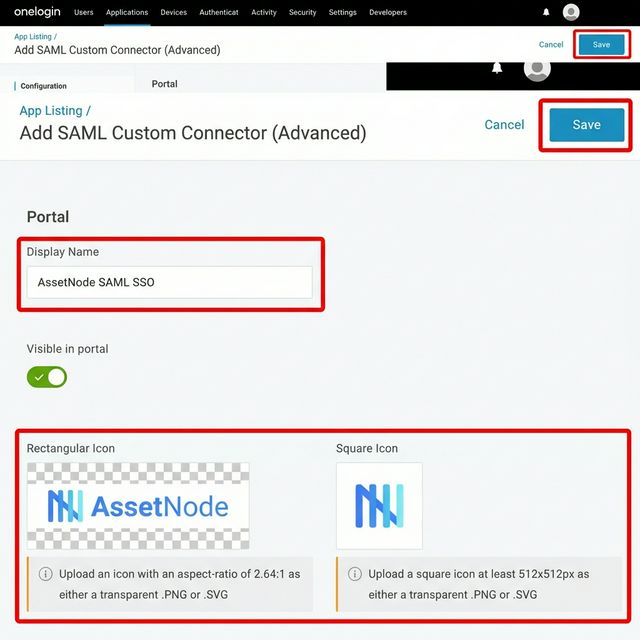
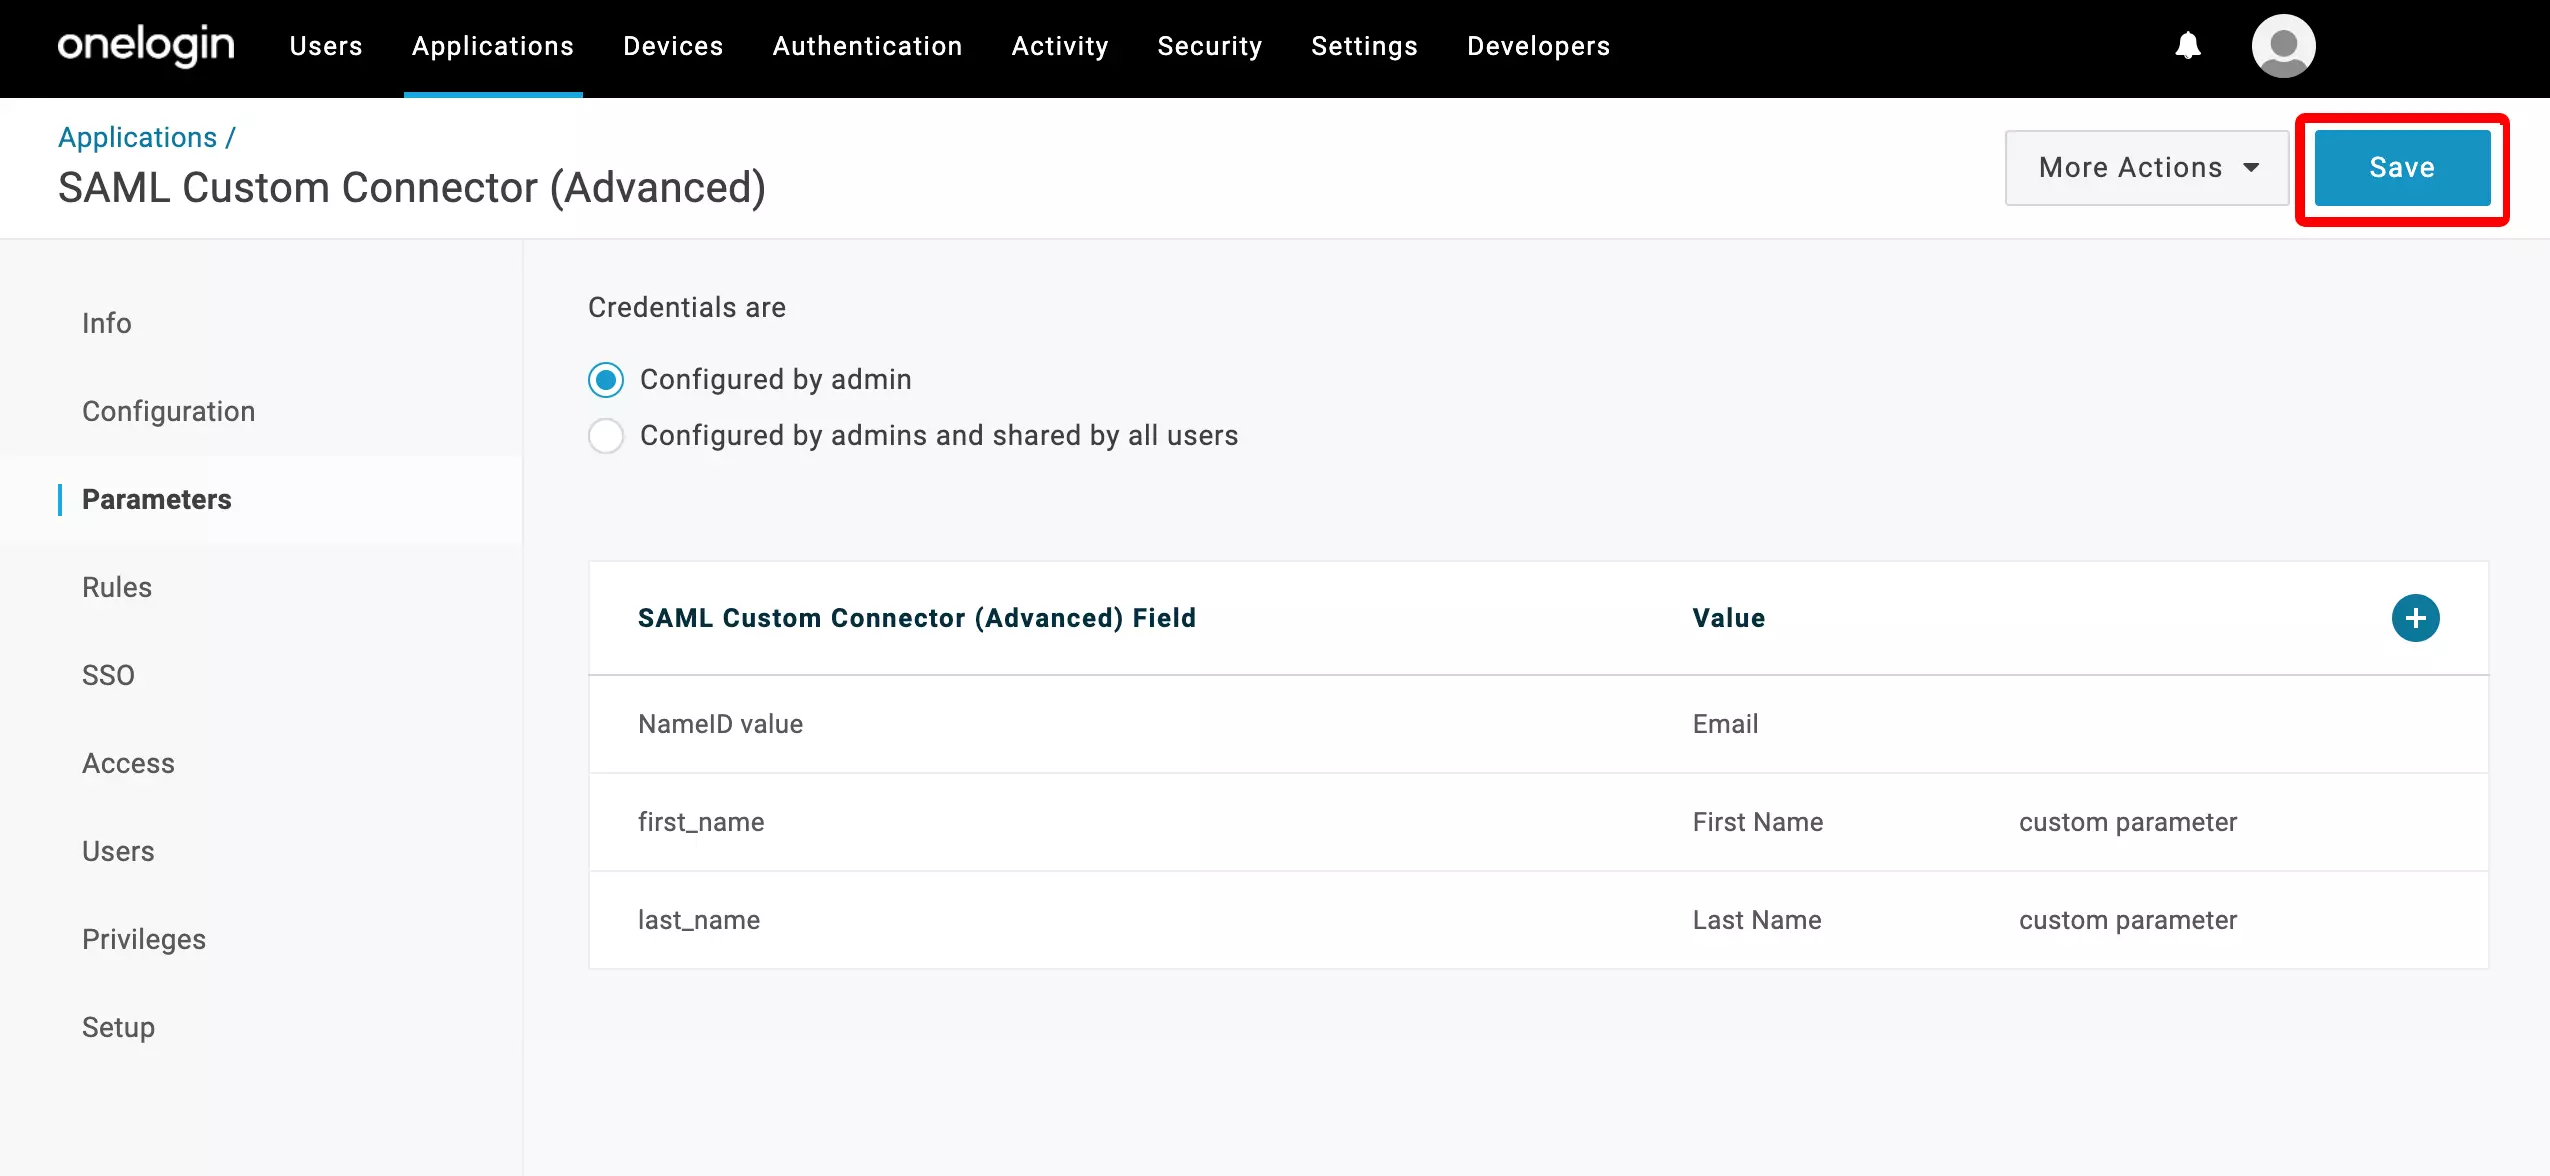
Add a custom SAML application
Search for "SAML Custom Connector (Advanced)".
3
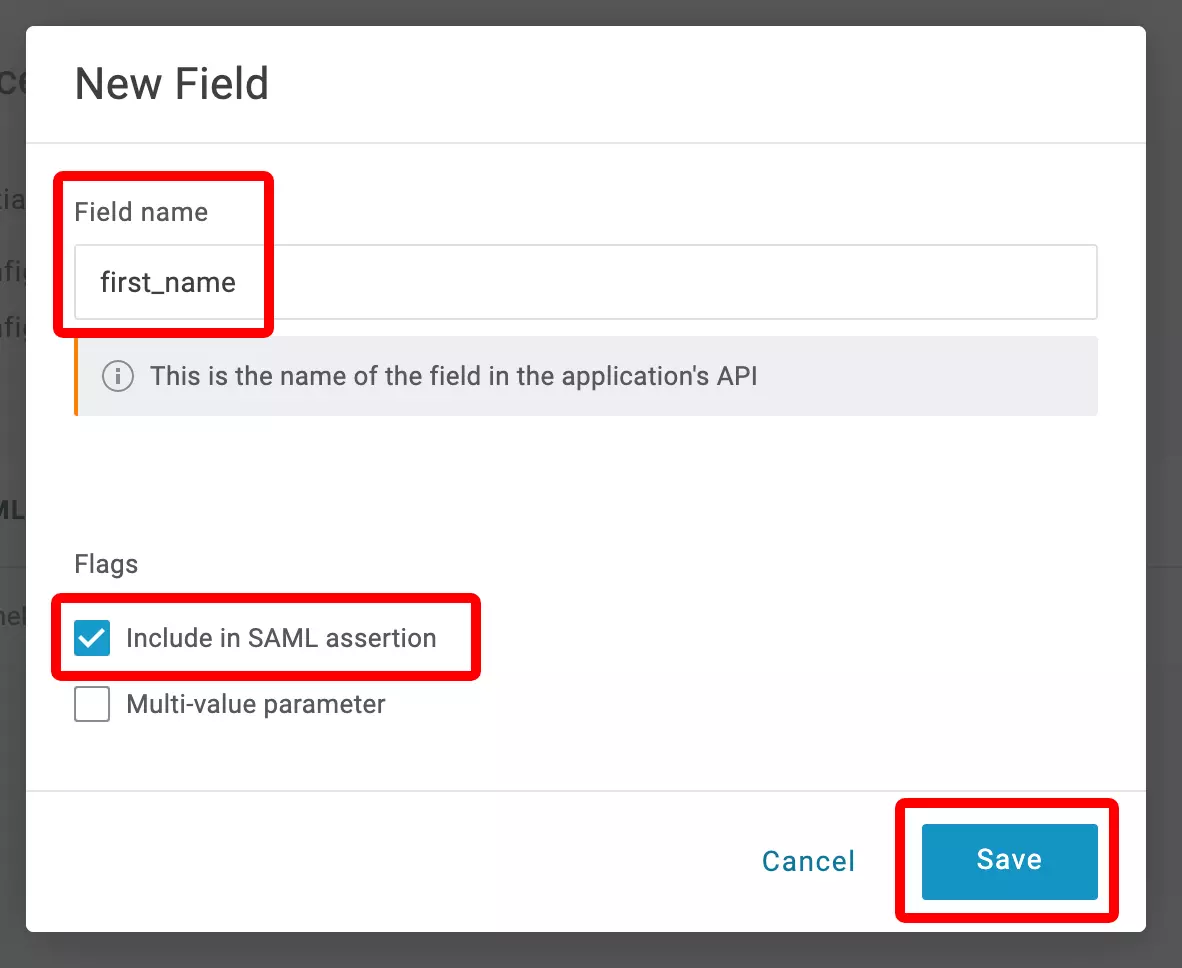
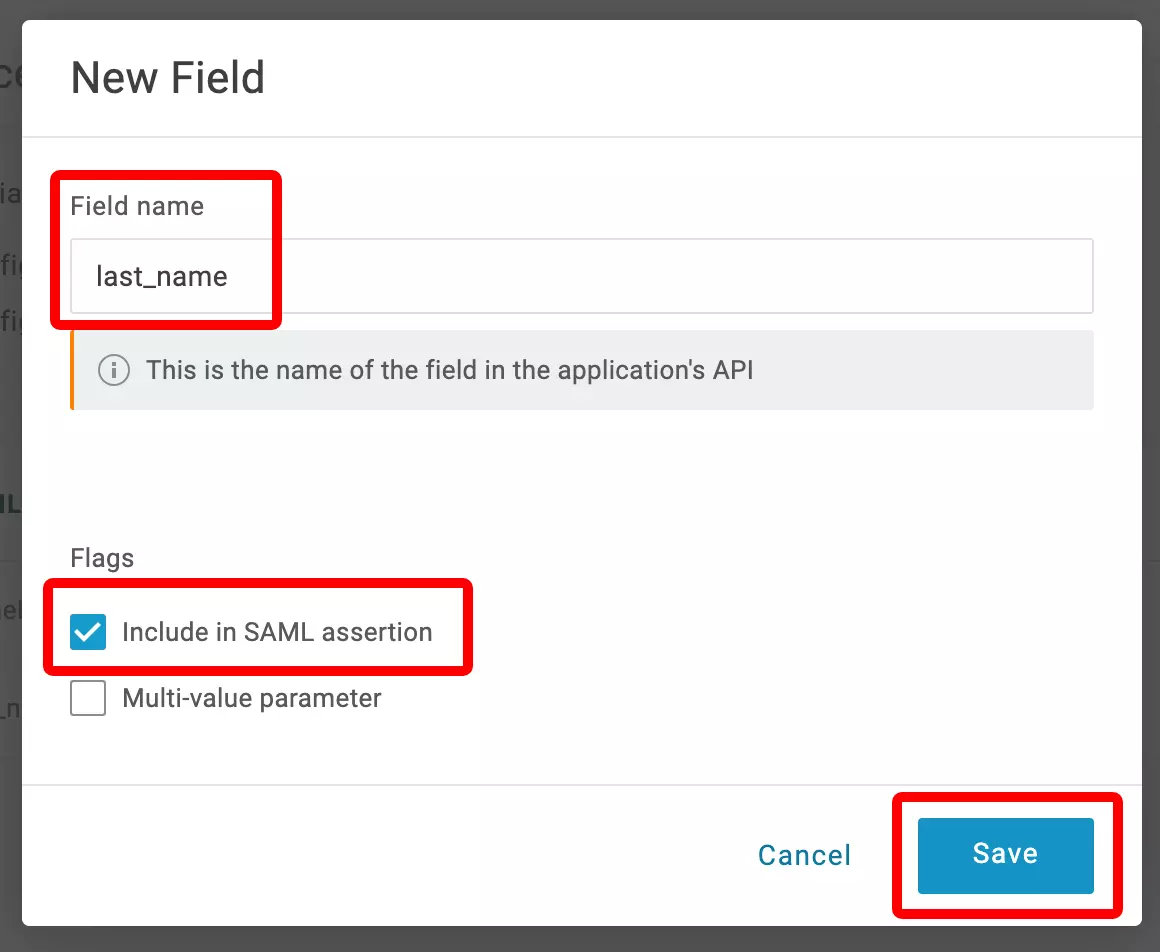
Set up SAML configuration
Enter ACS URL and SAML Audience from AssetNode SSO settings.
4
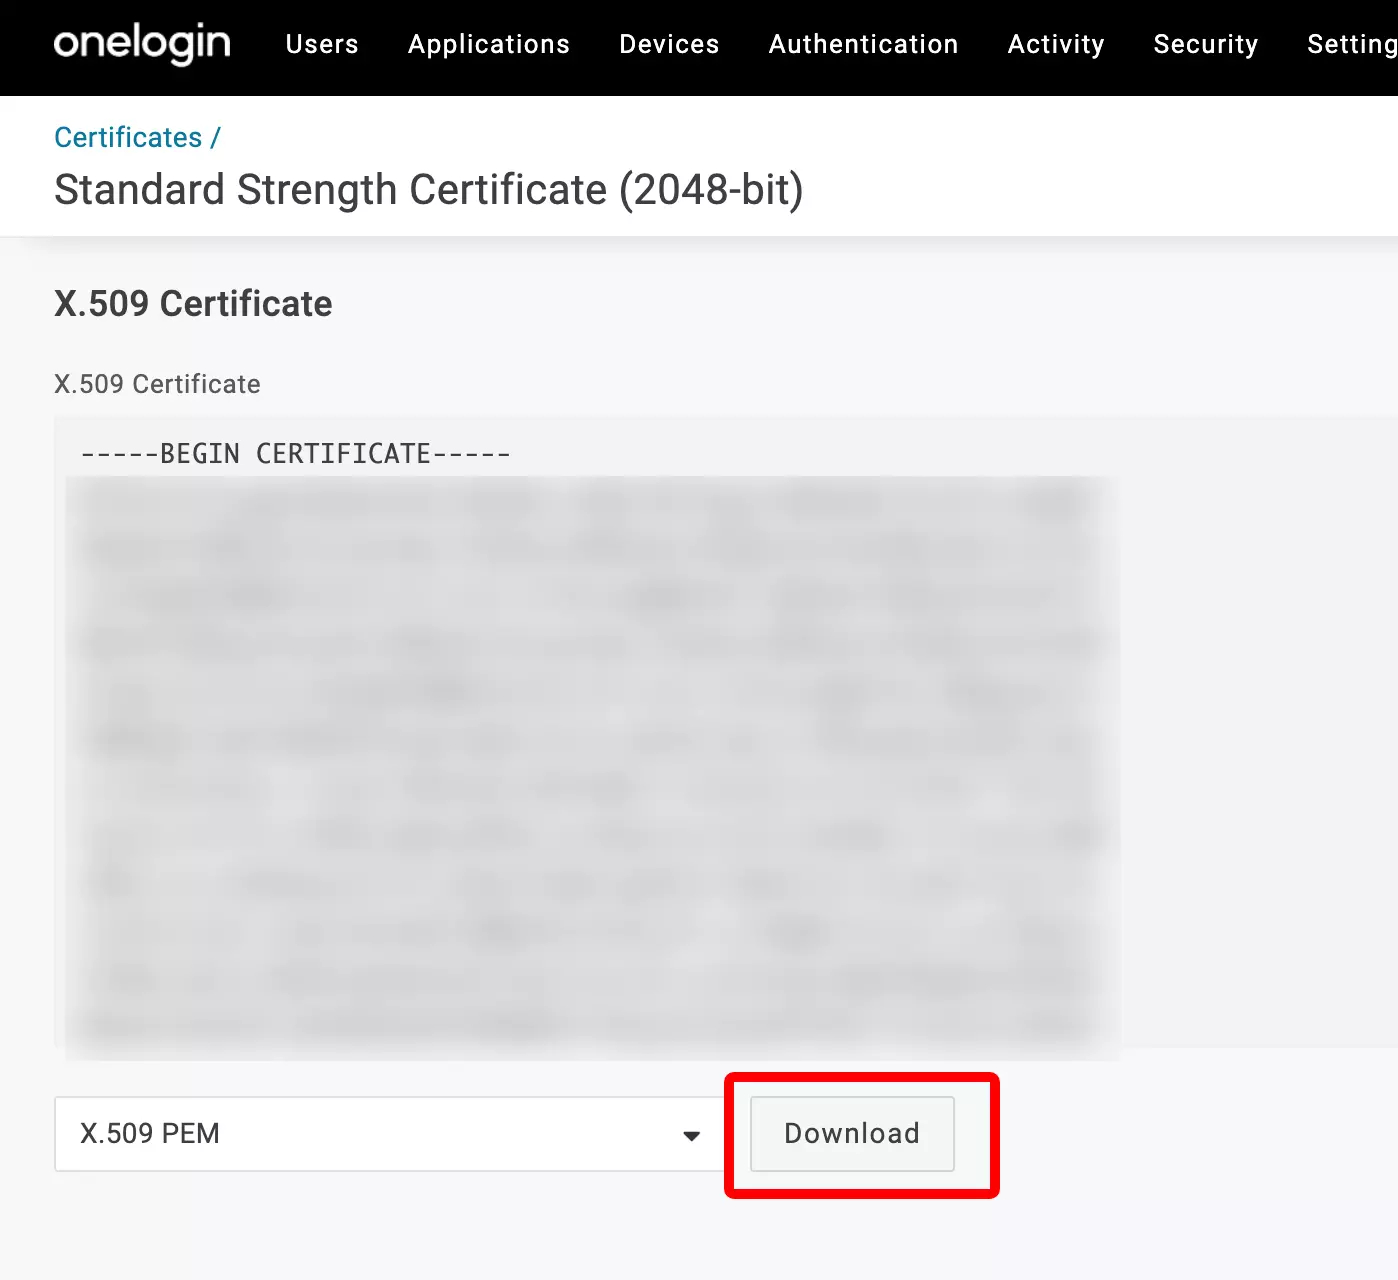
Copy OneLogin SSO details
Copy SAML 2.0 Endpoint URL and download certificate.
5
Enter details in AssetNode
Paste SSO URL, Entity ID, and certificate.
6
Assign users
Assign users to the AssetNode application.
After completing setup
- Once SSO is active, giving new users access is done by assigning them in OneLogin.
- Enable "Force SSO" to require all users to sign in via OneLogin.